Map Guide: Outpost

The dense central structures in the middle of the map are the key point for the location. Controlling this area allows you to hold an all-around defense by firing across the vast fields around the town. Beyond the walls of the fortifications, you should take advantage of terrain irregularities as most of the area is very exposed to enemy fire.


Commanders!

Watch the Map Guide video and read on to learn useful tips and strategies for every vehicle class, get insider tricks, and more.

Outpost is a summer map with lots of open space, available for Tier V–X battles. It has multiple gameplay zones, allowing every vehicle type to shine and every tactical approach to be tried out. Each zone has a unique landscape with special objects so you always know where you are. The main landmark is the castle on a hill, which dominates the center.

Map Overview

Interactive image. Hover the cursor over icons on the minimap to view additional information.

Long-range sniper position: Support allies in the village or take shots at enemies on top of the hill.

Long-range sniper position: Support allies in the village or take shots at enemies on top of the hill.

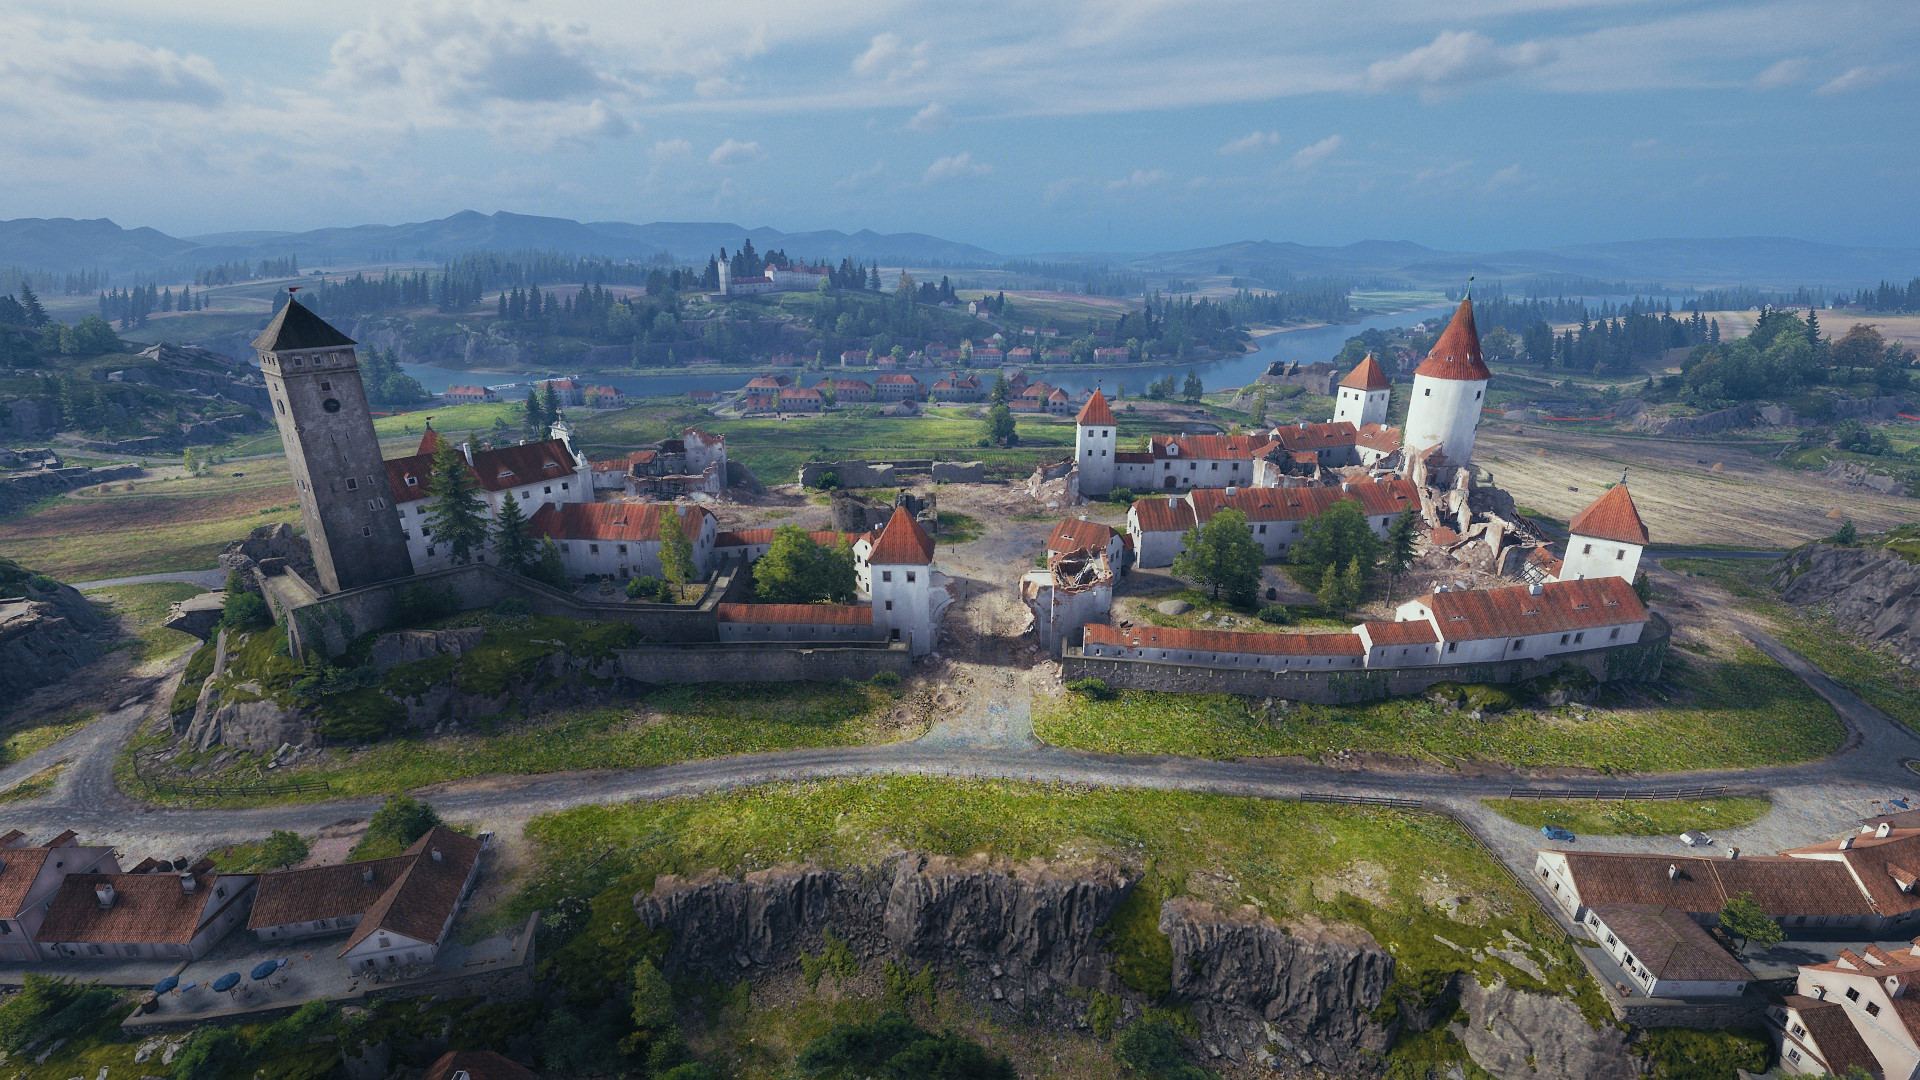
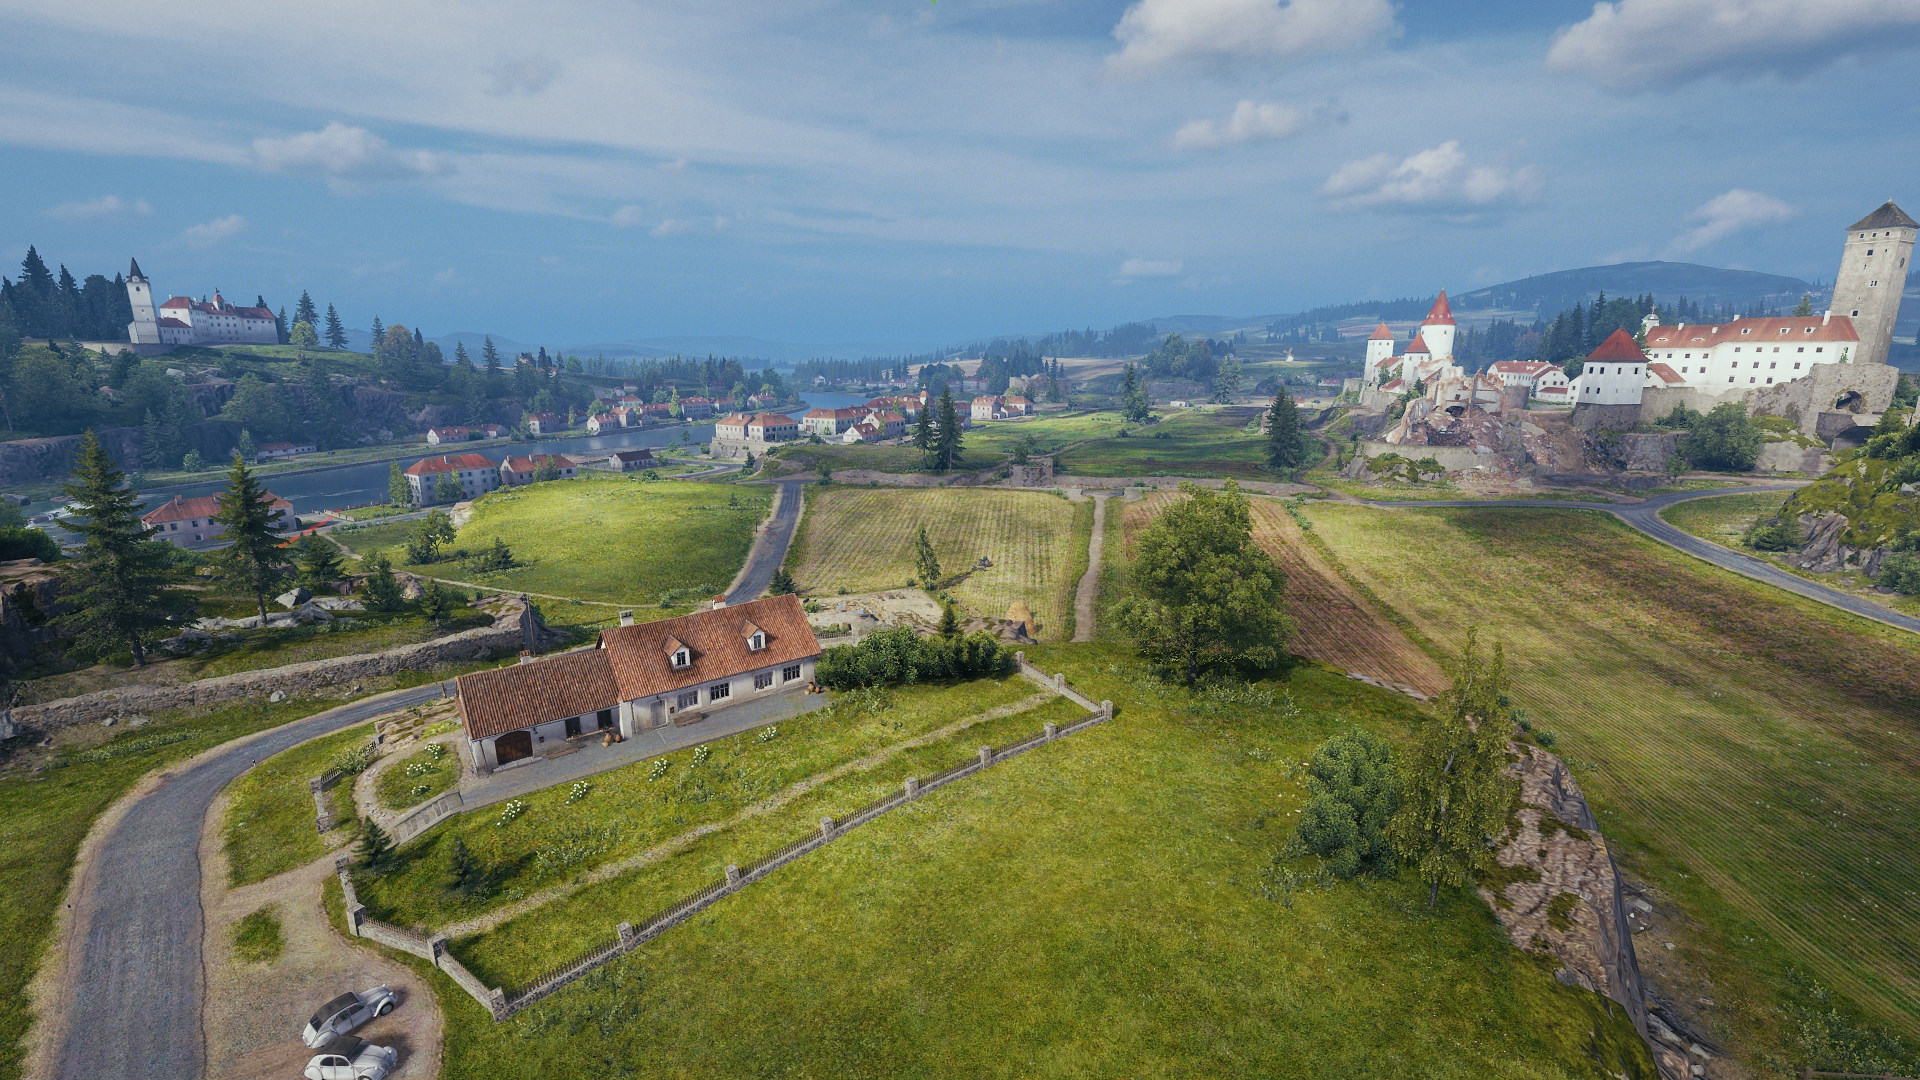
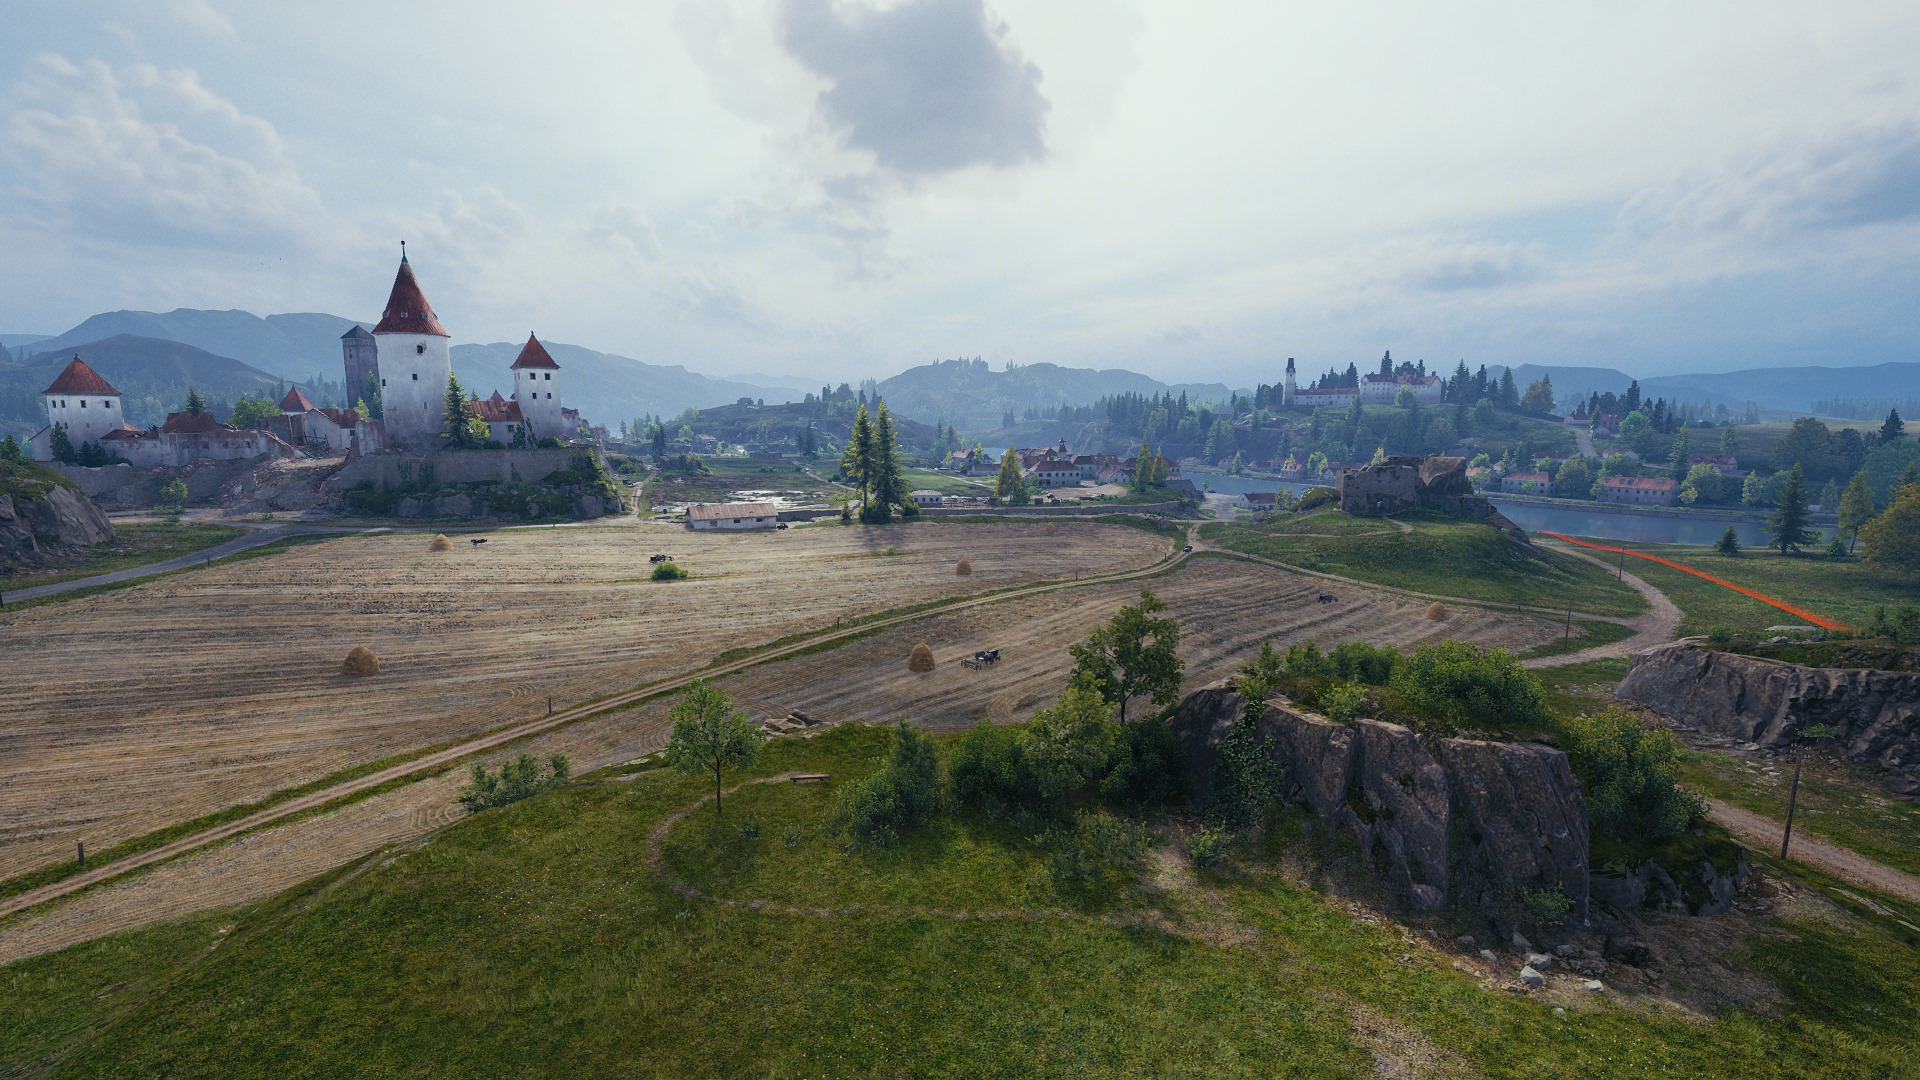
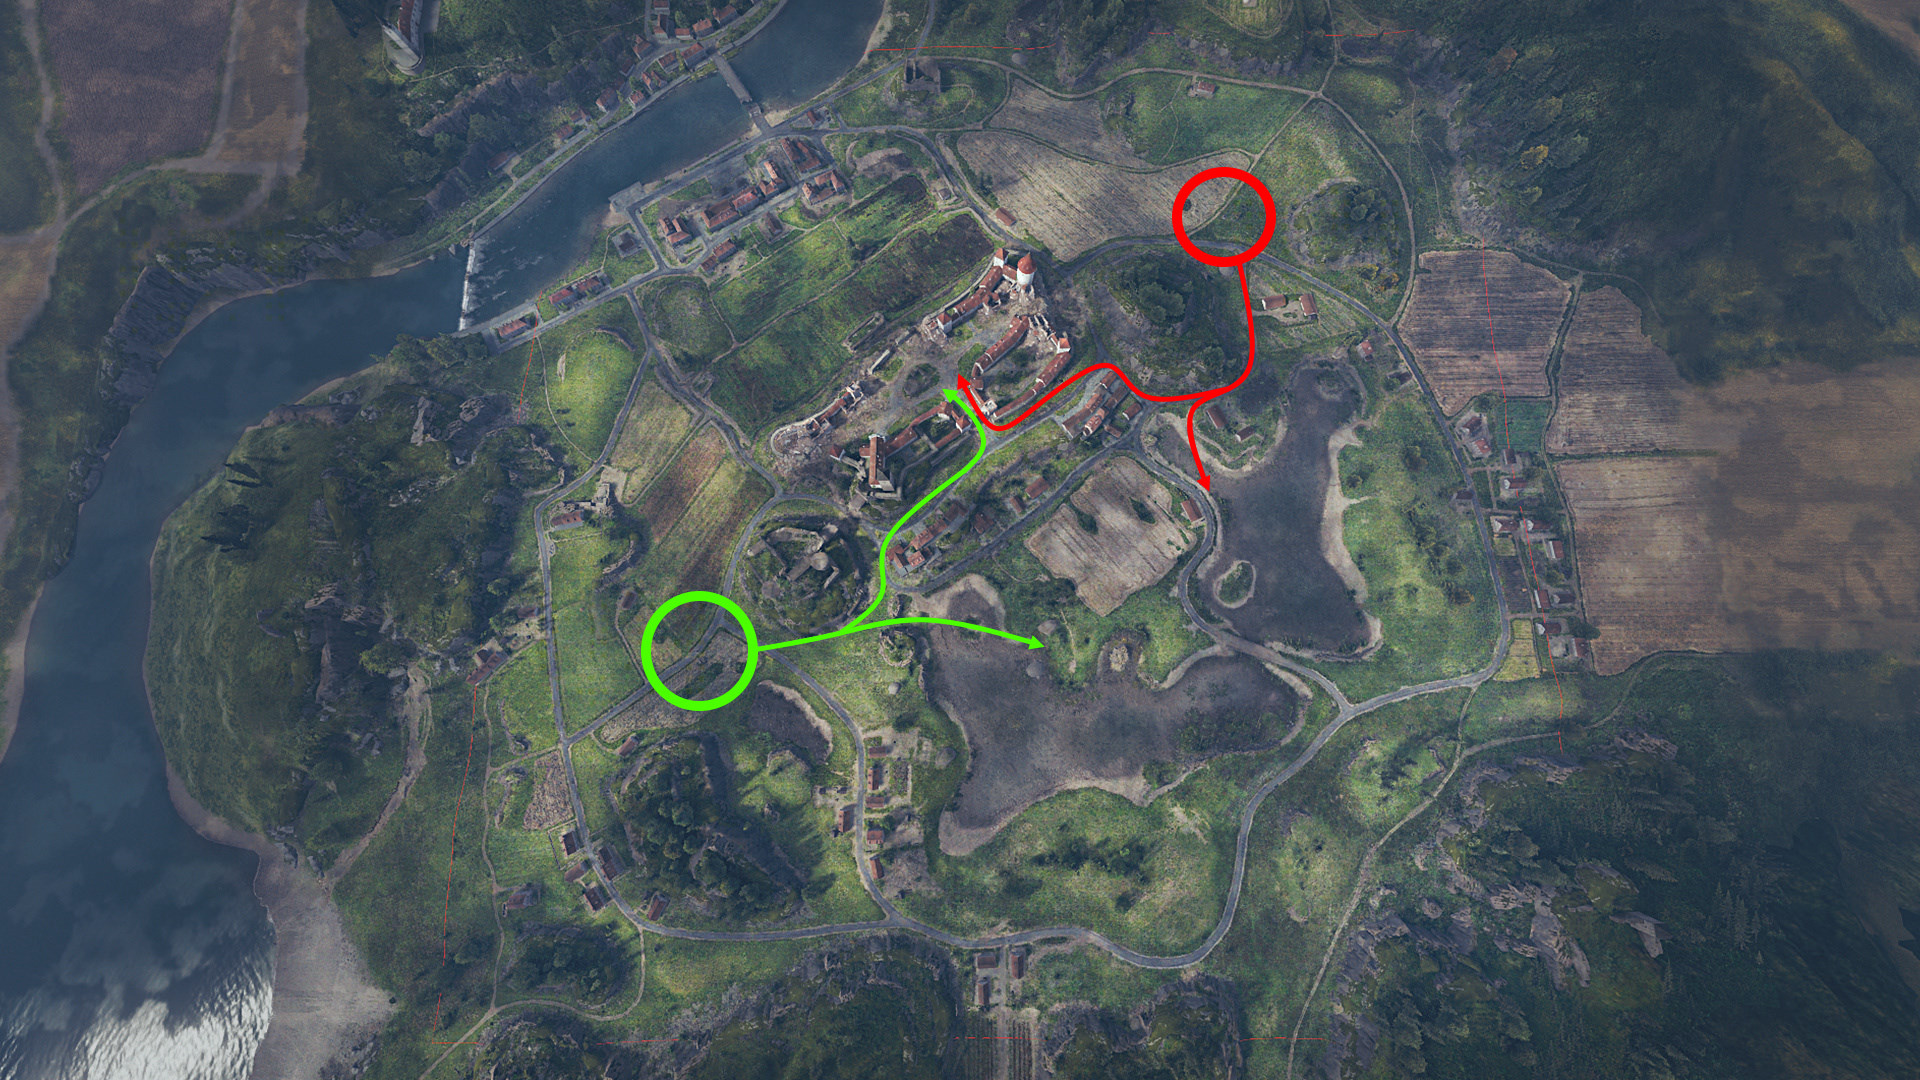
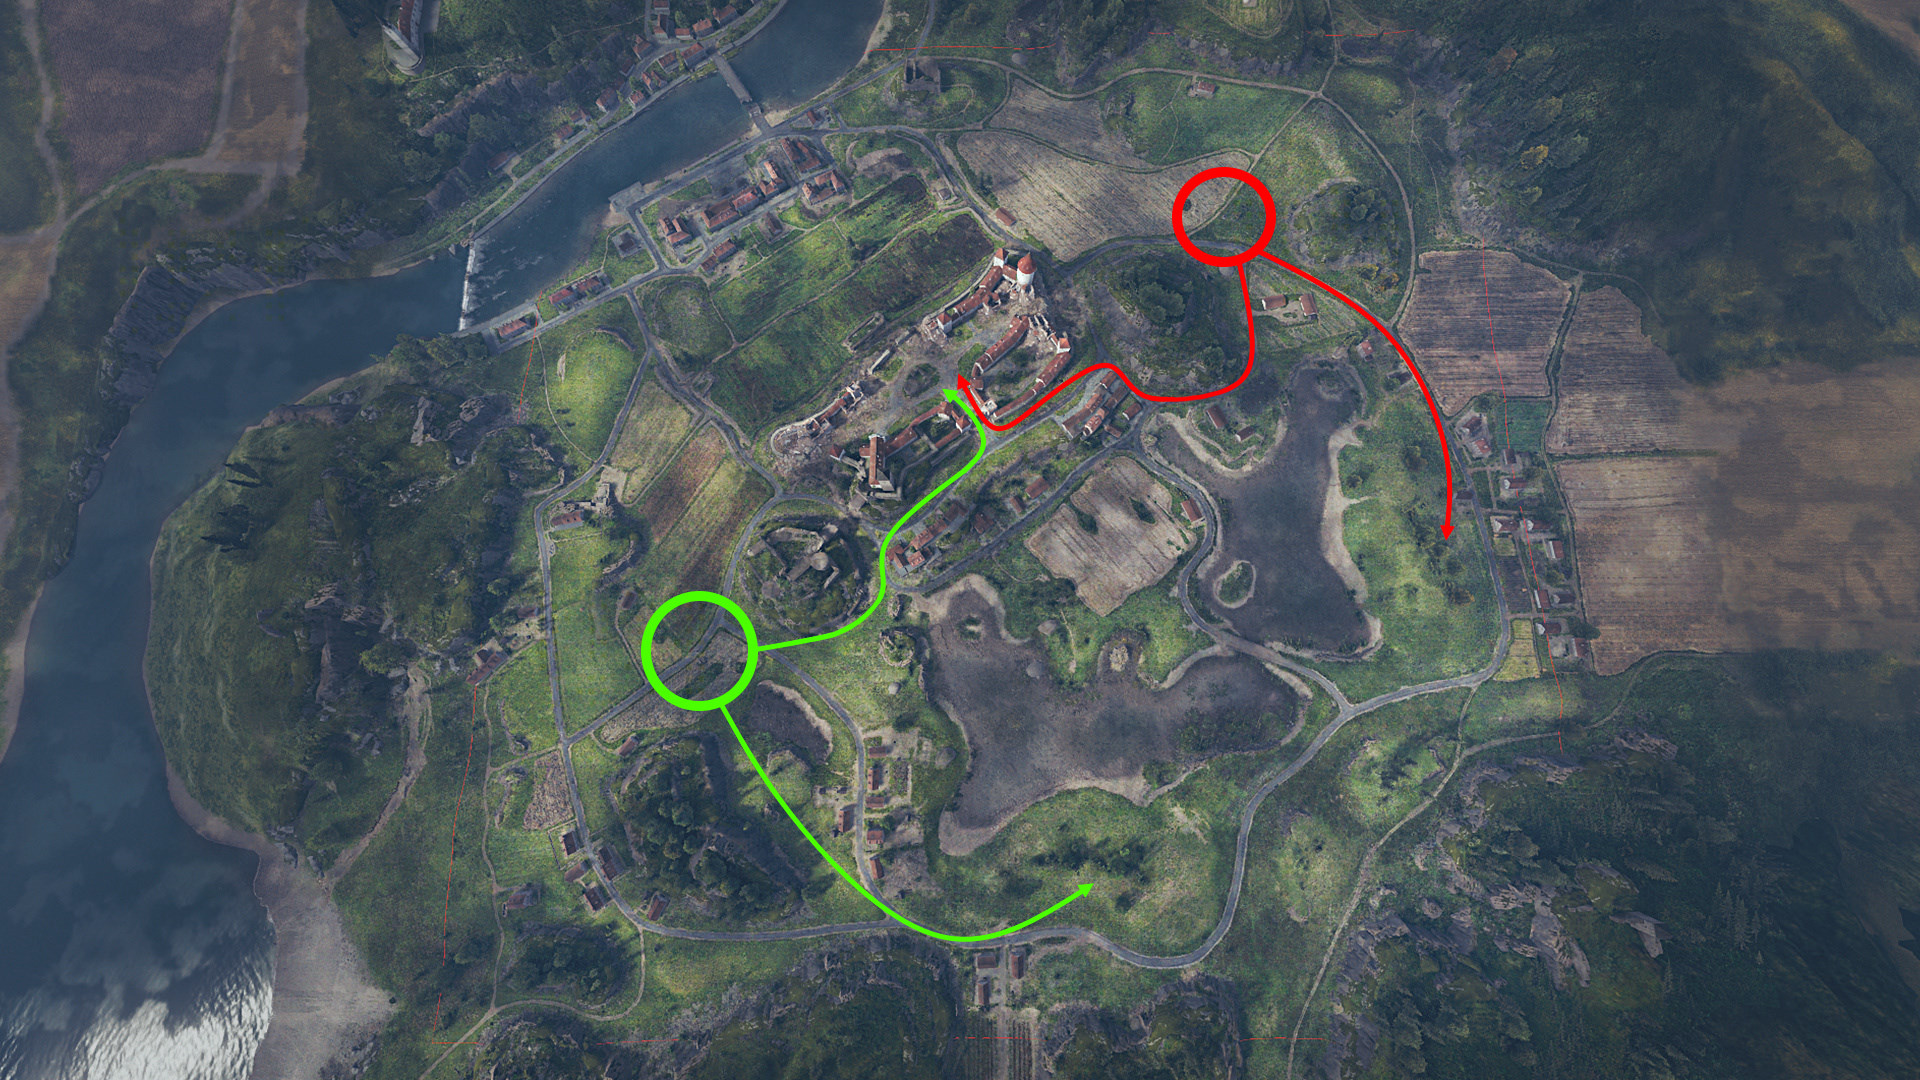
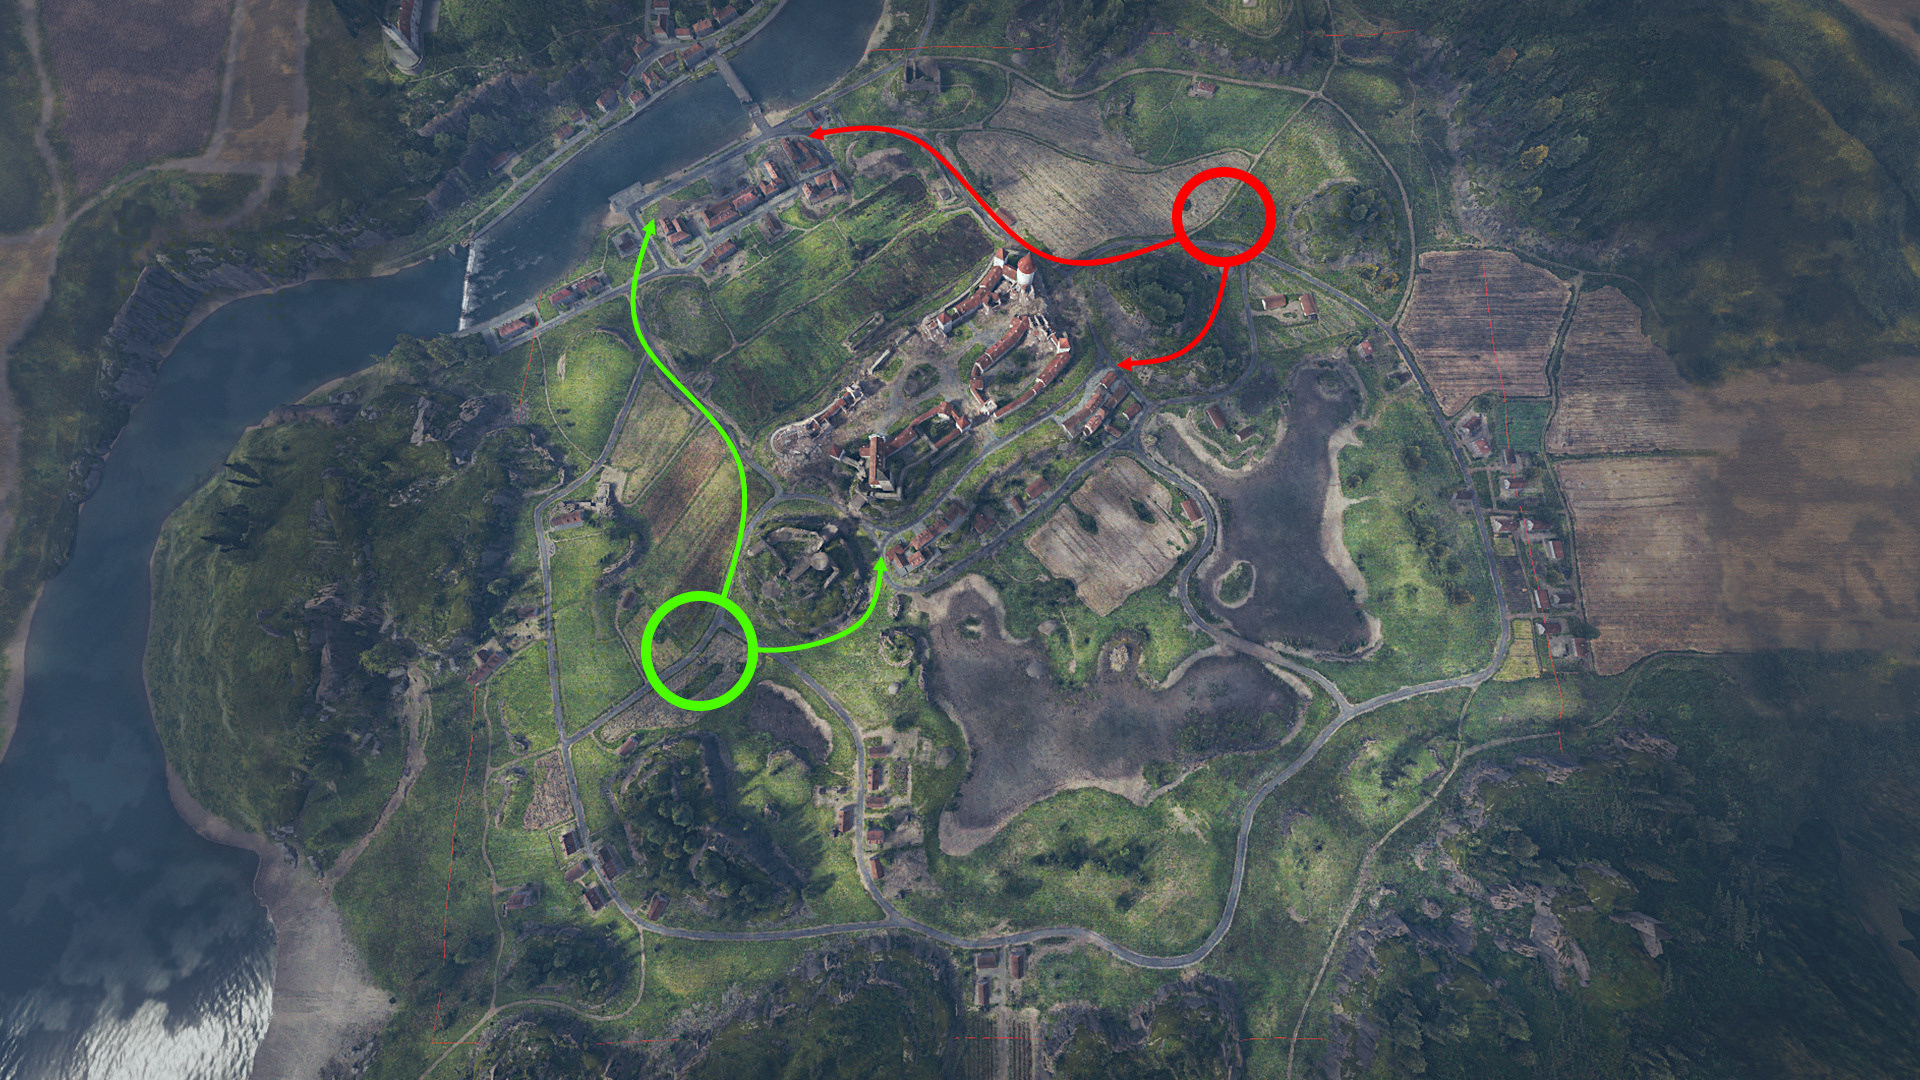
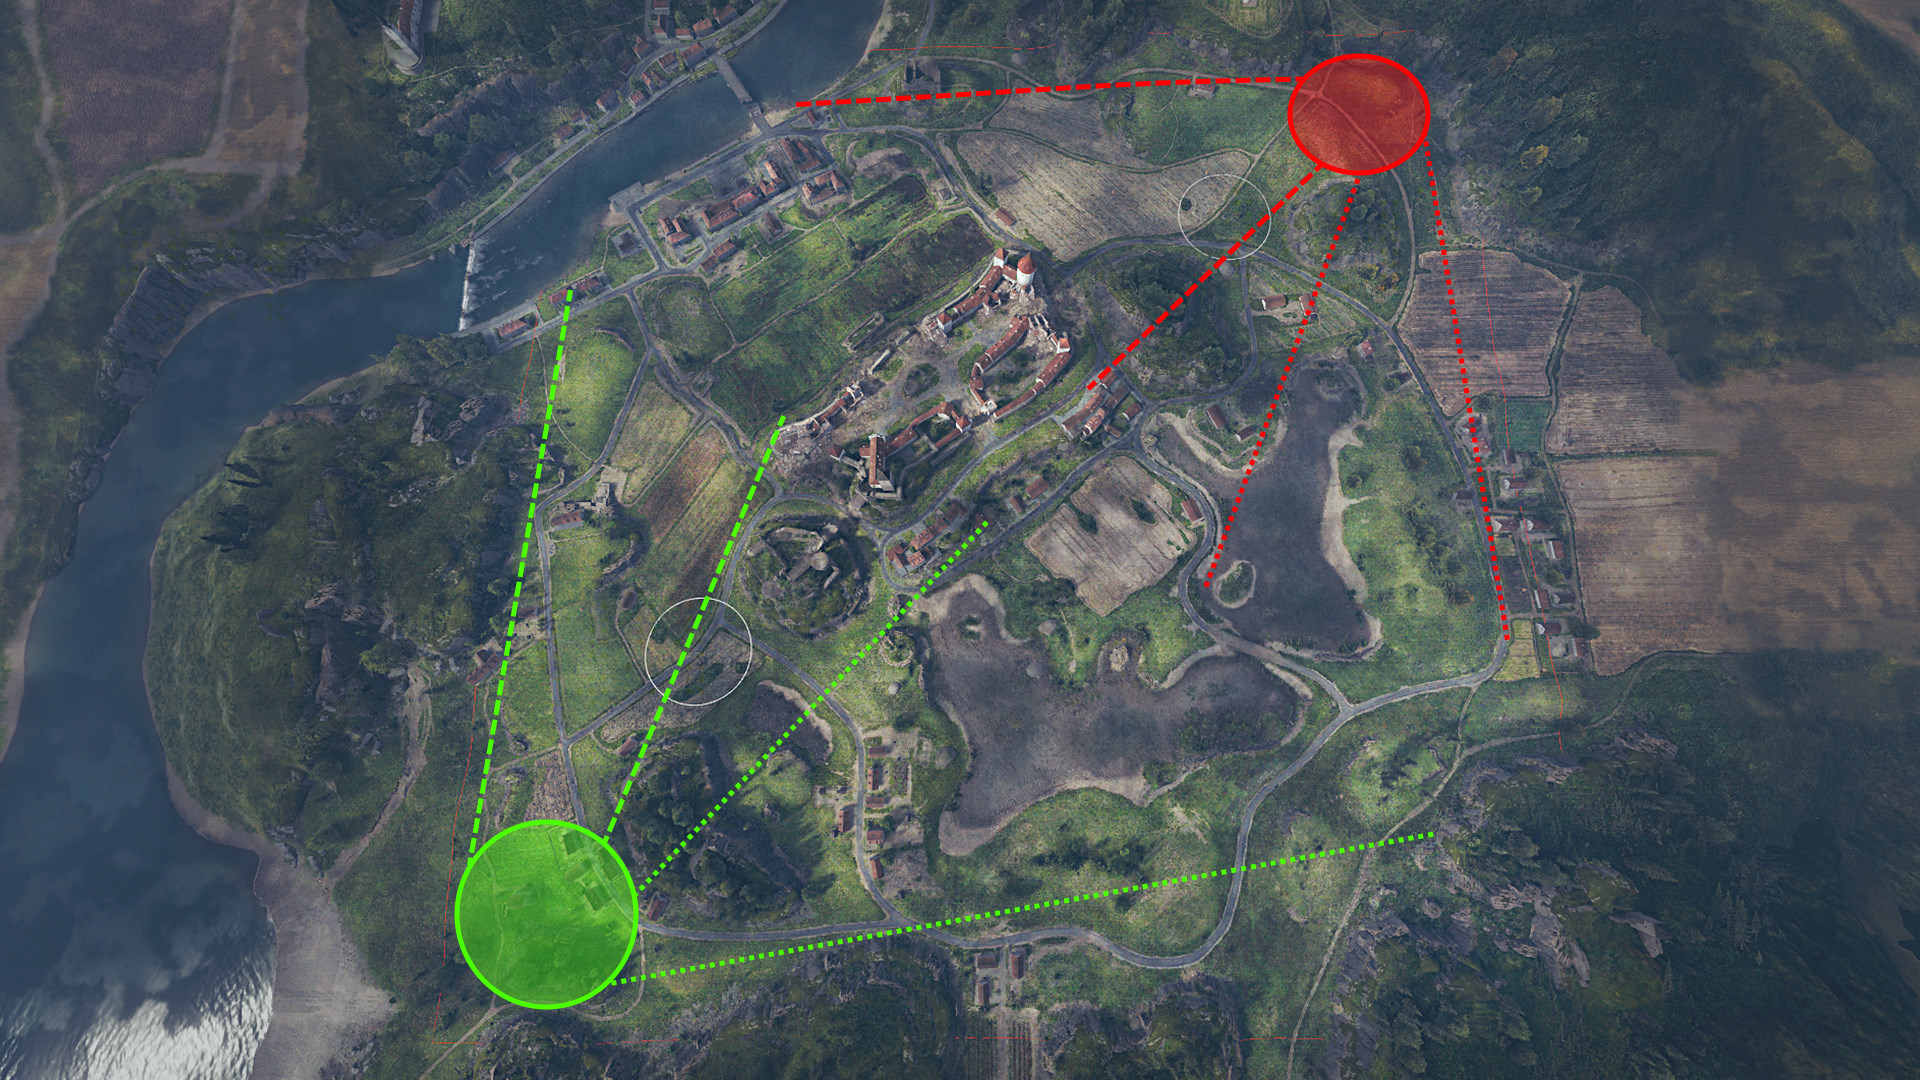
The castle entrance is a high-risk/high-reward area that gives way to the integral central hill position.

Open area for agile, lightly armored vehicles and vehicles with good gun angles.

Open area for agile, lightly armored vehicles and vehicles with good gun angles.

Light Tanks
Medium Tanks
Heavy Tanks
Tank Destroyers
Self-Propelled Guns

Check the map above to see the most favorable positions for every class and points of interest to gain the upper hand.

  • Think at an angle: Outpost can be roughly divided in half, with a diagonal axis from the top left (A1) to the bottom right (K0). Important positions are mirrored along this line to give both teams equal footing.
  • Occupy the high ground: The most prominent feature of Outpost is the hill with its castle in the center of the map (around E5). In addition to stunning views, it also offers nice vantage points to spot and shoot opponents.
  • March to the marsh: The swamp area in the southeast offers sniper spots (J6 and F9), as well as bushes. It's a perfect playground for accurate vehicles and those with good camouflage values to support the team.
  • It takes a village: Sturdy vehicles that aren’t afraid of a bit of physical contact will find their home in the northwest (around C2 and B3). Settling for that village life also provides lines of sight toward the hill.
  • Keep the backdoor open: Vehicles with heavy armament but light armor should take the sniper positions (F2 and B7). This allows them to support stern allies in the north, take shots towards the middle, and keep the corridor open in case a tattered commander has to fall back.

Class Strategies

  • Light Tanks
  • Medium Tanks
  • Heavy Tanks
  • Tank Destroyers
  • SPGs
  • Fast vehicles with firepower should advance to the hill (E5) to secure the key position.

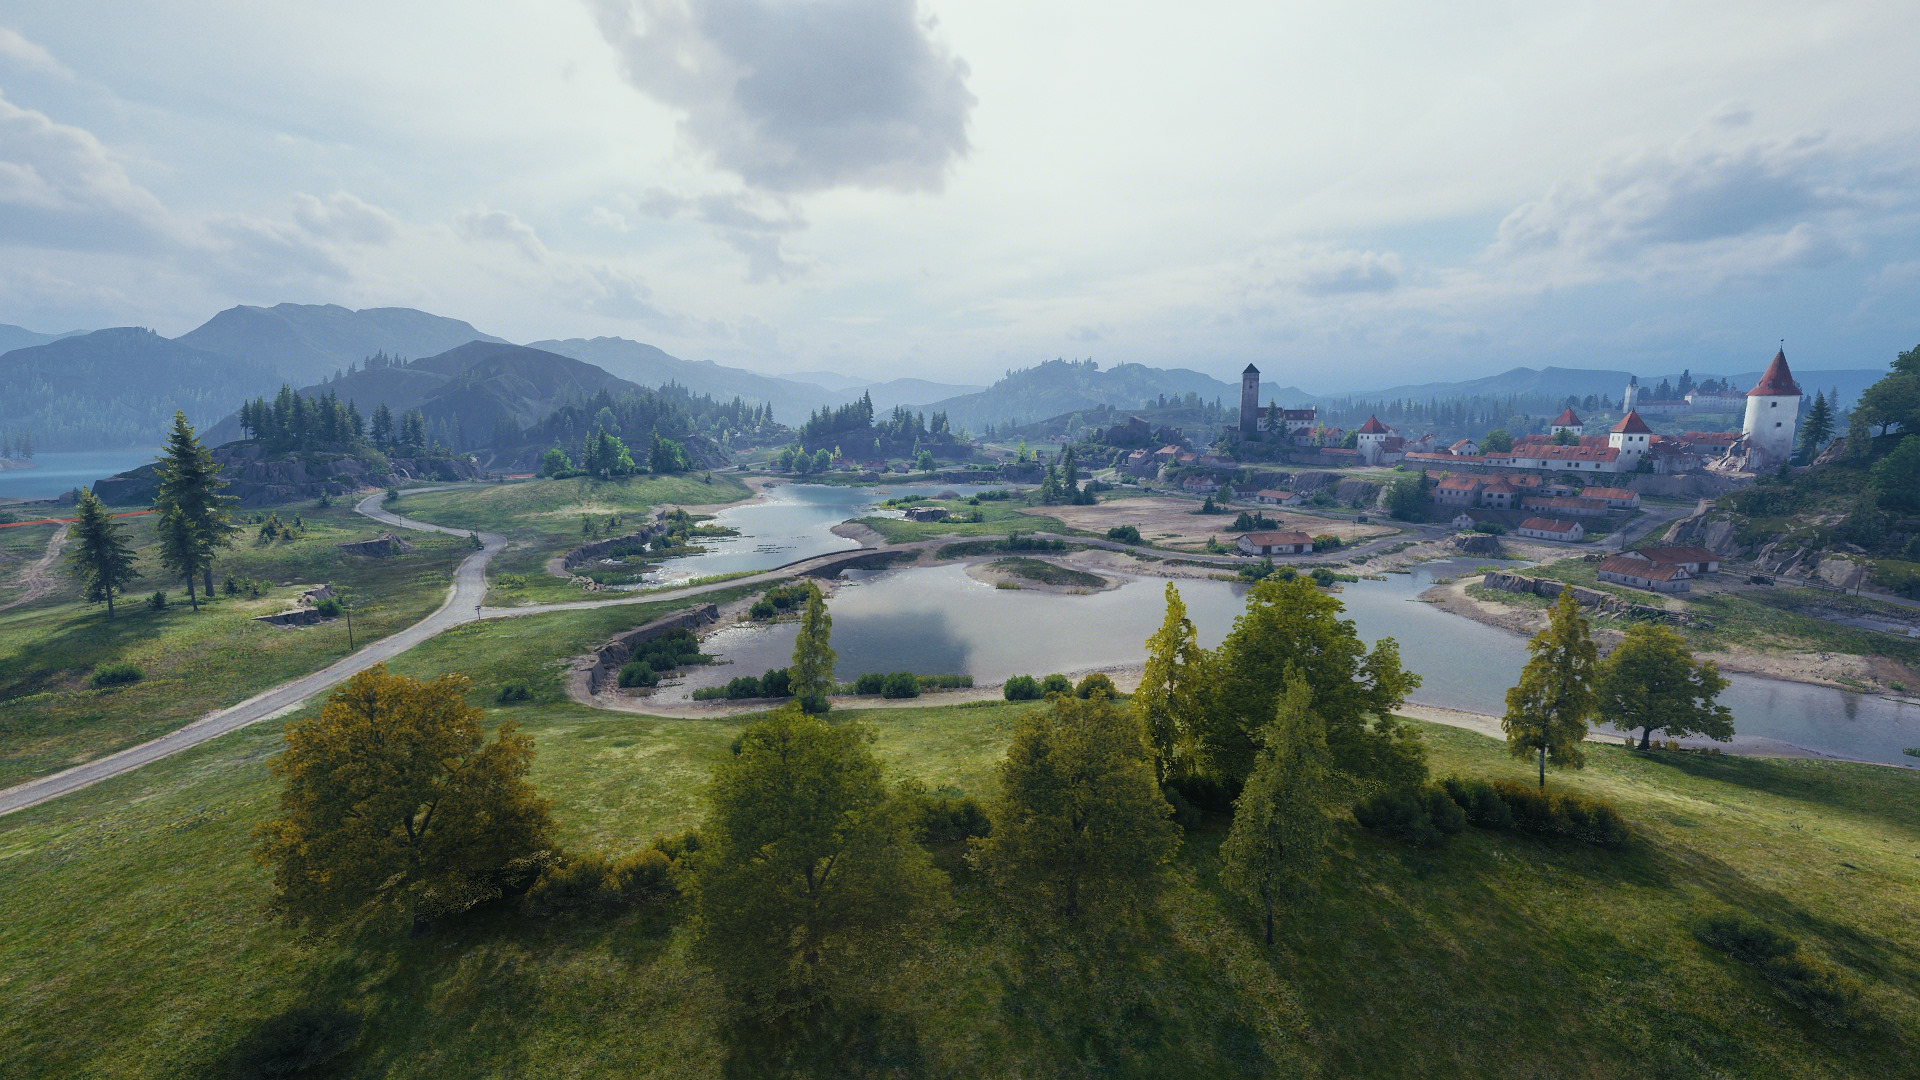
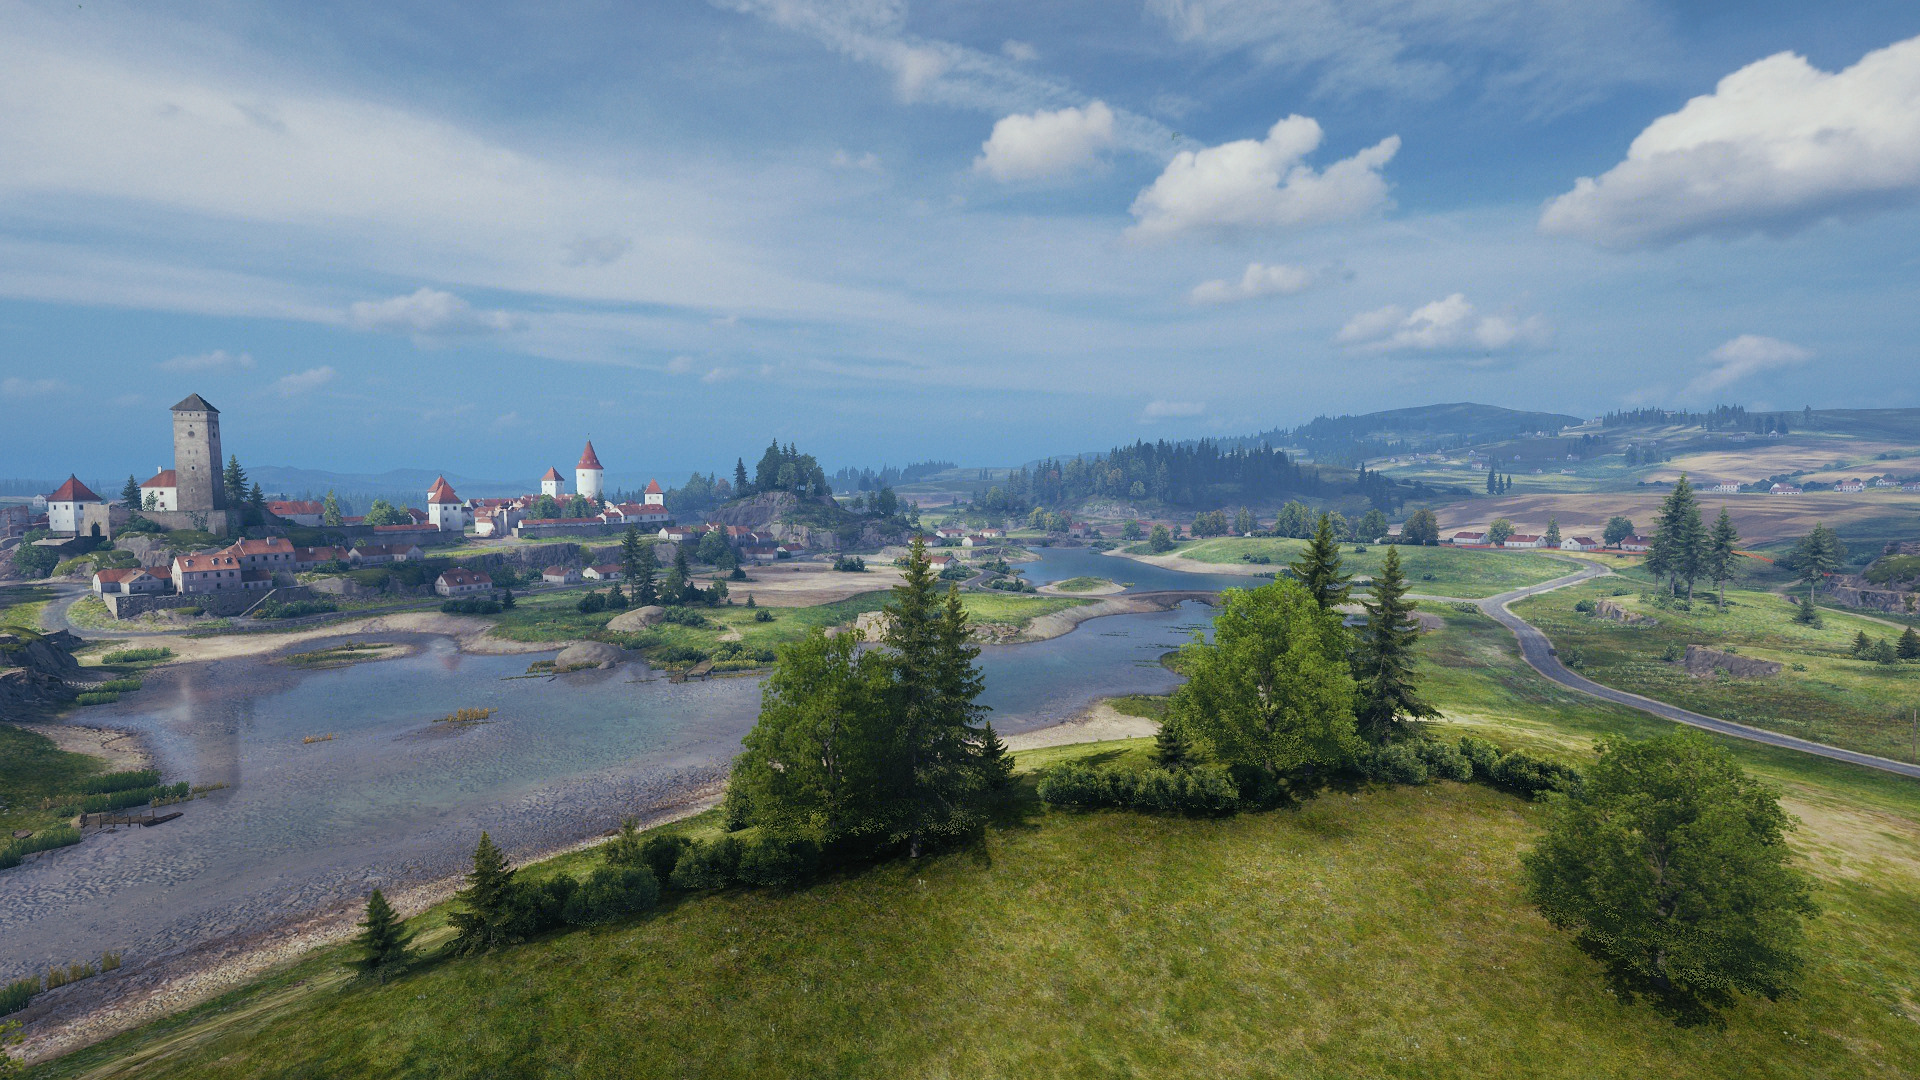
  • Light tanks with good camouflage will find rocks and bushes for spotting in the middle of the swamp.

  • Use speed and mobility to storm the castle (E5) and take over this integral position.

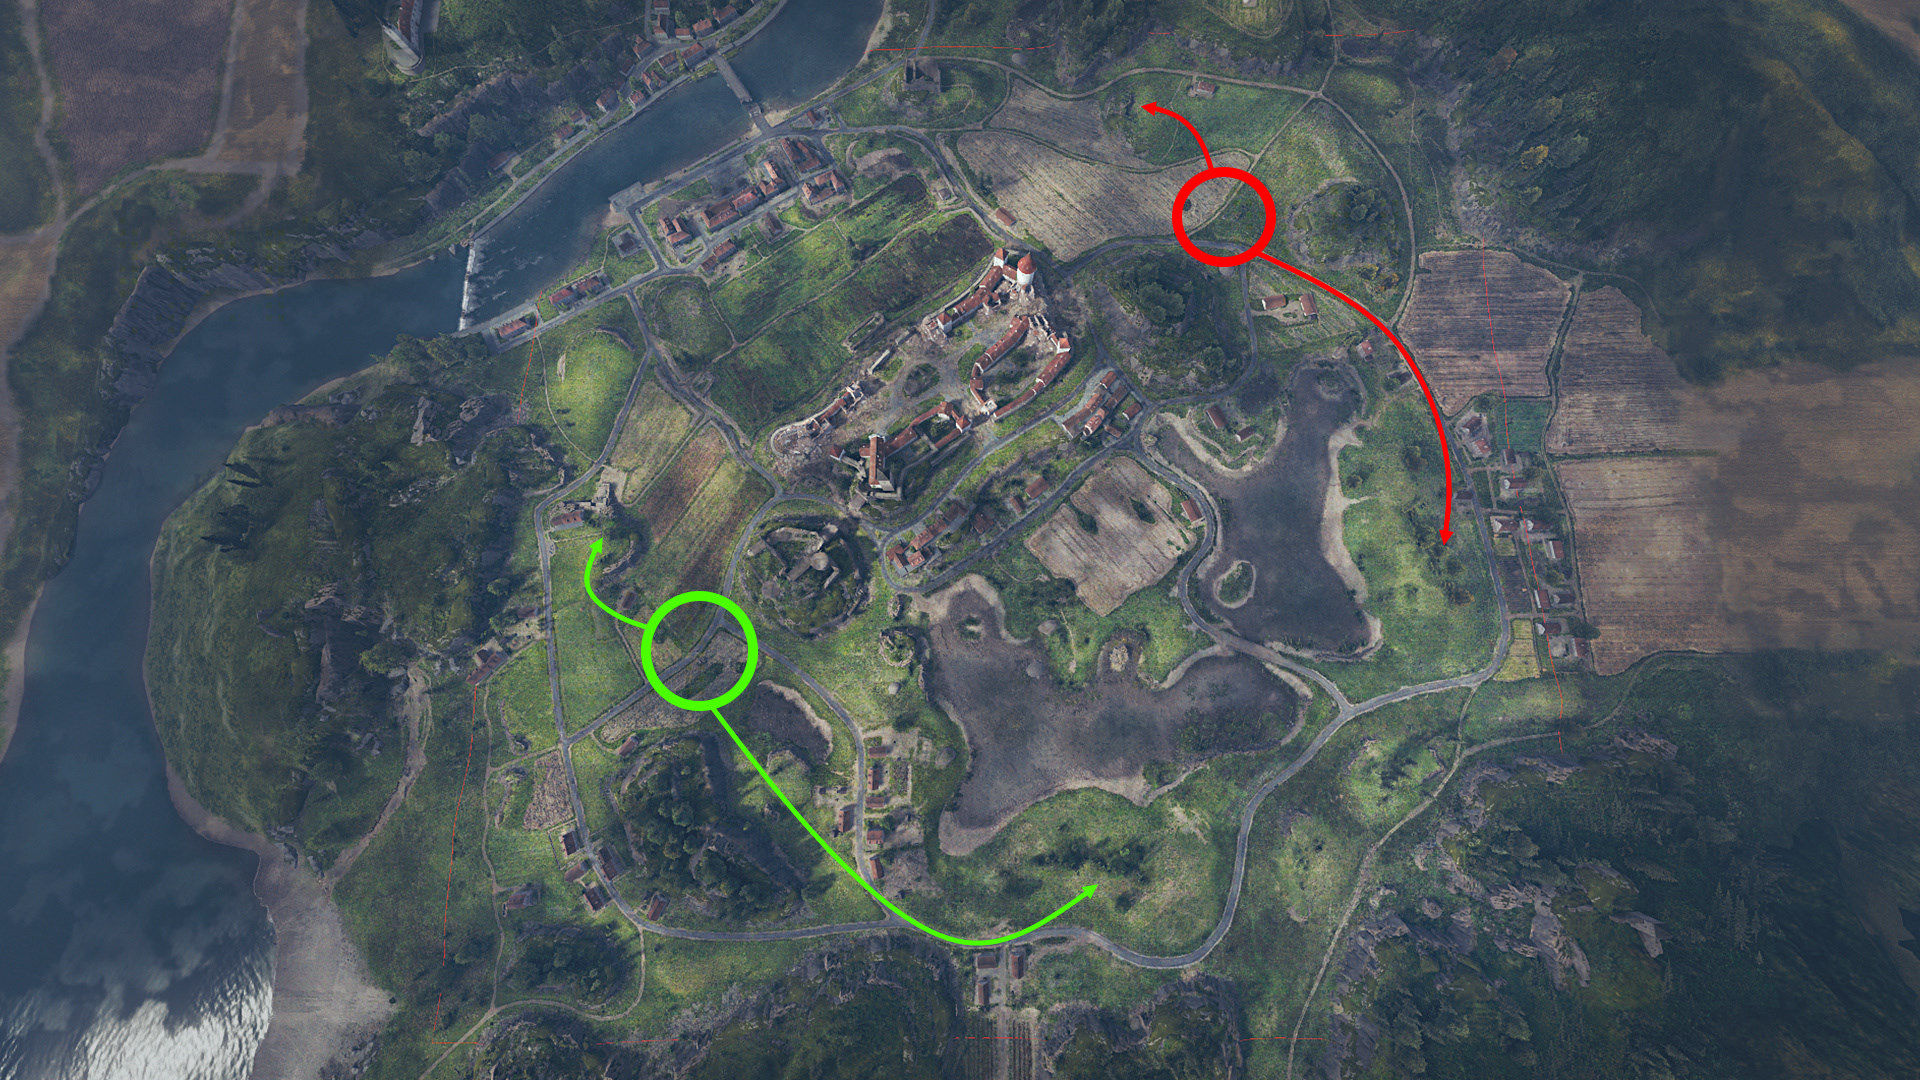
  • Advance to the open marsh area (J6 and F9) to provide fire support towards the middle and open the southeastern front.

  • Slow vehicles with lots of HP should head to the northern village (C2–B3) for close-combat brawls.

  • Sturdy turrets and those who want to put their frontal armor to the test should advance to the corridor leading up the hill (F5–E6).

  • Secure the sniper position (F2 or B7) to provide fire support into the village and for the hill.

  • Advance to the open marsh area (J6 or F9) to take advantage of your mobility and gun depression angles.

  • Dig into the ditch behind your spawn point (K1 and A0) and provide fire support across the map.

  • Let the battle unfold and, once your team has the upper hand, move closer toward the center for additional lines of fire.


Find your path to victory—Roll Out!

Close