


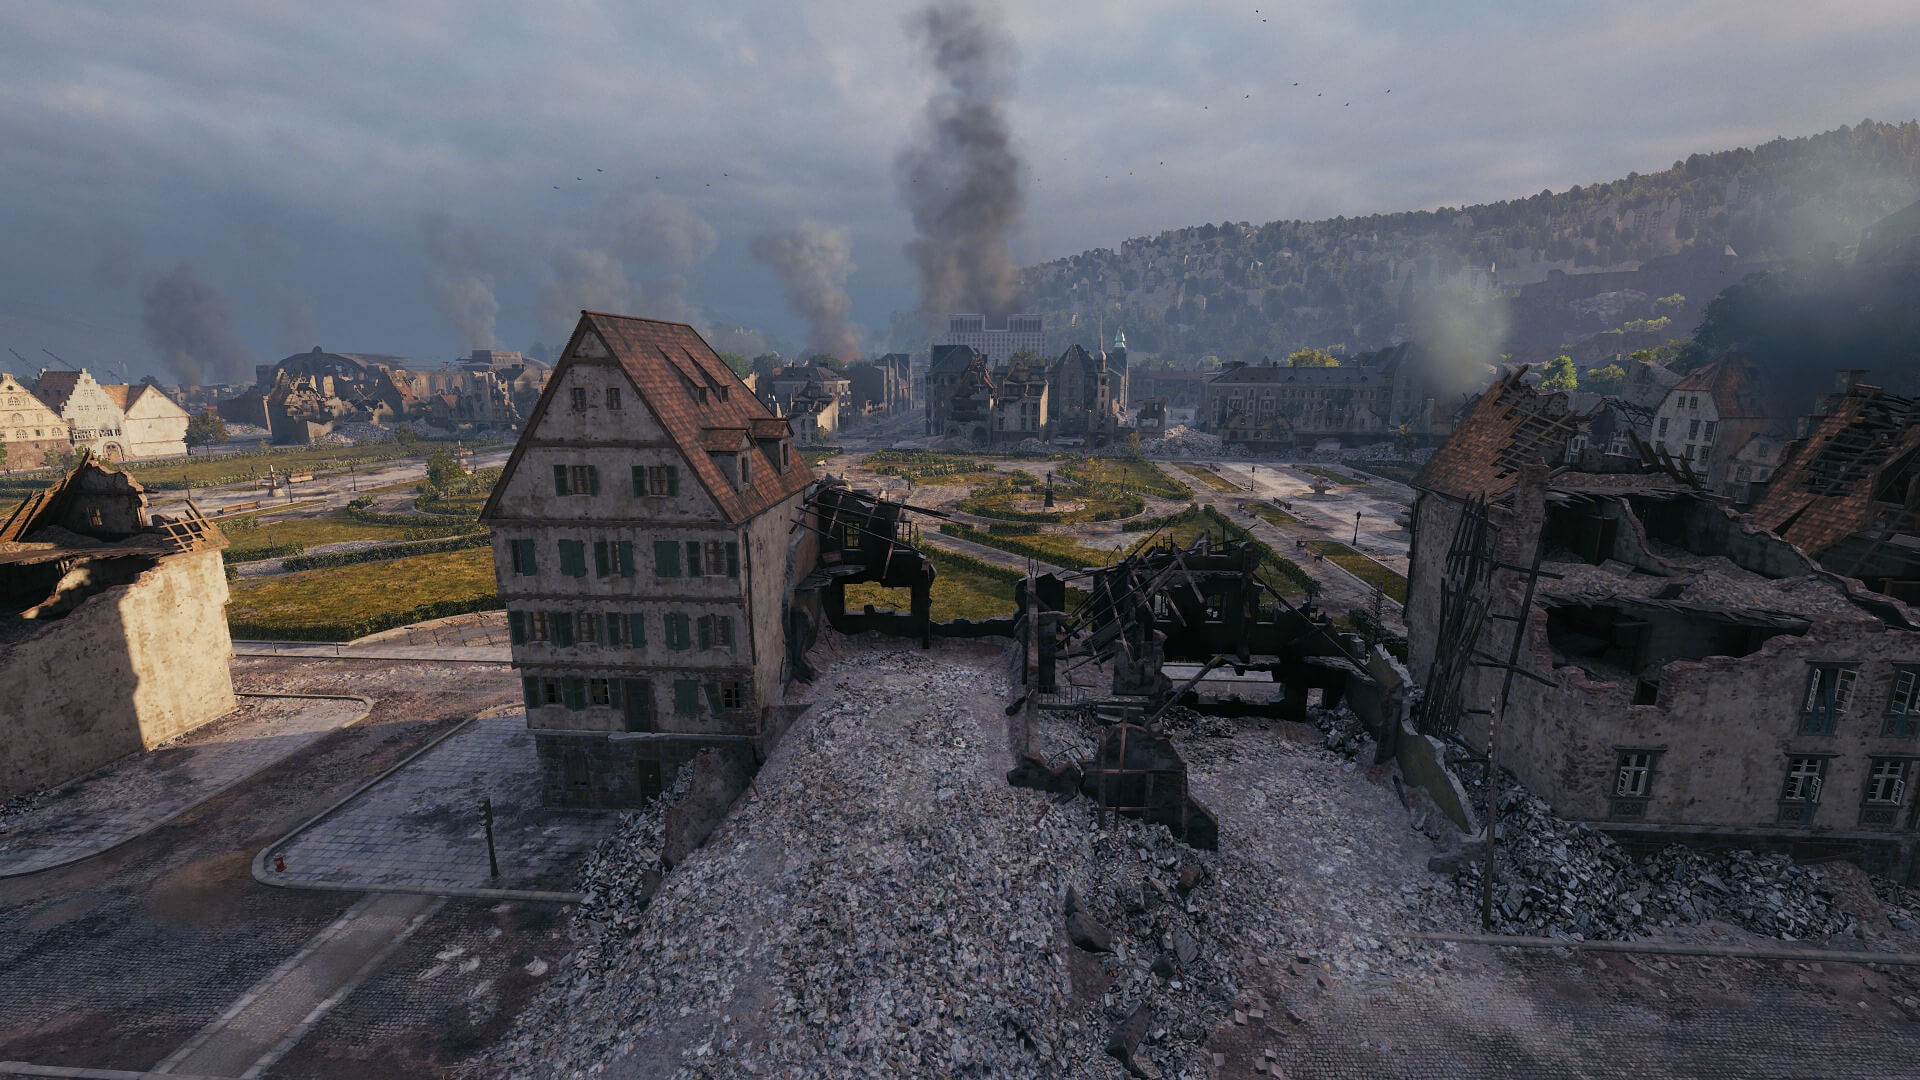


A sneaky hull-down position for the northern team to surprise enemies covering the square, brawling in the Banana, or holding the hill.

Bold commanders from the south can take this position to sneak up on enemy heavy tanks.
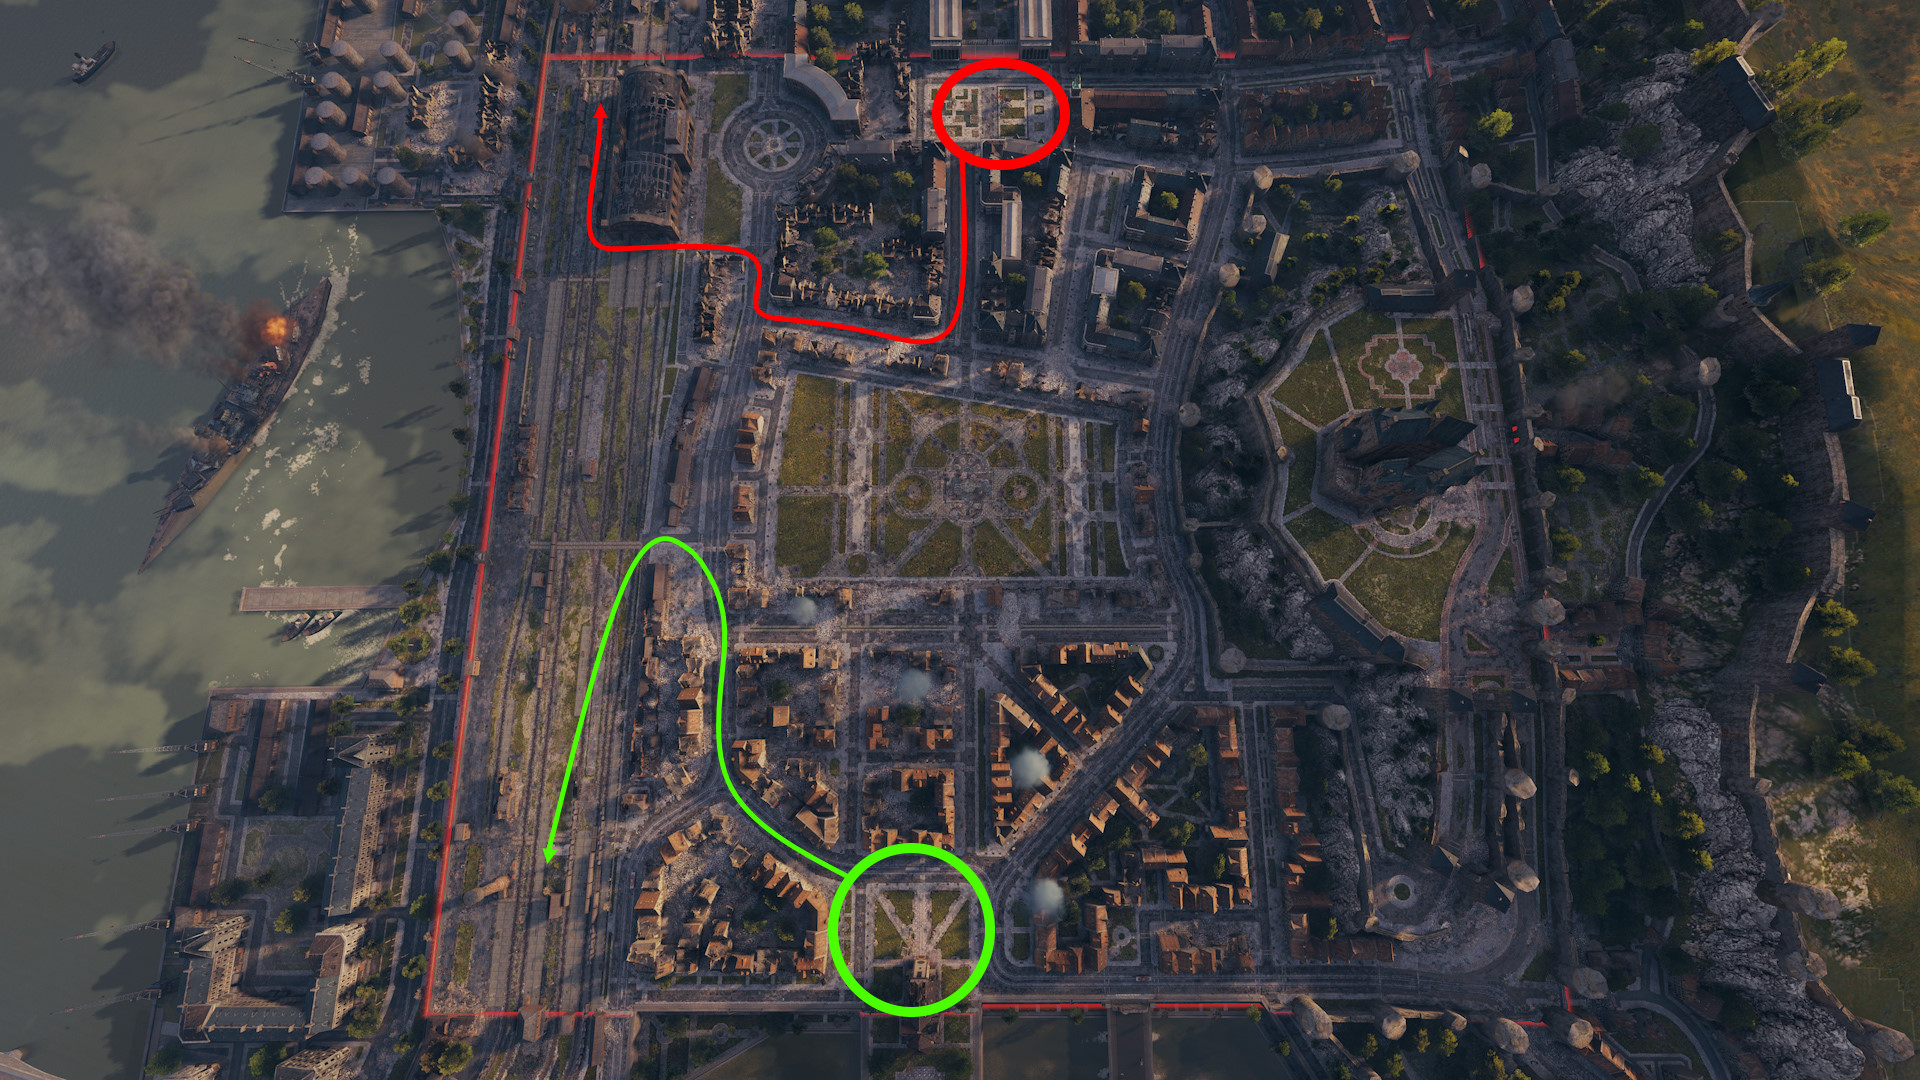
- Light Tanks
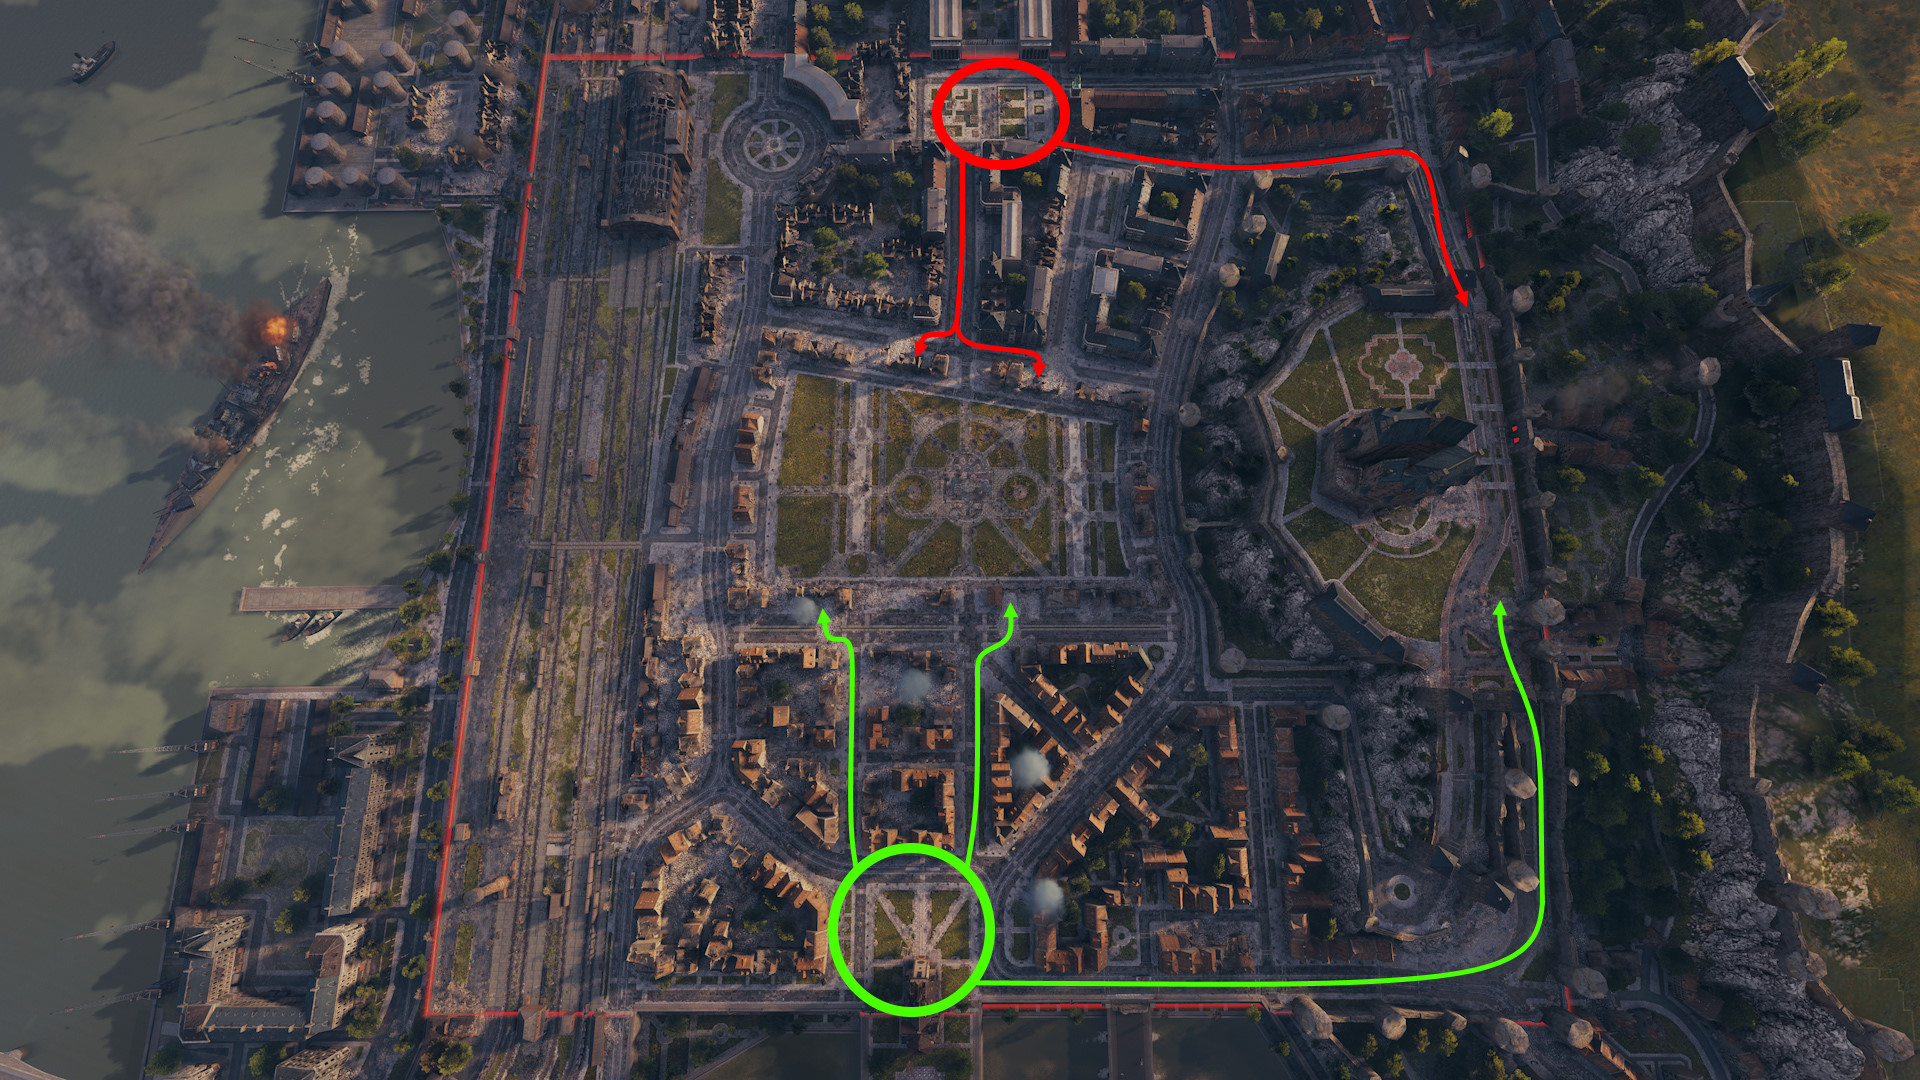
- Medium Tanks
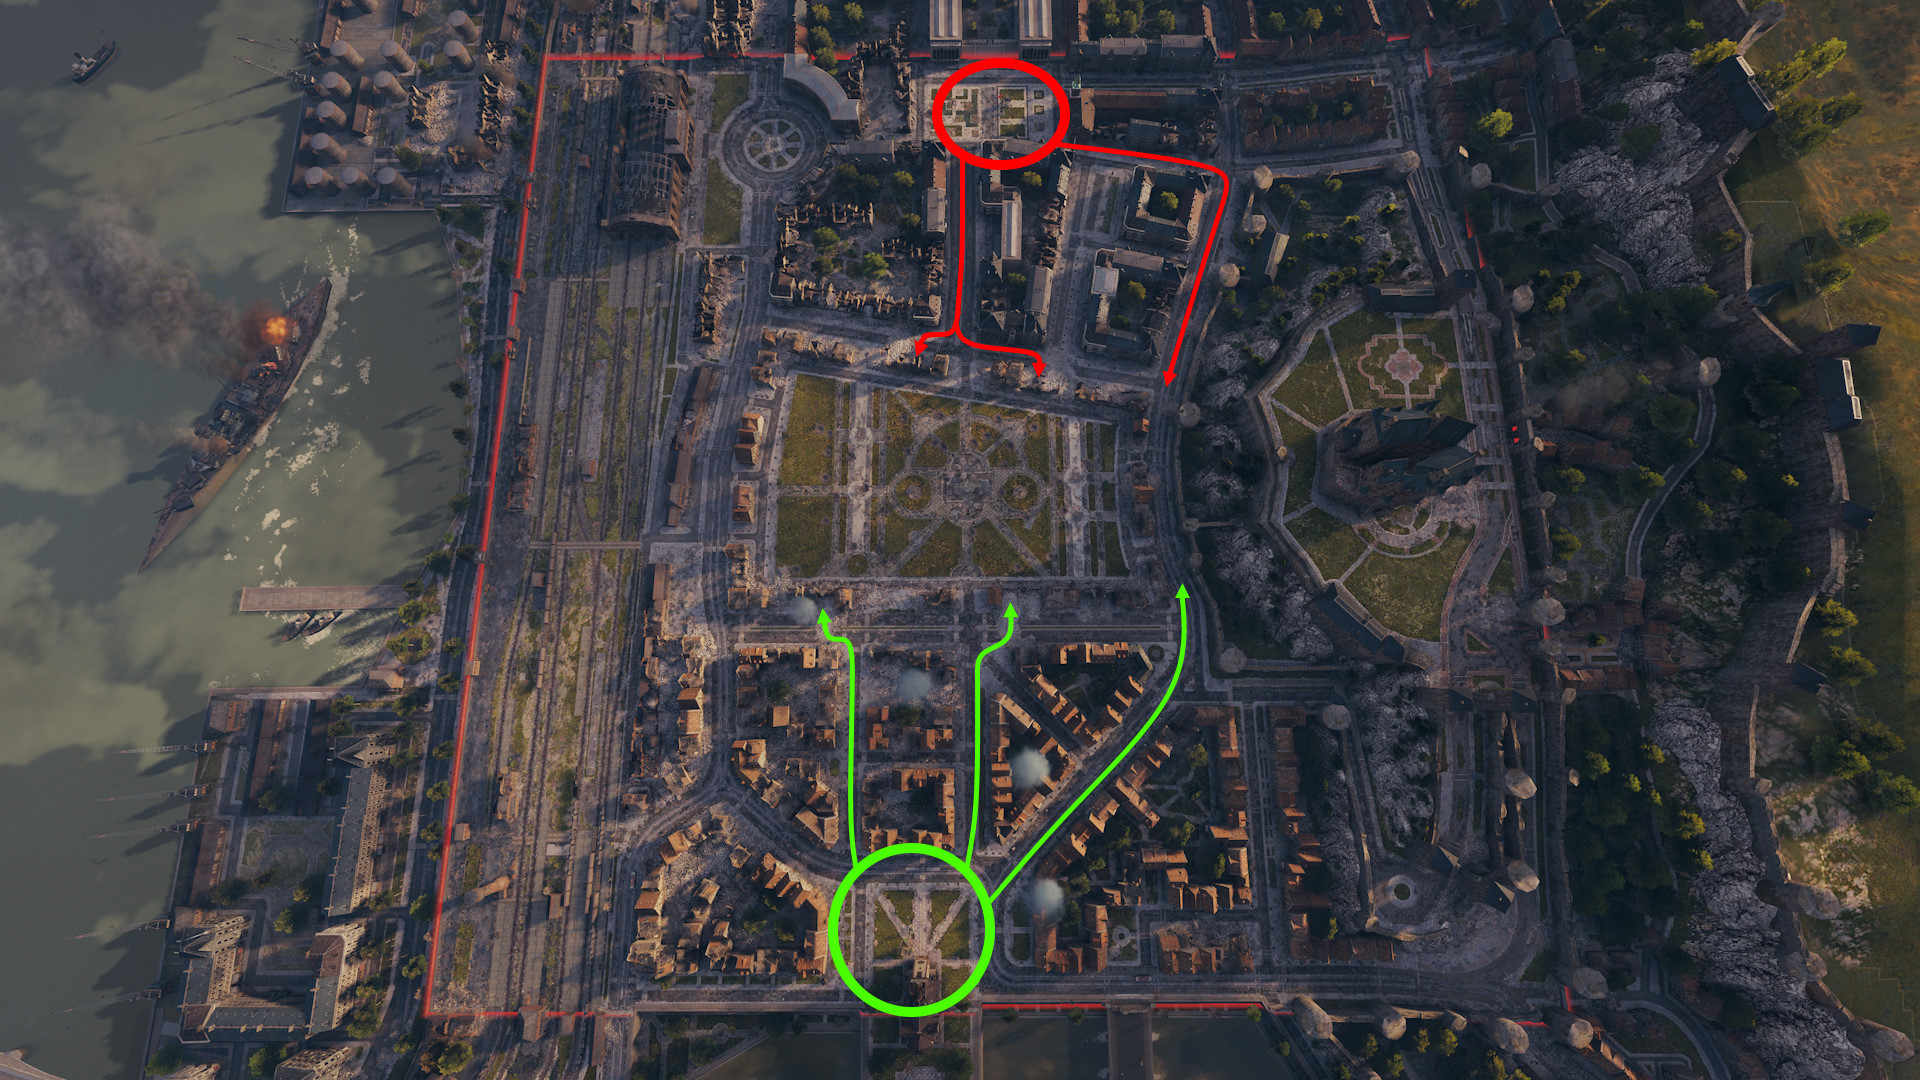
- Heavy Tanks
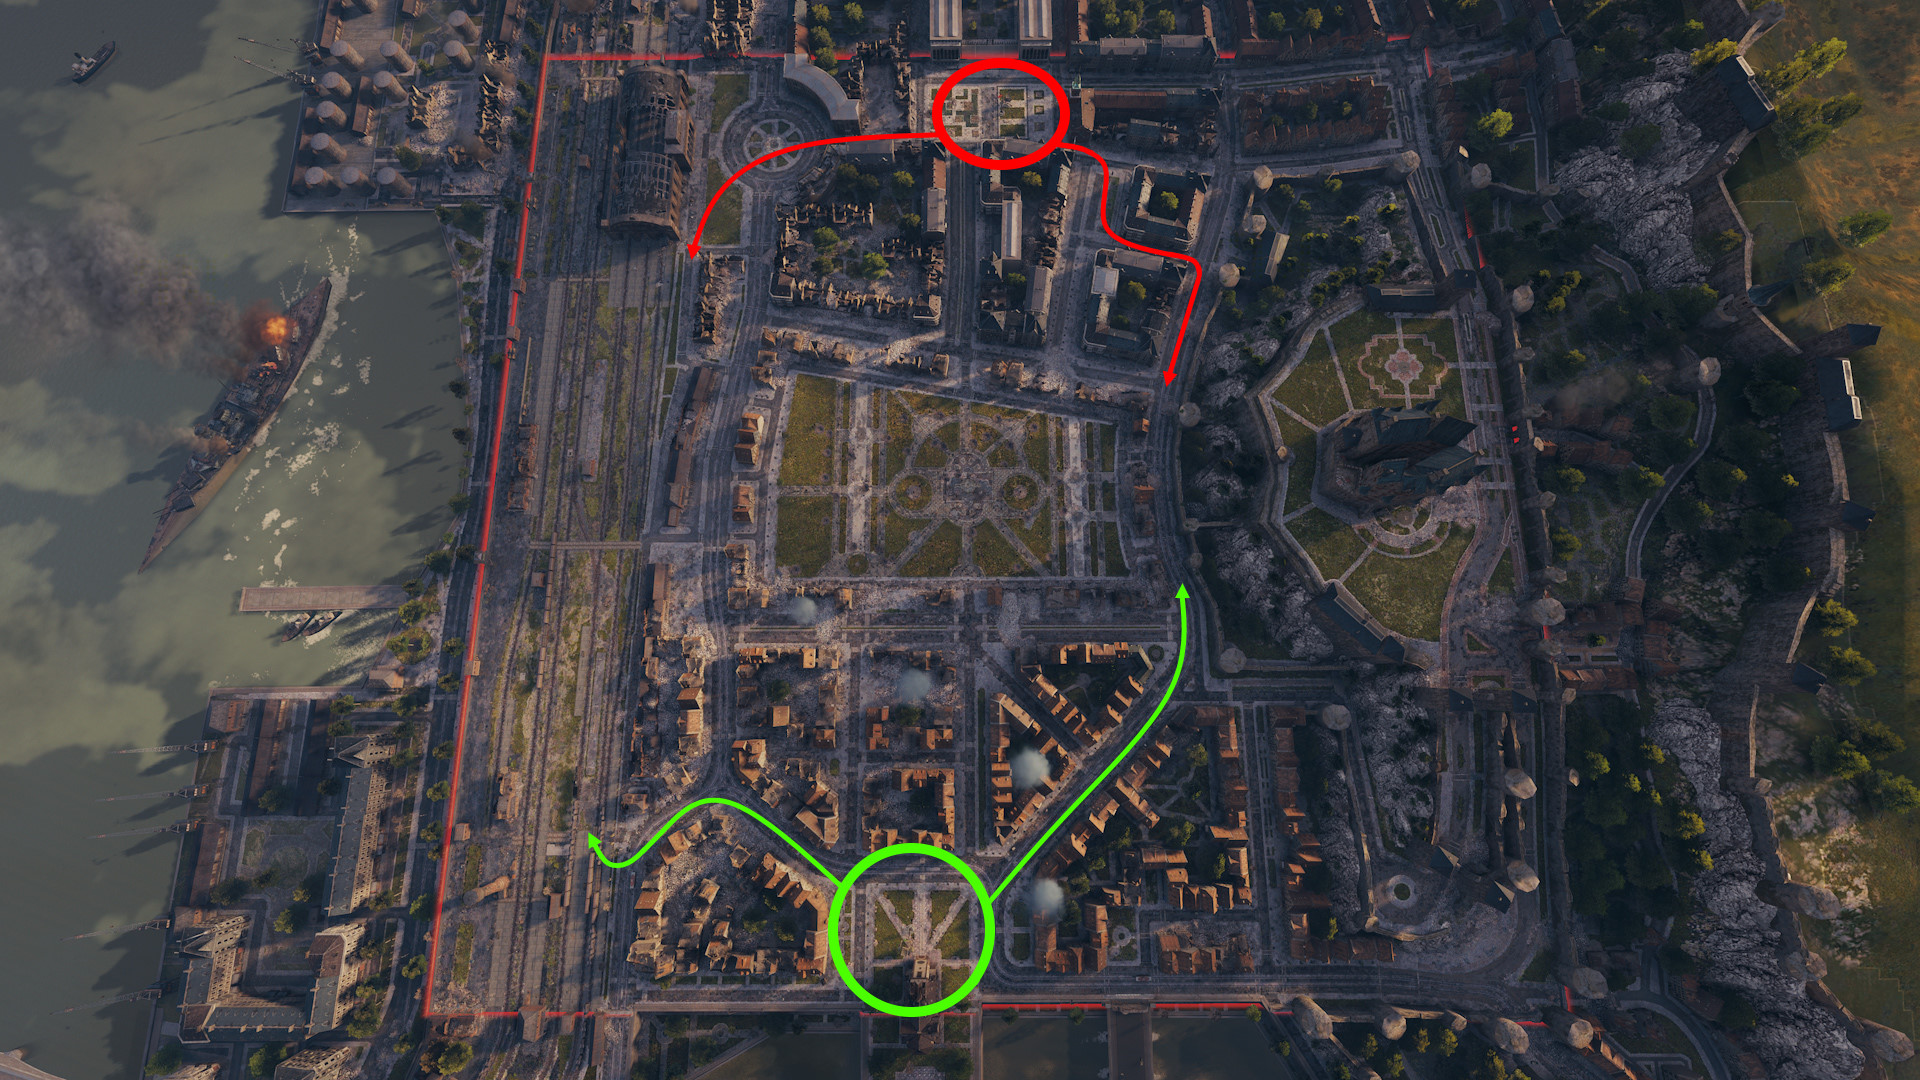
- Tank Destroyers
- SPGs
-
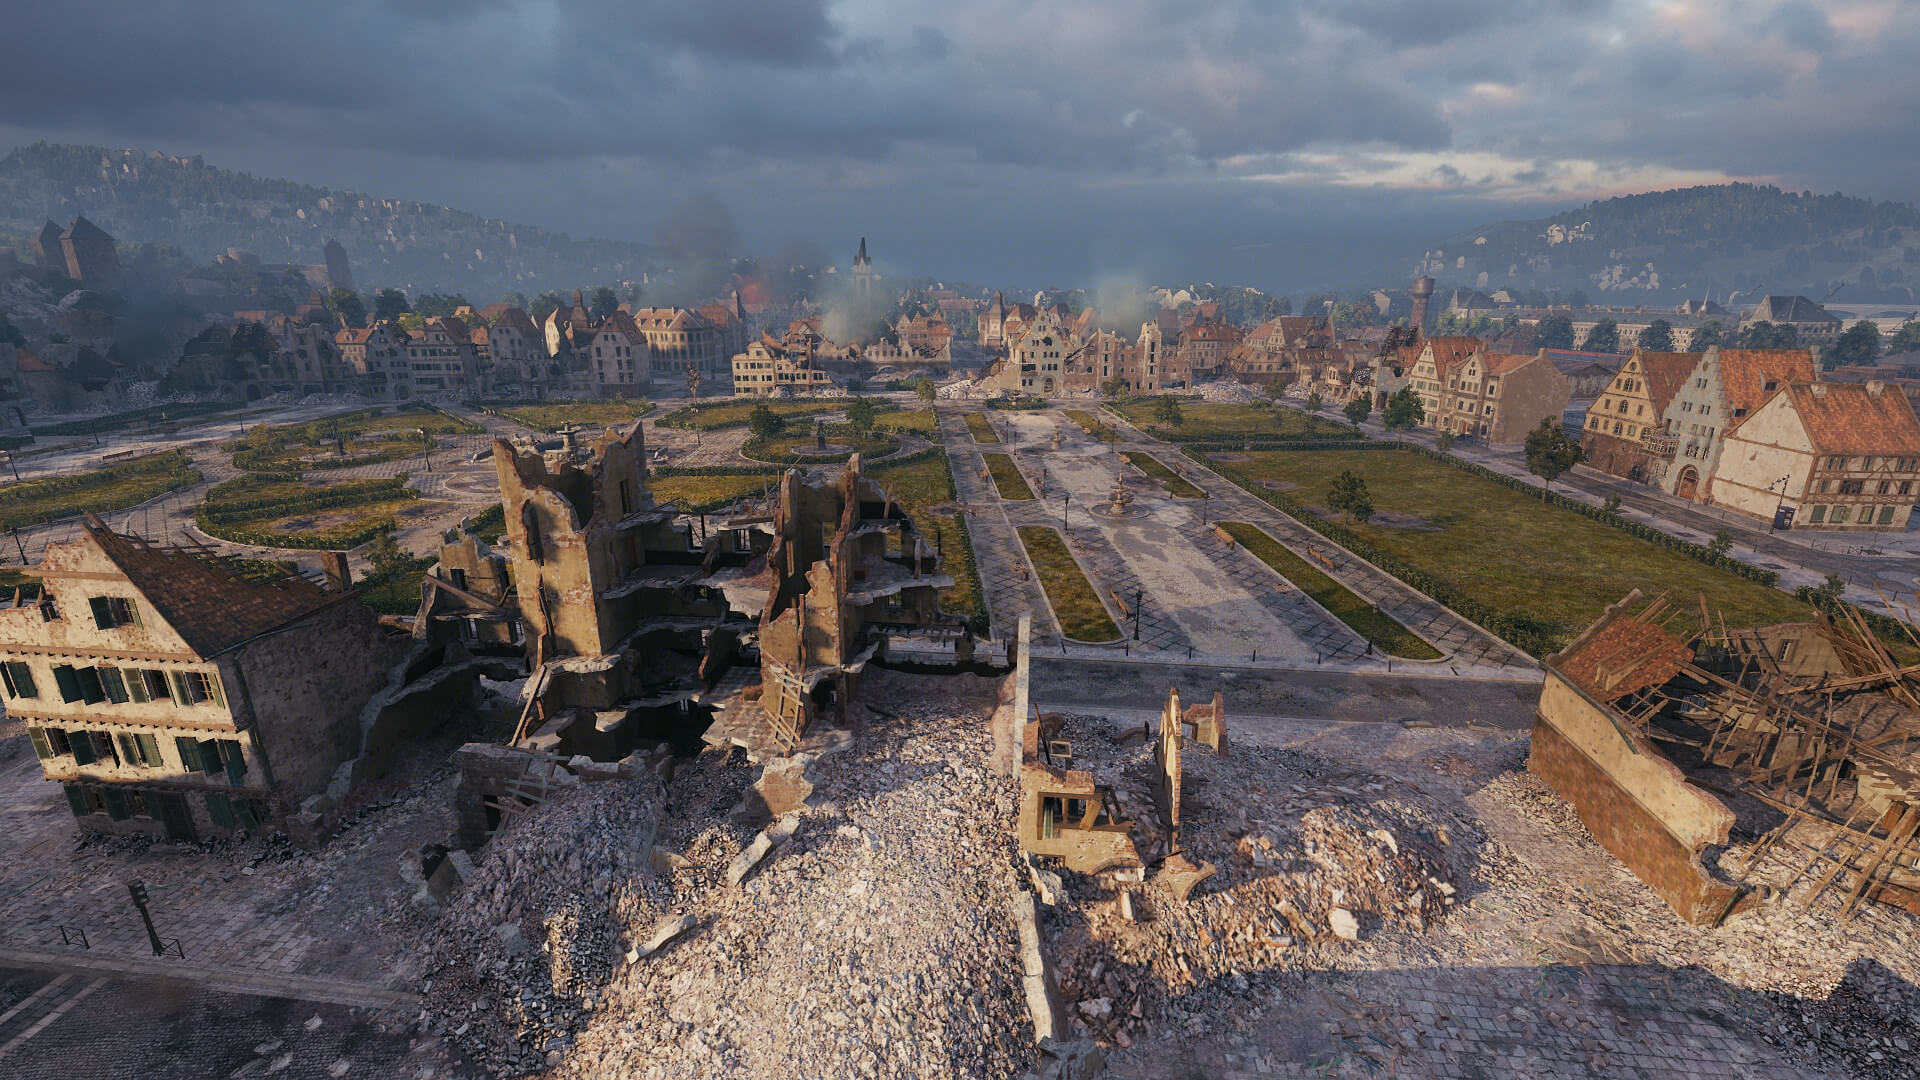
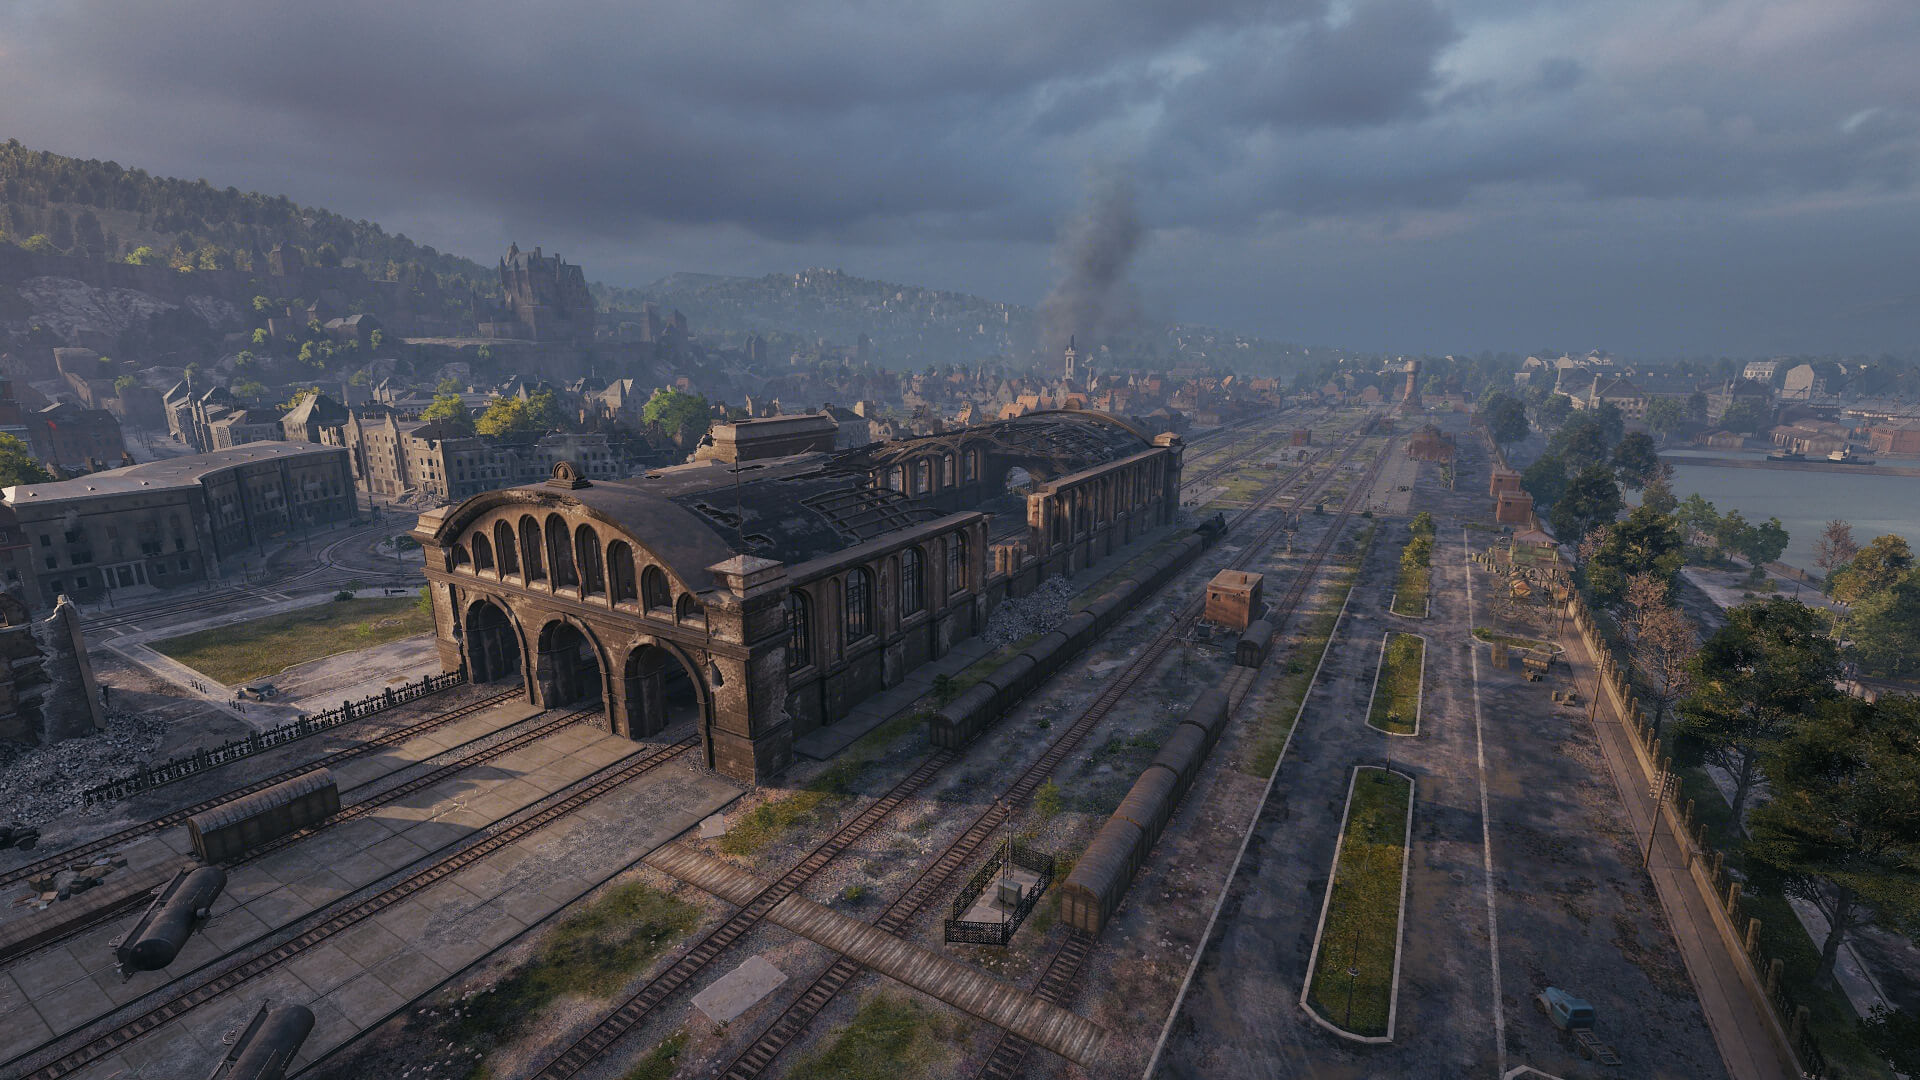
Actively scout the battlefield to provide vital intel. The center of the map consists mainly of narrow streets and tight corners that allow for quick dashes into cover.
-
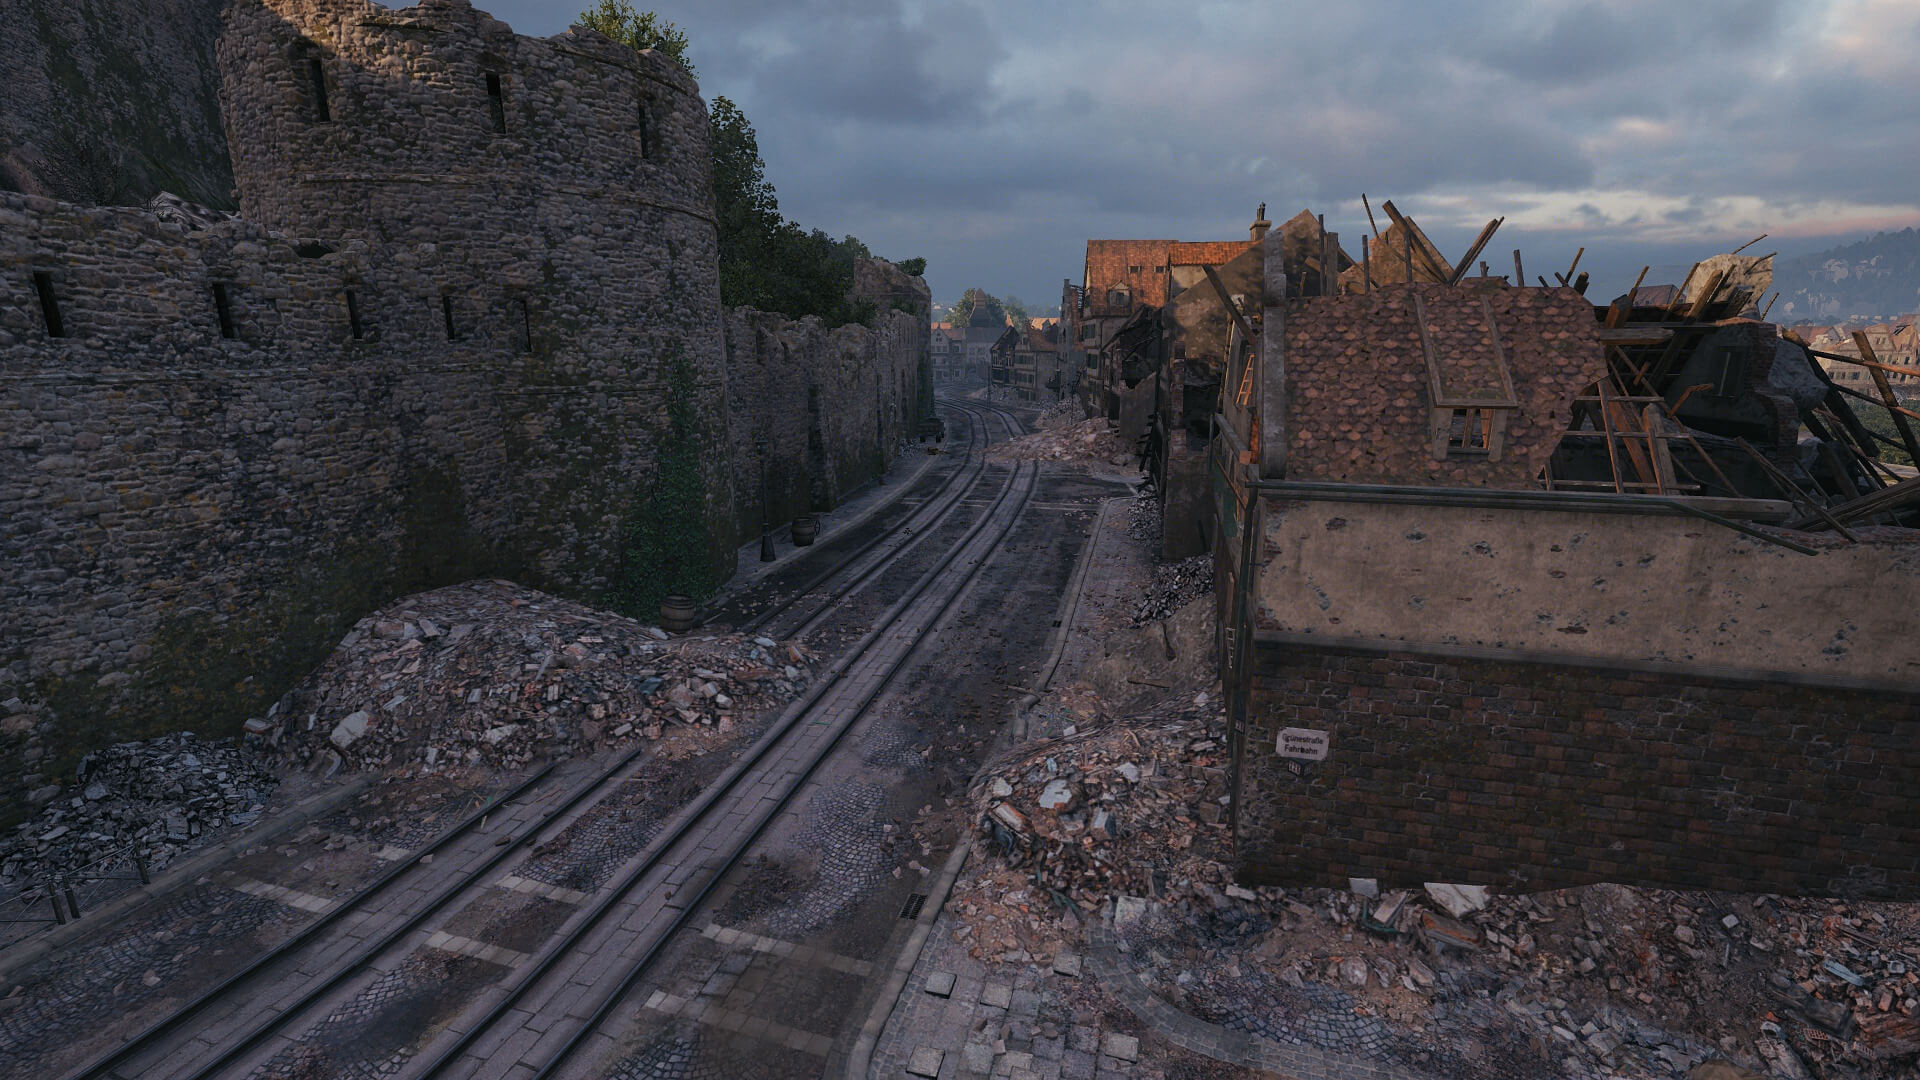
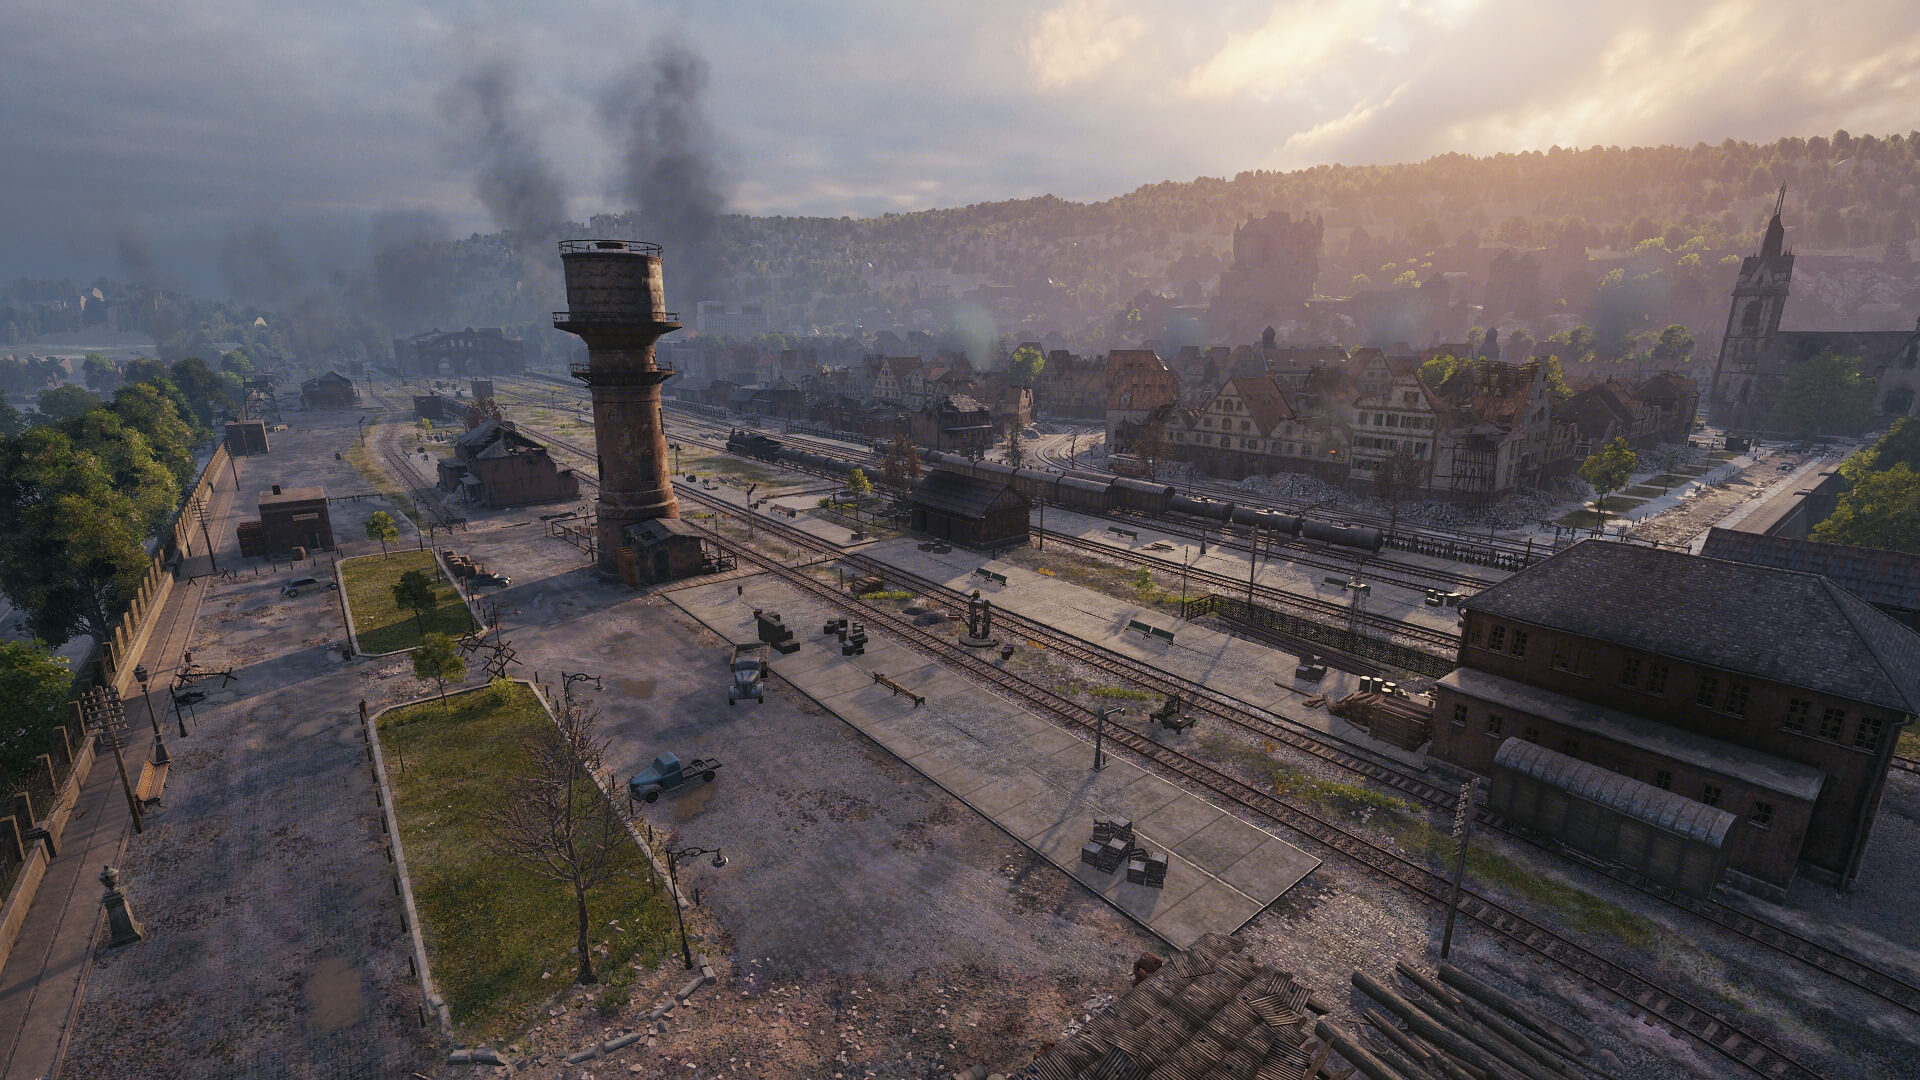
Slow vehicles with high camouflage values can sneak across the train tracks (Lines 1 and 2) to spot enemy maneuvers and for surprise assaults.
-
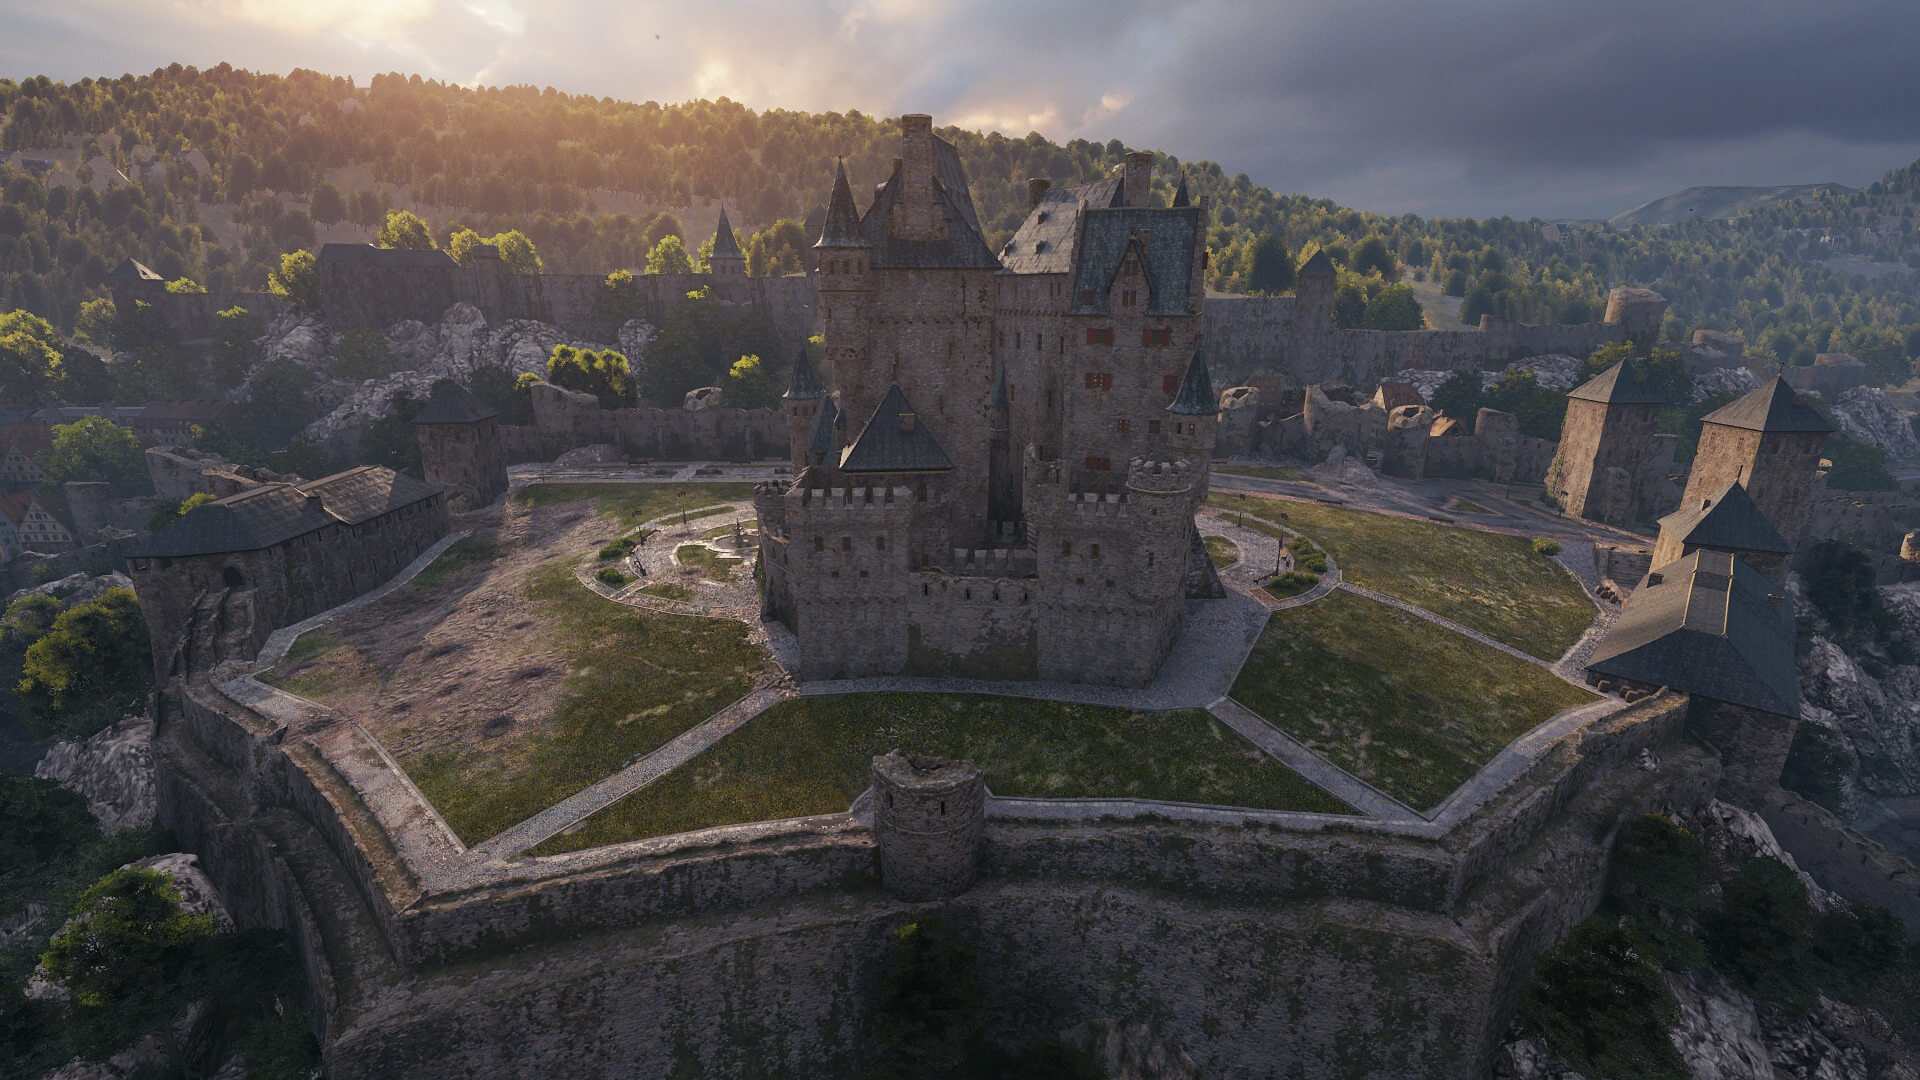
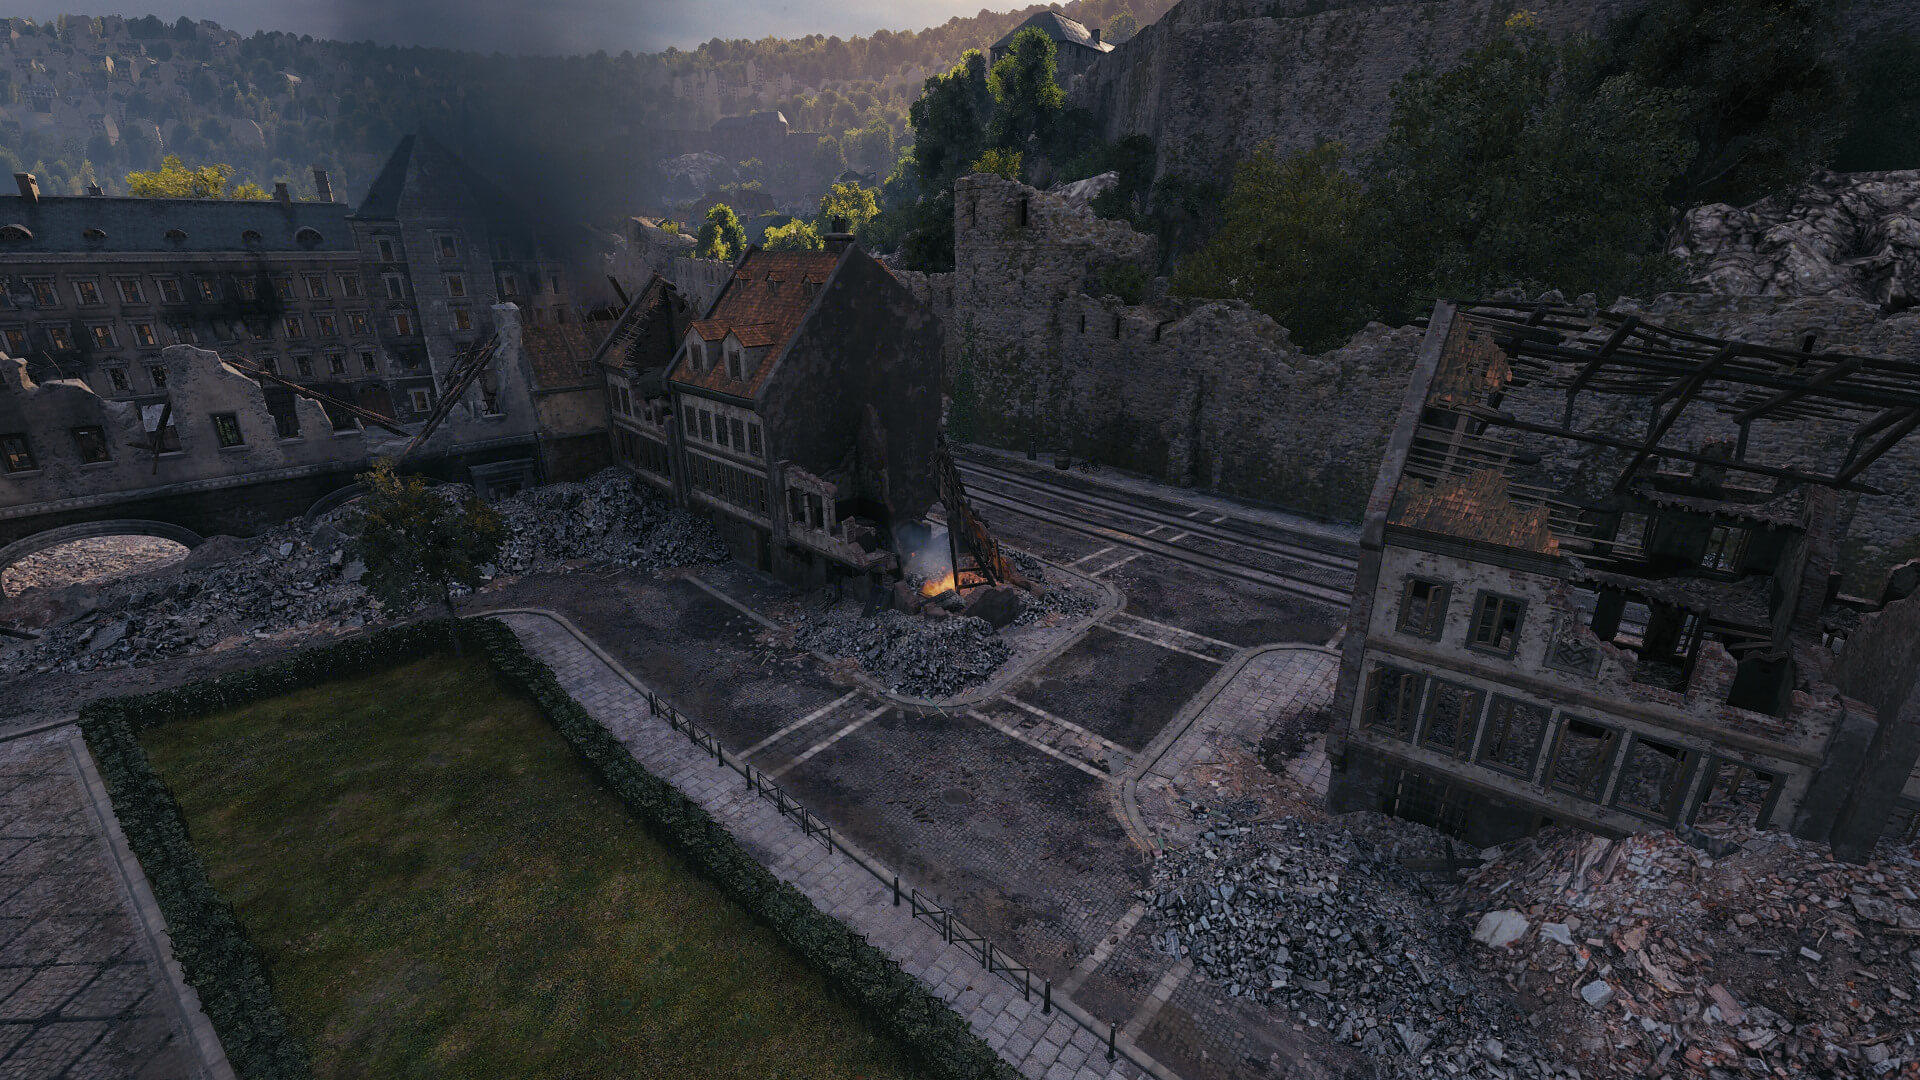
The hill can give your team a definite advantage. Fast and semi-fast vehicles, especially with good gun depression angles, should band together to take the castle.
-
Vehicles with rigid turrets and accurate guns can take the window positions around the center square—as long as your team has control of the hill.
-
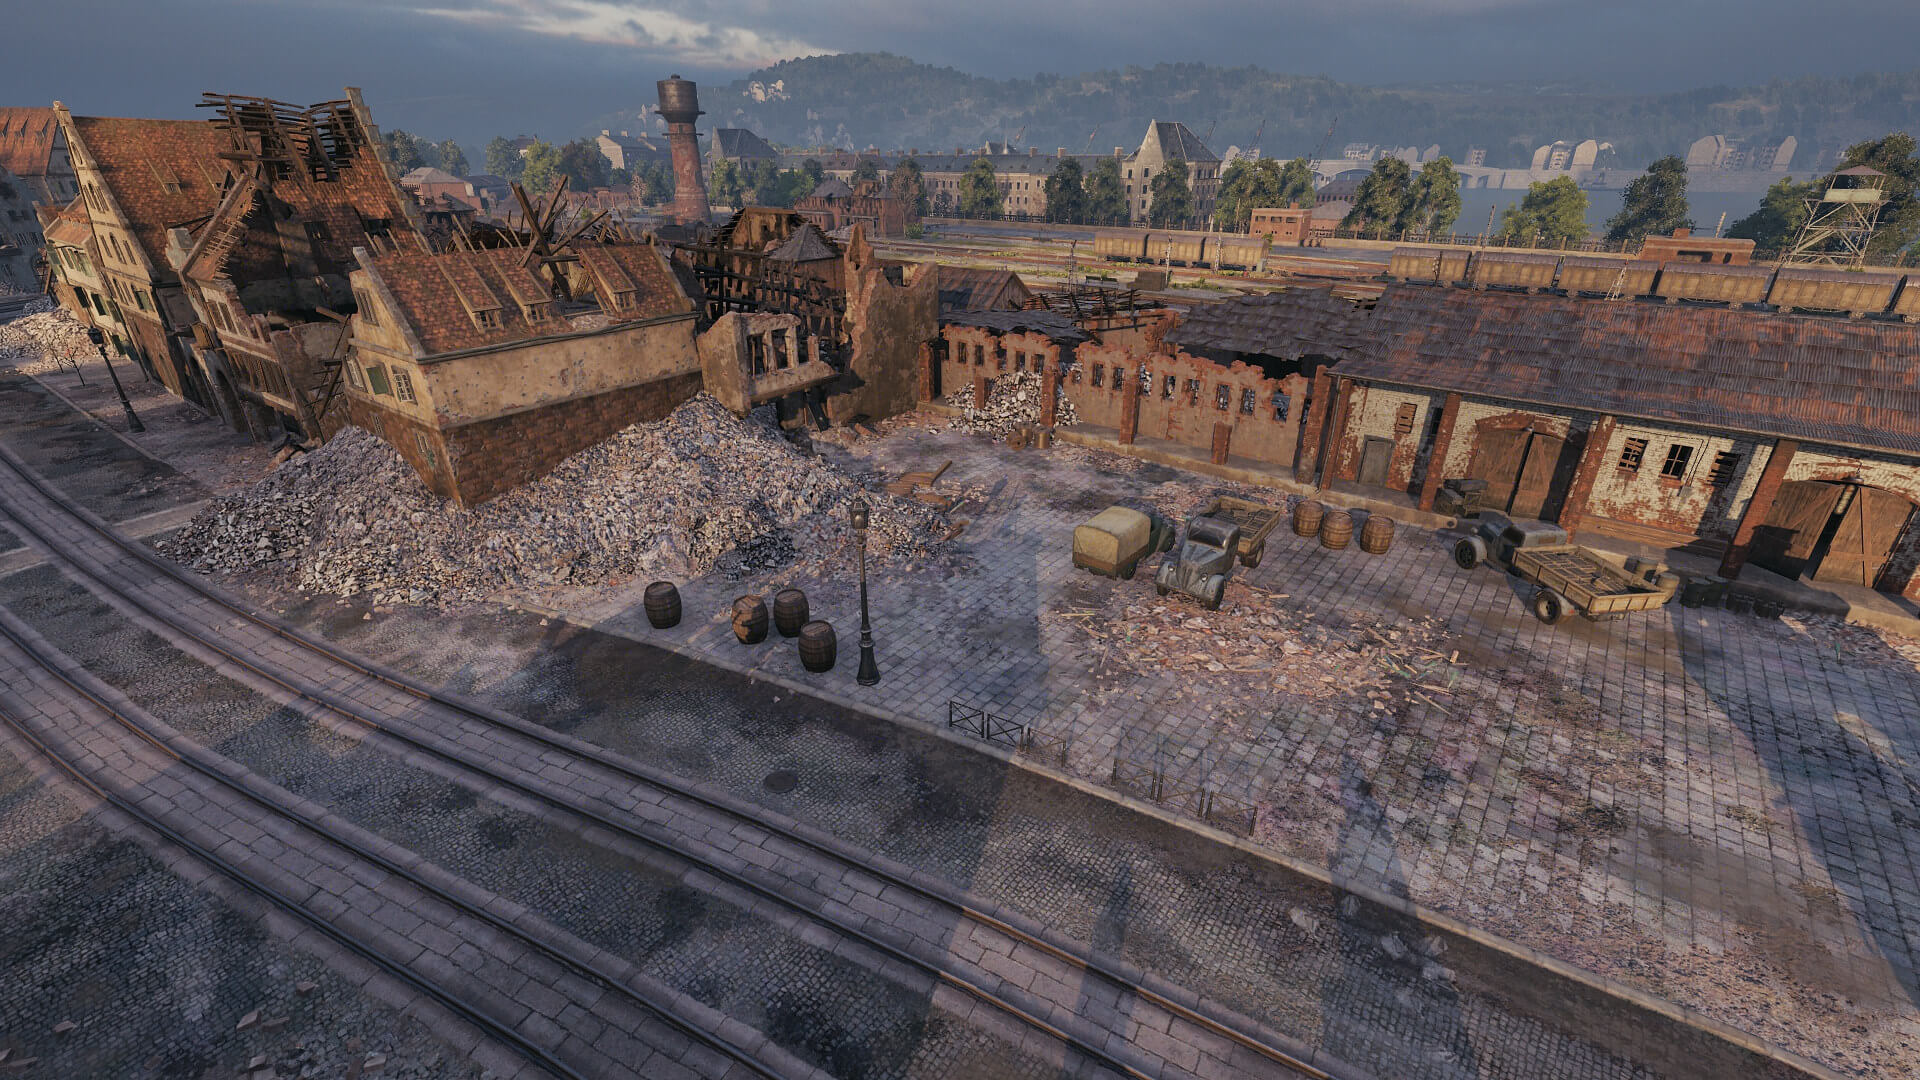
The narrow streets of Himmelsdorf are made for close encounters. Especially the area below the castle hill (squares E7 and F7), lovingly dubbed “The Banana,” is ideal for brawlers with tough frontal armor.
-
Vehicles with rigid turrets and accurate guns can take the window positions around the center square—as long as your team has control of the hill.
-
Sturdy vehicles should use the intel provided by light tanks to advance across the tracks (Lines 1 and 2) behind enemy lines.
-
Sharp shooters with accurate guns can find cover along the tracks and around squares C3 and G3.
-
Take position in squares A1 or K1 to support allied advancements across the train tracks (Lines 1 and 2), and cover the area around the castle in the east.
