Interactive image. Hover the cursor over icons on the minimap to view additional information.
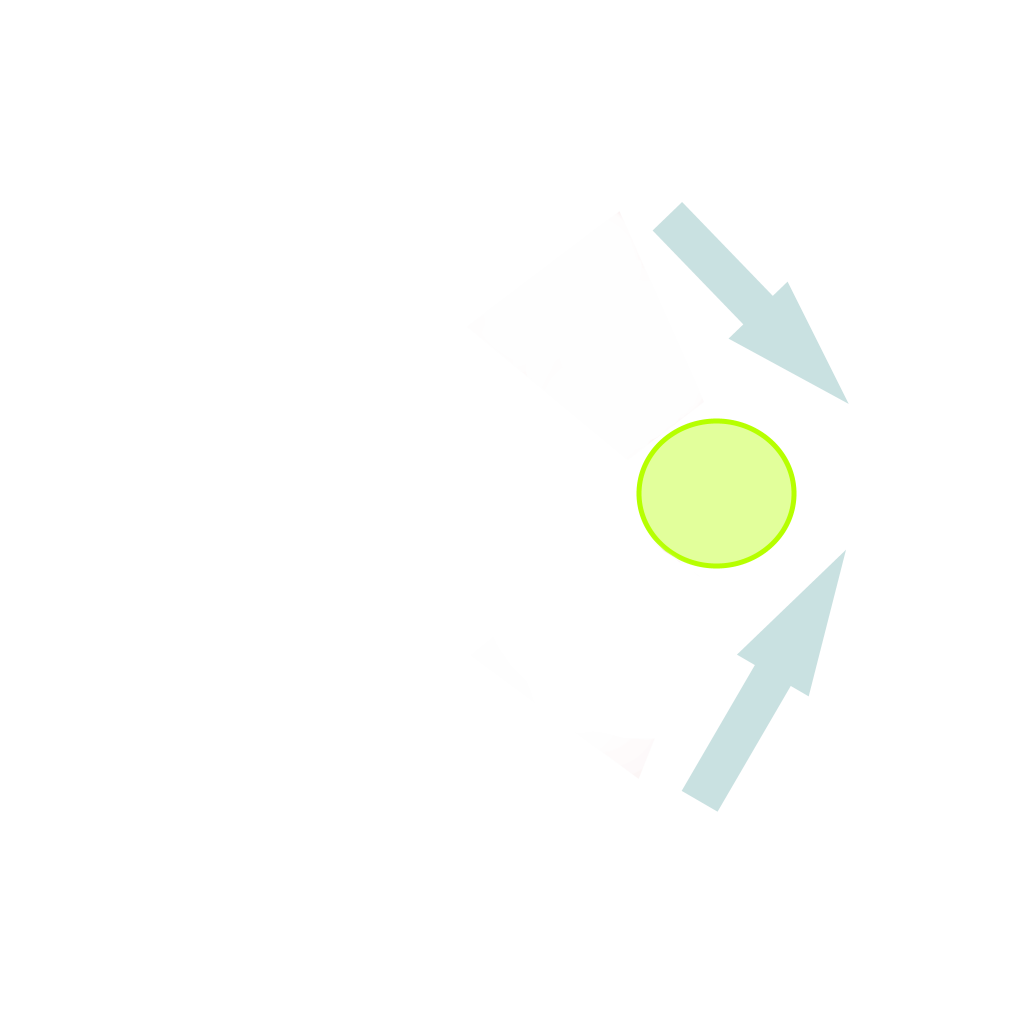


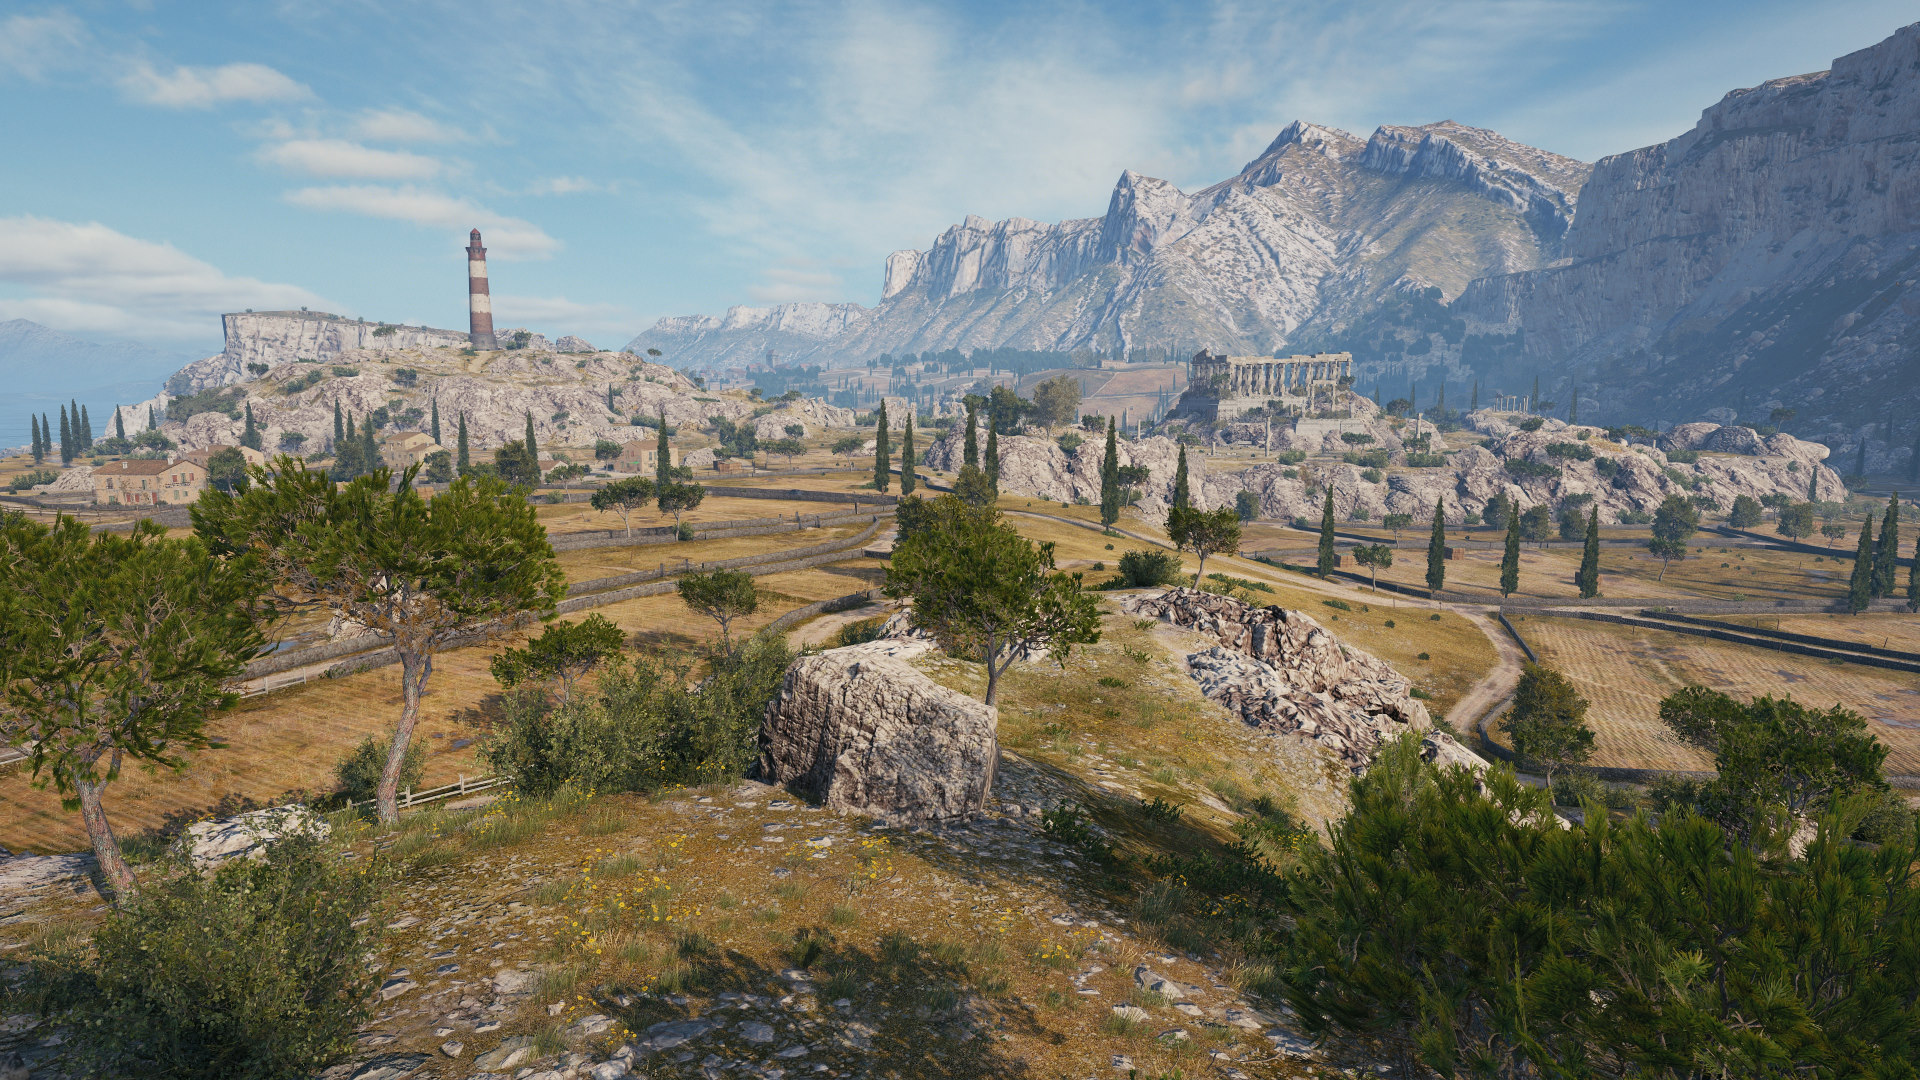
Take control of the area around the lighthouse to spot enemy mediums and lights and to allow flanking maneuvers for fast allied vehicles around the back.

Occupy this position to spot enemy vehicles and provide fire support into the middle. Beware of advancing enemies surprising you from behind.

Occupy this position to spot enemy vehicles, provide fire support into the middle, and stop enemies flanking from the west.

Excellent sniper positions.

Excellent sniper positions.
- Light Tanks
- Medium Tanks
- Heavy Tanks
- Tank Destroyers
- SPGs

- Try to quickly gain higher ground, preferably around the lighthouse (F8 on the minimap) at the end of the drawn-in path.
- Fast vehicles should spot the enemy team, provide vital intel, and fire support from the X positions (D3 red and G2 green).
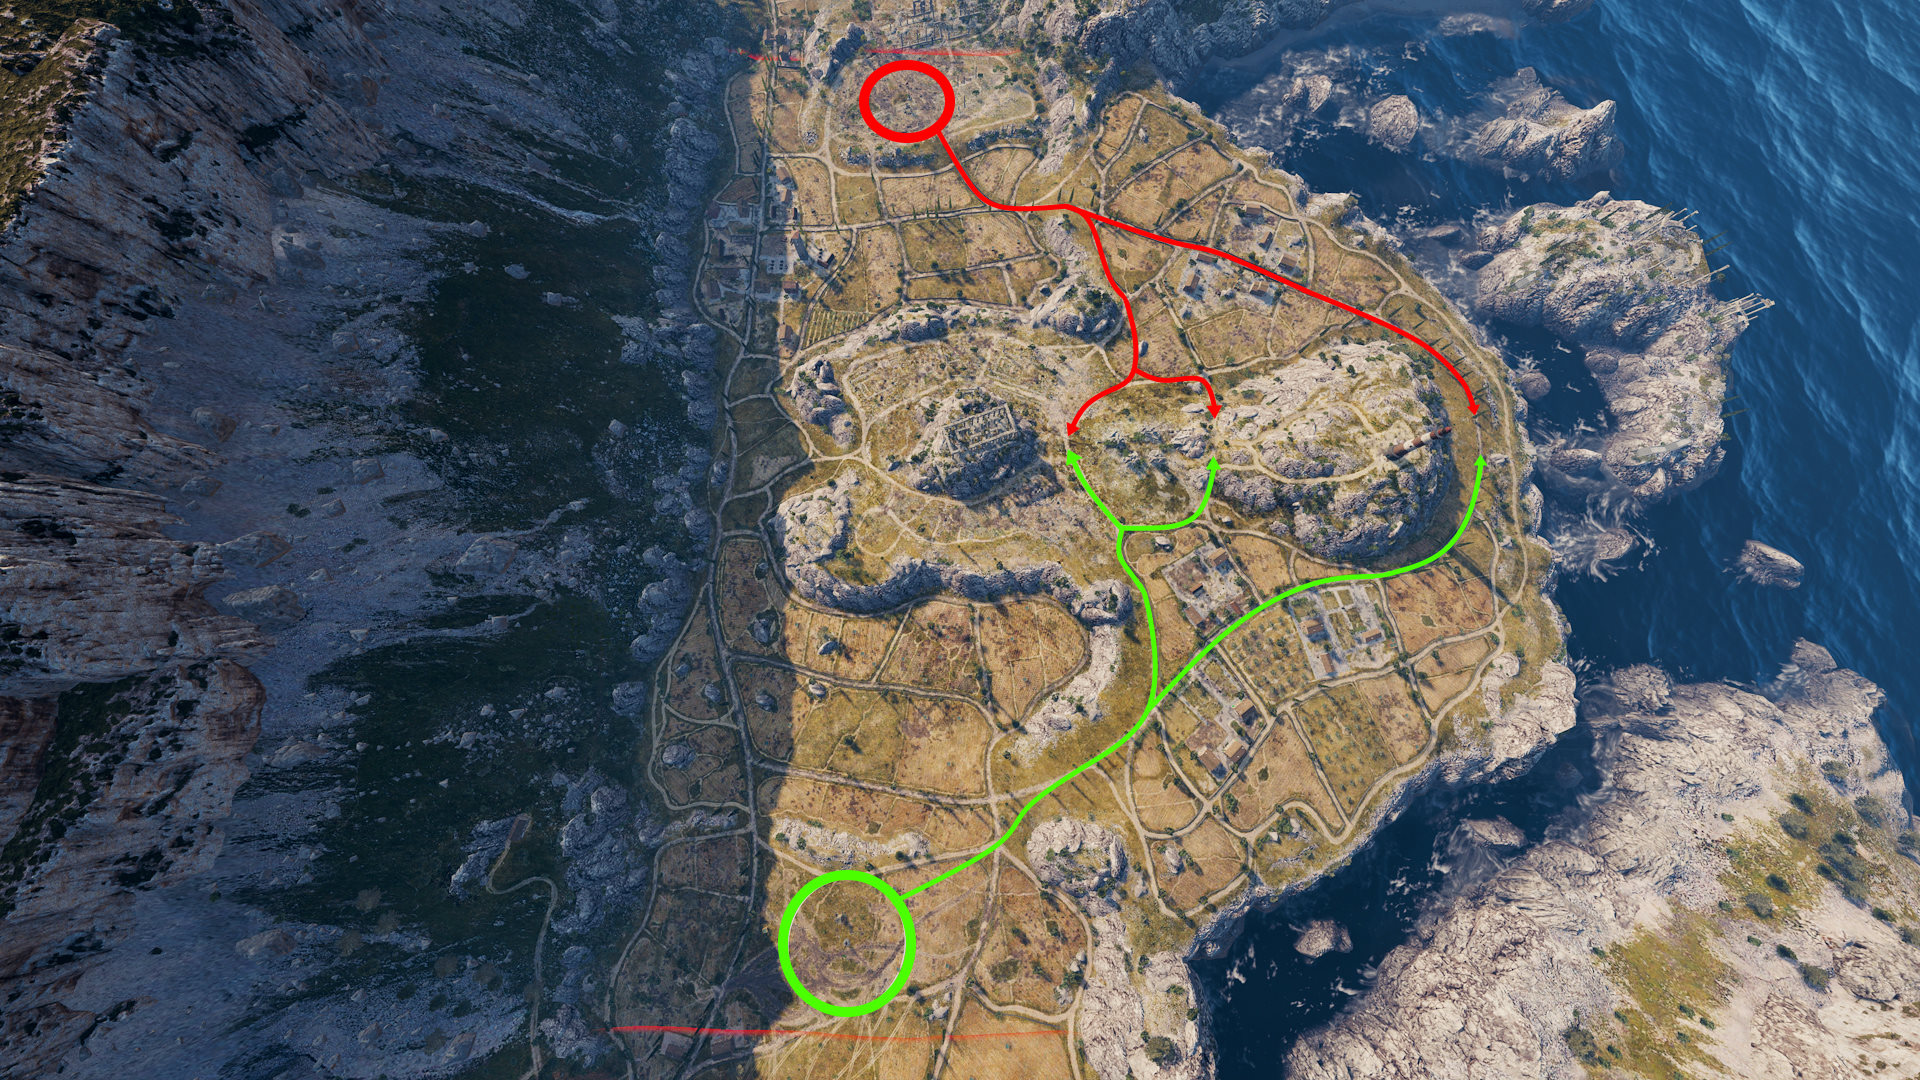
- Well-armored vehicles should advance toward the middle at the foot of the lighthouse hill (E5/6 and F5/6).
- Fast ones can try to flank the enemy via the back route around the lighthouse hill (column 9 on the minimap) if your team holds the lighthouse position (F8).

- Slow and sturdy vehicles should follow the western route (along columns 1 and 2 on the minimap) toward the enemy base. The path along the cliffs provides cover and allows for entrenched brawls.
- Agile vehicles with high firepower and low armor should provide support for medium tank advances in the middle (along columns 5 and 6 on the minimap).

- Slower vehicles should cover their home base and provide long-range fire support from the positions marked with X (rows B and J on the minimap).
- Excellent sniper positions are located around A5 and K5 at the end of the drawn-in path.
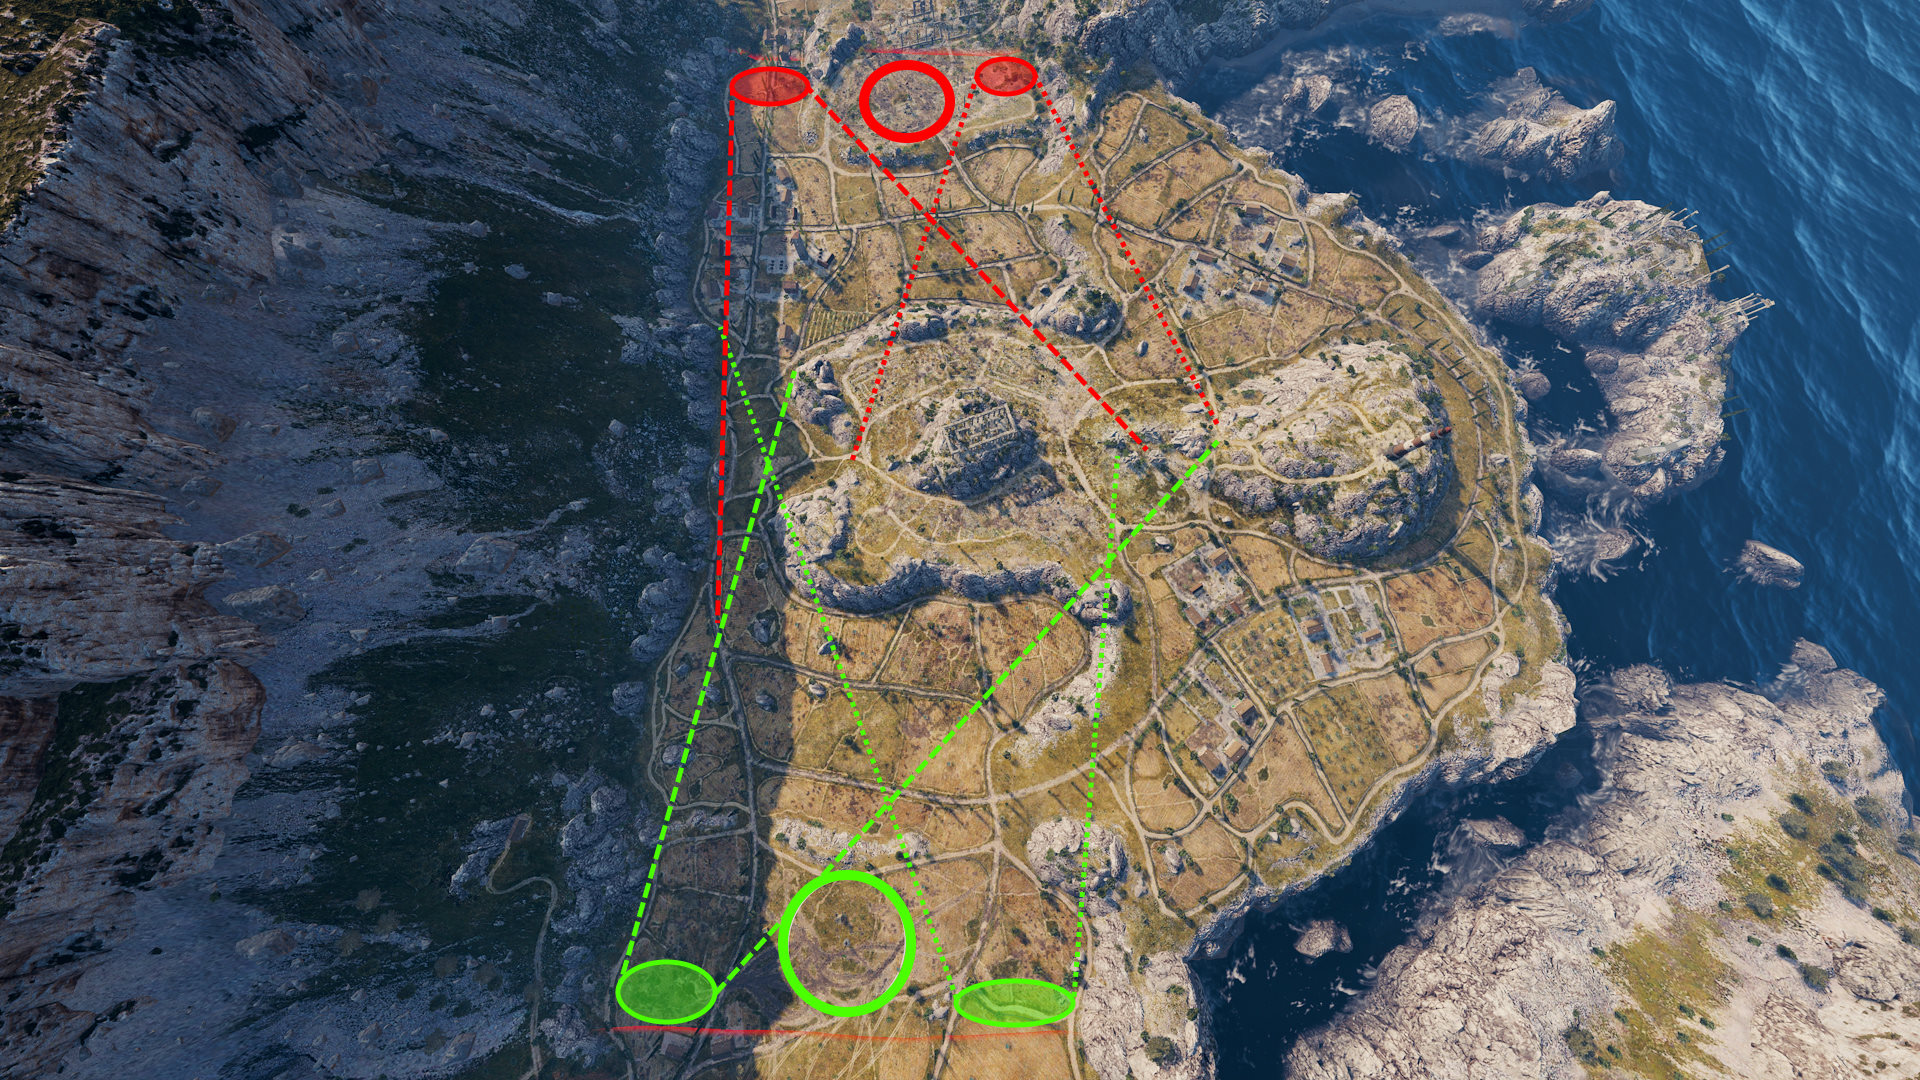
- Only a limited number of favorable positions close to the team bases.
- Fall back to the corners of the map at A1 and K1 to provide support for heavy tanks advancing along the cliffs (columns 1 and 2 on the minimap) and the “Doughnut” area in the middle (E3/4 and F3/4).
- Take position at A4 and K3 to provide support for allies in the center of the map (rows E and F from columns 3 to 6 on the minimap).
