Commanders!
Gather a team and head to the rift in Mirny. But before you leave for the unknown, check out this mission briefing. We have put together as much information as our intelligence services were able to ascertain. The Anomaly has changed, so pay close attention to the following video and read through the guide if you want to stand a chance against the Immortal. Only the brave will survive and get the chance to earn fantastic rewards including the
 VII
VII
![]() King Tiger (Captured)
with an extra-spooky style.
King Tiger (Captured)
with an extra-spooky style.
How to Play

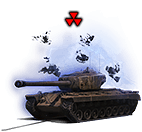
Destroy Enemies
There are 6 types of enemies you might encounter in battle. Each of them requires special tactics.
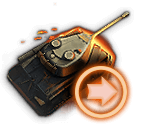
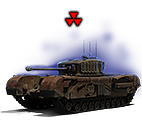
Collect Mirium & Fill Magnus
Mirium is a special matter that can be collected from destroyed enemies. It must be delivered to Magnus to proceed to the next Phase.
Destroy the Immortal
Reach Phase 4 in medium or high difficulty for a chance to bring the Immortal down.
You will play as a team of 5 (with the option to create a Platoon of up to 5) and take on a fearsome group of AI-controlled opponents whose sole task is to ensure that Mirny remains shrouded in darkness. The goal is to progress through all four Phases (three on Low Difficulty), collect as much of the mysterious substance known as “Mirium” as you can, and ultimately put an end to the mighty Immortal!
Tip: Collect extra Mirium in earlier phases while it is easier. The Aura of the Immortal will drain Mirium before burning your HP.
After completing certain Phases at different difficulty levels, you’ll be able to find out how the Immortal has become vulnerable. Each part of this story is recorded on one of eight Reels. They need to be decrypted one by one, using Decryption Keys you will earn when playing in the mode.
Magnus and Mirium Accumulation

|
|
Survivor Tips
 Plan the Route
 Plan the Route
Planning your route wisely will help you meet the time limit and collect as much Mirium as possible. Use the communication system to ping the next spawn point and alert your team where to attack.
 Work Together
 Work Together
Coordinating your actions with your fellow teammates is the key to success. Remember that you can't handle this alone. Provide cover for your allies, heal each other with consumables, and keep in mind that the outcome of the entire operation depends on it. Only by working together will you be able to bring the Immortal down.
 Focus Your Attack
 Focus Your Attack
Try attacking as a close-knit striking force by concentrating fire on a single target and using your auxiliary consumables wisely.
 Heal Yourself and Your Team
 Heal Yourself and Your Team
Consumables that heal and fix your modules, and those of your teammates, are essential to reach the final phase. While the Phoenix ability lets you respawn, you will return with only half your HP and without Anomalies.
 Collect Drops
 Collect Drops
In addition to Mirium, destroyed enemies will occasionally drop green and white spheres that heal you or contain High-Explosive shells, respectively.
 It's Turbo Time
 It's Turbo Time
Use the speed boost to accelerate a ramming attack for more damage or quickly move between spawn points.
 Watch Out for the Immortal
 Watch Out for the Immortal
Pay close attention to the proximity indicator that alerts you if the Immortal and its destructive Aura get too close.
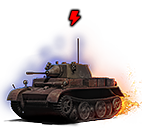
 Don't Get Destroyed
 Don't Get Destroyed
An obvious tip, but worth repeating. If your vehicle gets destroyed, Mirium will be lost, and earned Anomaly boosts removed.
- Immediately Available
- Bought or Unlocked

Hornet (AMX 13 90):
A speedy and maneuverable light tank with a five-round autoloader
The machine for the experienced and confident. Scout the best paths for your team, activate enemy spawn points, sneak behind the enemy, and unload your shells
Recommended consumables: Born Ready!, Emergency Kit, Energy Shield

Cerberus (Centurion Mk. 7/1):
A versatile medium tank with a solid turret and high rate of fire
A reliable and straightforward tank with good armor and a solid cannon. Stick together with your team and take out enemies one by one.
Recommended consumables: Emergency Kit, Lifesteal, Pyrokinesis or Energy Strike

Double (IS-3-II):
A mighty double-barreled heavy tank with powerful guns and tough armor
Cause devastating damage with a mighty double-shot or ensure that you always have a shell in the chamber with sequential fire. The Double is for those that prefer to steadily cause damage and don’t need to rush to the front. Familiarize yourself with the Soviet double-barreled gun mechanic!
Recommended consumables: Born Ready!, Emergency Kit, Emergency Repairs

Malachite (T-54):
A medium tank with a great gun, decent armor, and good dynamics
Lead the team with this mobile and well-armored vehicle. Thanks to its excellent weapon, you definitely won't lag behind when it comes to dealing damage, and its sturdy armor can even forgive a mistake or two.
Recommended consumables: Energy Shield, Pyrokinesis, Emergency Kit or Emergency Repairs

Grenadier (T49):
A speedy light tank featuring an accurate HE autoreloader
Put the pedal to the metal and fly across the battlefield to collect Mirium. Do not stay in the same place for too long and always make sure to stay close to better-armored allies.
Recommended consumables: Energy Shield, Born Ready!, something to keep you going (Lifesteal, Emergency Repairs, or Emergency Kit)

Legio Ferrata (Progetto C50 mod. 66):
A versatile heavy tank with a good balance of firepower and dynamics
The choice of professionals. The vehicle is complex and requires composure and control of the situation. Advance with care, and you will be treated to extremely high firepower and good armor.
Recommended consumables: Born Ready!, Energy Shield, Emergency Kit
Dealing With Enemies in Mirny
Let’s take a closer look at your opponents and how to deal with each AI enemy vehicle:
Guard (Churchill, Sherman, Pershing, Churchill BP, Patton, or Caernarvon): The basic enemy with “normal” behavior
Make sure you finish them off quickly, collect all the Mirium promptly, and then focus on more dangerous foes. But keep in mind that they can be vicious in groups, so don’t allow yourself to get surrounded.
Alpha (T28 Prototype): Leader of the Guards and a strong opponent with aggressive behavior
Teamwork is key to even the odds. Try to take it down quickly without losing too much time or HP and be on the lookout for other enemies that will try to take advantage of the distraction.
Rabbit (Luchs): A weak but fast enemy with lots of Mirium that tries to escape
Act quickly and decisively, but be wary of getting into a difficult, and potentially no-win, situation. The rabbit tries to lure players to stronger bots.

Hedgehog: A fast kamikaze tank that rams into the player and explodes upon contact.
Dodge, duck, dip, and dive out of its way–and if that fails, do a barrel roll. Whatever it takes, don’t let them touch you, and take them out before they get close. Fortunately, only one shot is needed to destroy them.

Alpha Hedgehog: The more menacing version of the standard Hedgehog
It is bigger, scarier, and when it explodes, it will spawn normal Hedgehogs. Keep away and only take them out as a group to quickly deal with the nasty surprise inside.
Hunter (Panther II, E 50, or an E 50 Ausf. M): Persistently stalks the player that spawned it until it is destroyed
Like a puppy who knows you’ve got a treat in your pocket, this foe will follow you until you give it what it wants–but don’t try to pet it, as it will definitely bite.
Mosquito (KV-2 turret): A static bot that can spawn in unreachable locations (like roofs or hills) and shoots from long range
Try to get into a position where your shots can reach it, or just block their line of sight using cover, leaving them perched like an ugly gargoyle.
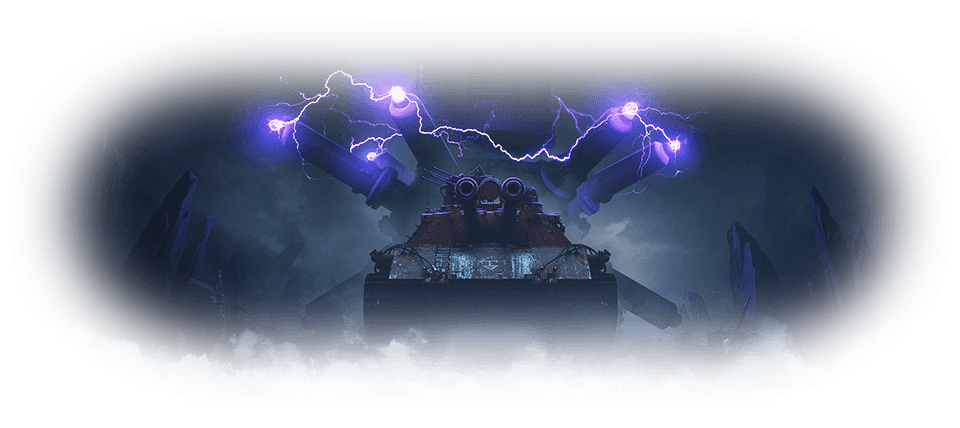
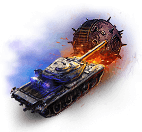
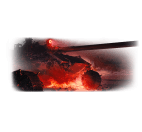
The Immortal
The ultimate enemy with massive damage and a fiery aura that steals Mirium and inflicts damage
The tactic for the first three phases is easy: don’t engage with it, don’t go near it, don’t even look at it ... and when you see it, run! Until you reach Phase 4 and the tables turn!
Power up your vehicles, join a Platoon, and fight a variety of AI-driven armored enemies, including the Immortal! Earn Decryption Keys and unlock plentiful rewards including credits, spooky decals, 3D styles, and the
VII
![]() King Tiger (Captured)
.
King Tiger (Captured)
.
