Contents
KinyitWith an incredible array of HD maps and a new soundtrack, Update 1.0 may just be the biggest and most exciting update in the history of World of Tanks. Powering this epic visual content salvo is Core, our in-house graphics engine that breathes new life into locales with a host of new technologies. As the game switches to the new engine, graphic configurations get reset too. Don’t worry, we aren’t leaving you in the dark to navigate this by yourself. Today, we'll explain how to tailor them to your PC and use auto-detect to enjoy the fierce beauty of tank combat to the fullest.
Brace yourself—we’re going very deep here and there’s a lot of technical information to digest (but it's worth it!). If you aren’t a fan of sifting through thousands of words, you might want to check out the video on settings above and use contents block to navigate straight to the questions that matter the most to you. Let's go!
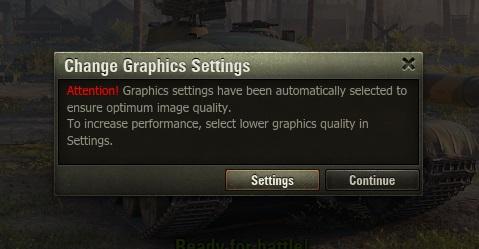
Run Auto-Detect Test
The test runs in two cases, when you run the game at the first time and when you click “Recommend” in the graphics settings. It assesses the game’s performance on your system through revised algorithms for the processor, graphics card, amount of graphics and system memory and other system performance tests. After running all these tests, the system defines the golden medium in terms of FPS and the quality of visuals for your rig: Minimum, Low, Medium, High, Maximum or Ultra.
How Does it Work?
The auto-detect system attempts to find the best graphical setting mixed with the most stable framerate. Note that you can see slight changes in FPS after auto-detecting since providing you the best possible picture is its primary goal. Basically, it can suggest an option that will result in FPS changes, but only if they aren’t critical to the game performance.
If you are not satisfied with the framerate after running the auto-detect, you can choose less demanding performance settings, which can increase the overall performance by 30–40% (e.g., choose Medium if you were offered High). Still want to make some tweaks? Then start by choosing the preset option it offers and work from there adjust the settings to your liking.
Adjusting Graphics Manually
Choose the Render
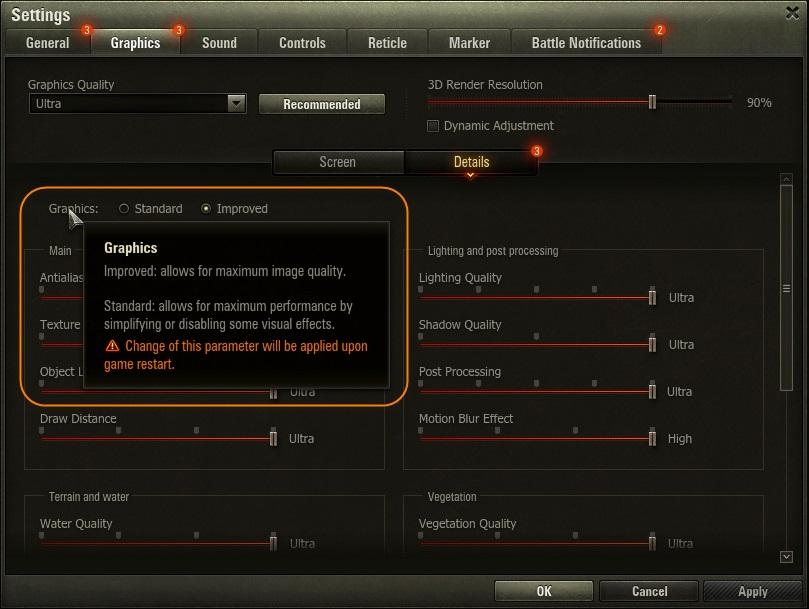
When deciding to adjust the graphics setting manually, you will first be given the option to adjust the render—choosing between Standard and Improved graphics. Both were reworked for HD, the only difference is that Improved support the full spectrum of new technologies and effects, while Standard lacks some.
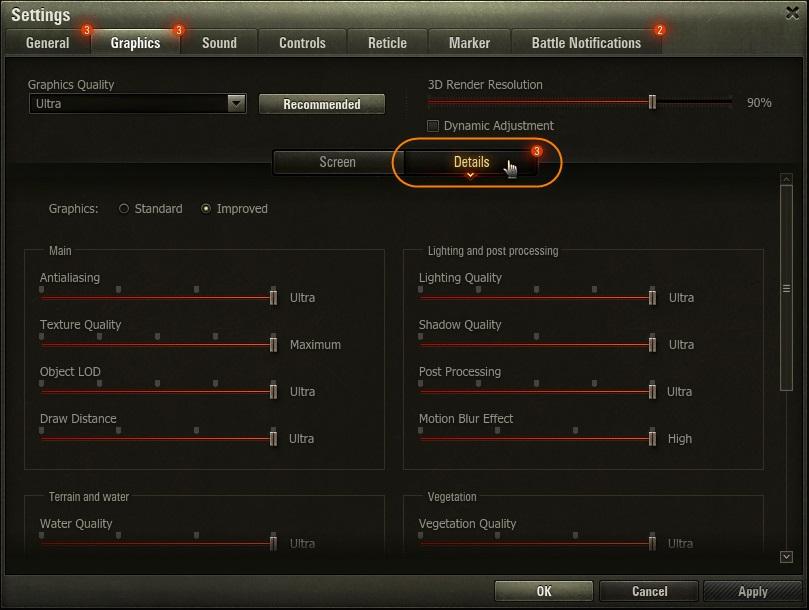
Tweak Advanced Settings
Some graphics settings are more important than others. Reducing the right settings may get you comfortable FPS without severely reducing the image quality. You should start with special effects—antialiasing, texture and object quality, draw distance, lighting and post-processing. These are taxing, and toning them down can help you boost frame rate.
Go through the list below for detailed explanation on each settings option and how it contributes to the game’s looks. Graphics options are grouped starting from the most demanding in terms of FPS to make it easier for you to choose which to disable.
Antialiasing
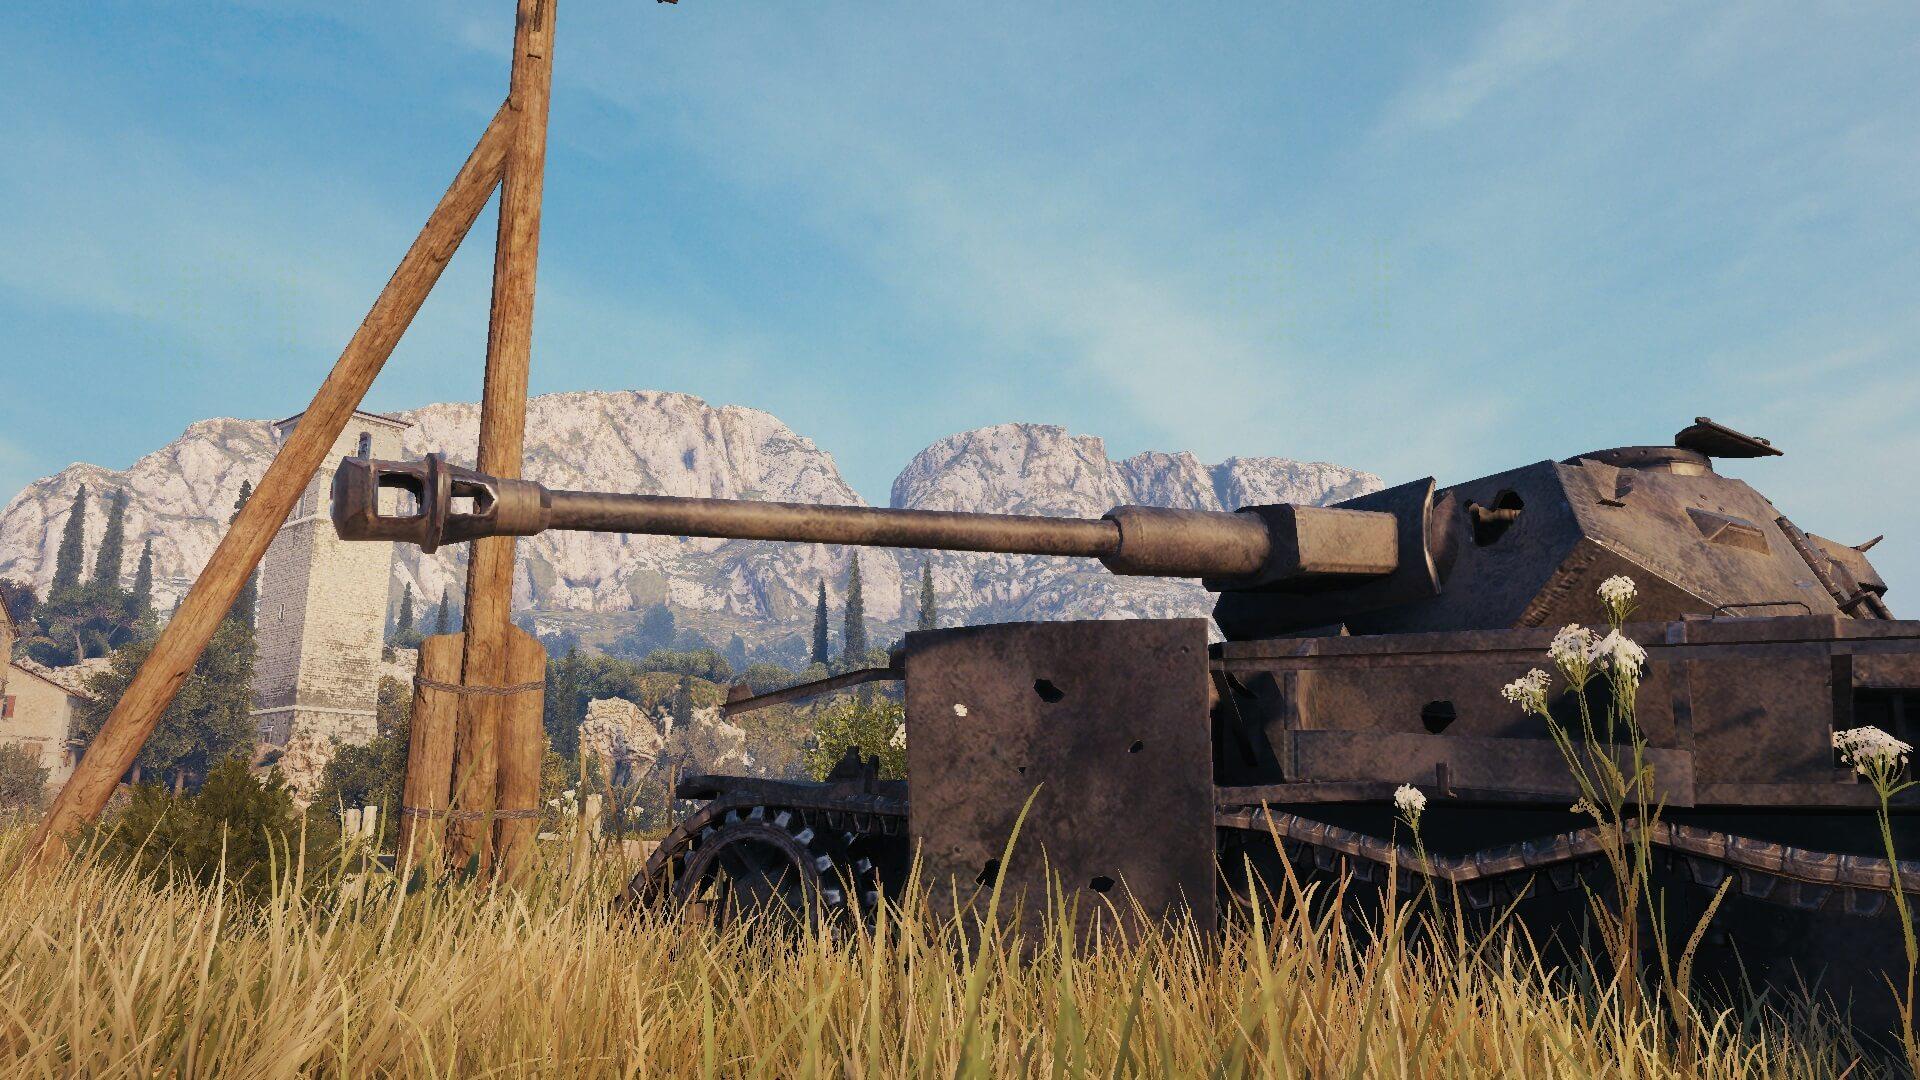
Antialiasing smooths out rough pixelated or jagged edges in graphics, using different technologies for Standard and Improved Graphics.
- With Standard Graphics, anti-aliasing is optional and isn’t tied to any of the preset options.
- With Improved Graphics, anti-aliasing is necessary to give the best picture and is tied to the preset options.
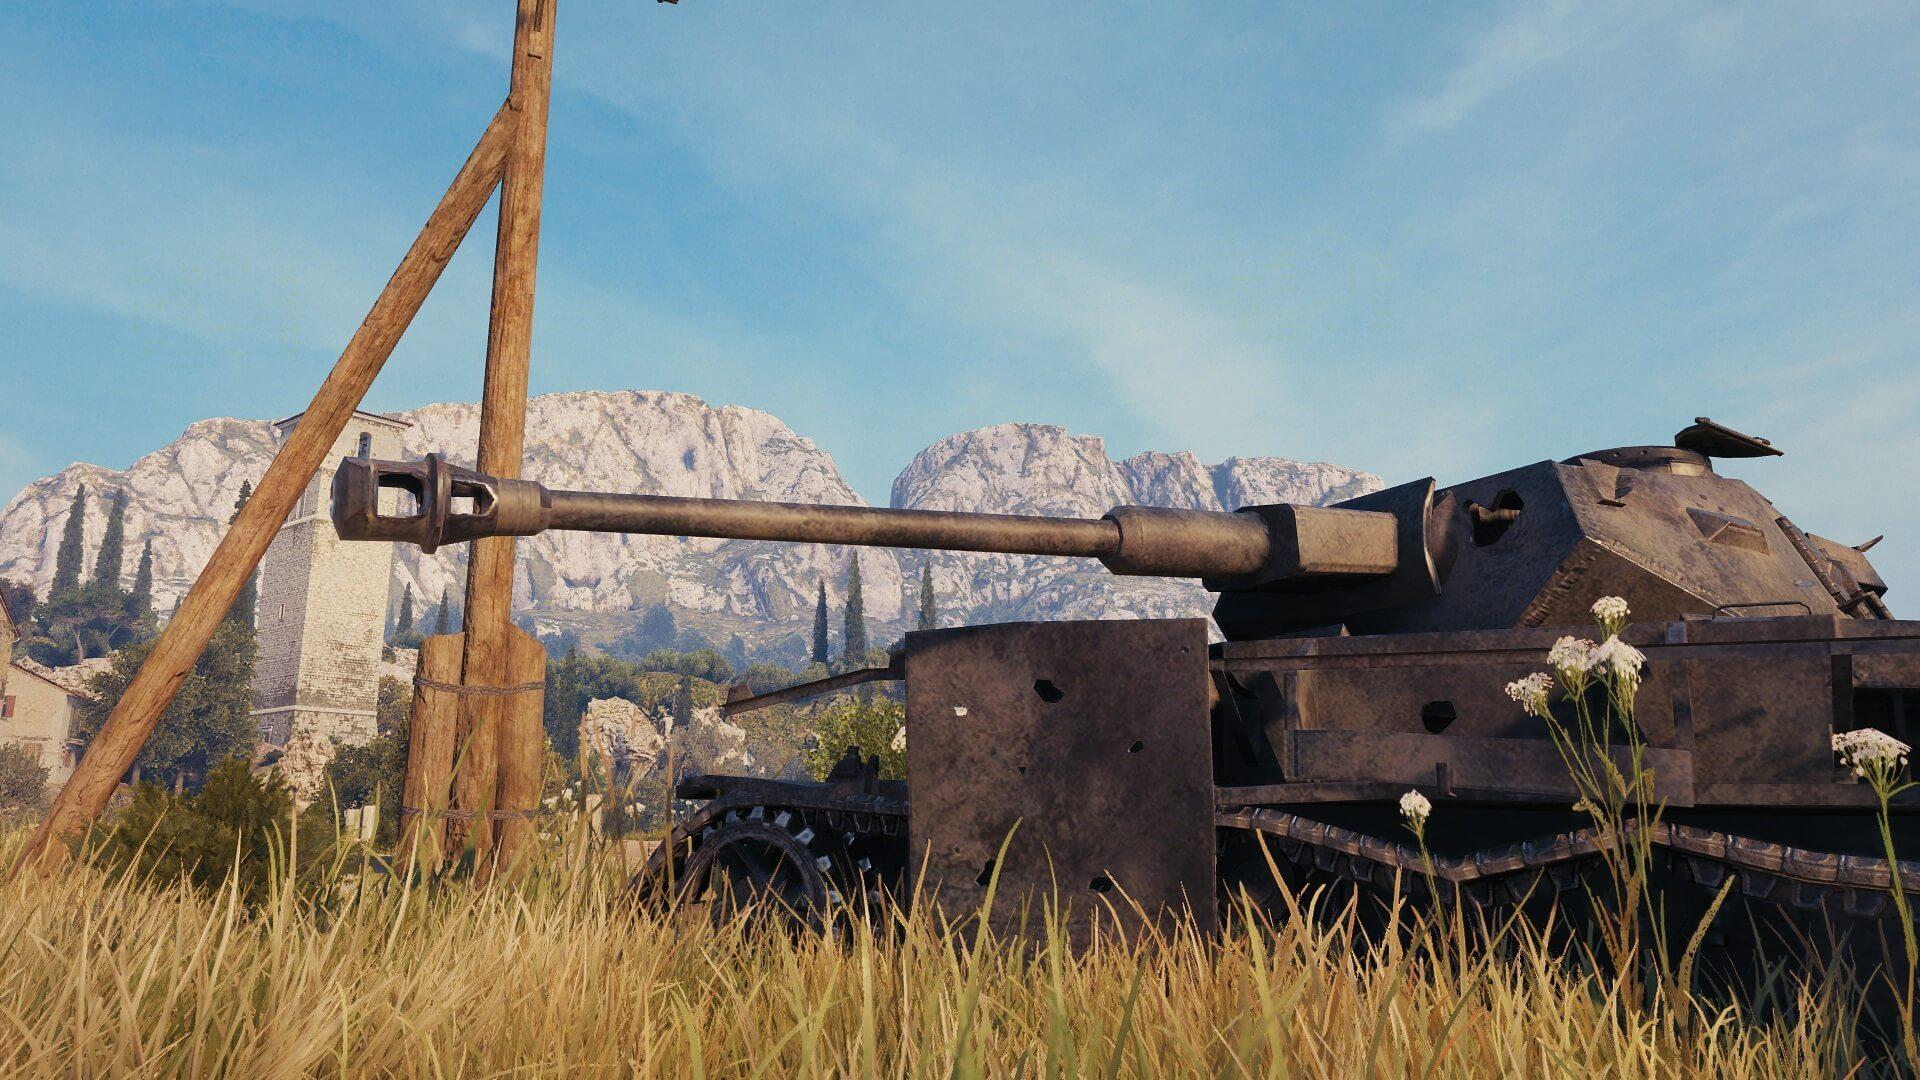
Here’s how the picture changes with the differing anti-aliasing options:
Texture Quality
The quality of textures affects the resolution and type of filtering used. The higher the level of detail, the better. However, please note that this will be more demanding on your rig. Maximum texture quality includes HD textures on the HD client.
Objects Quality
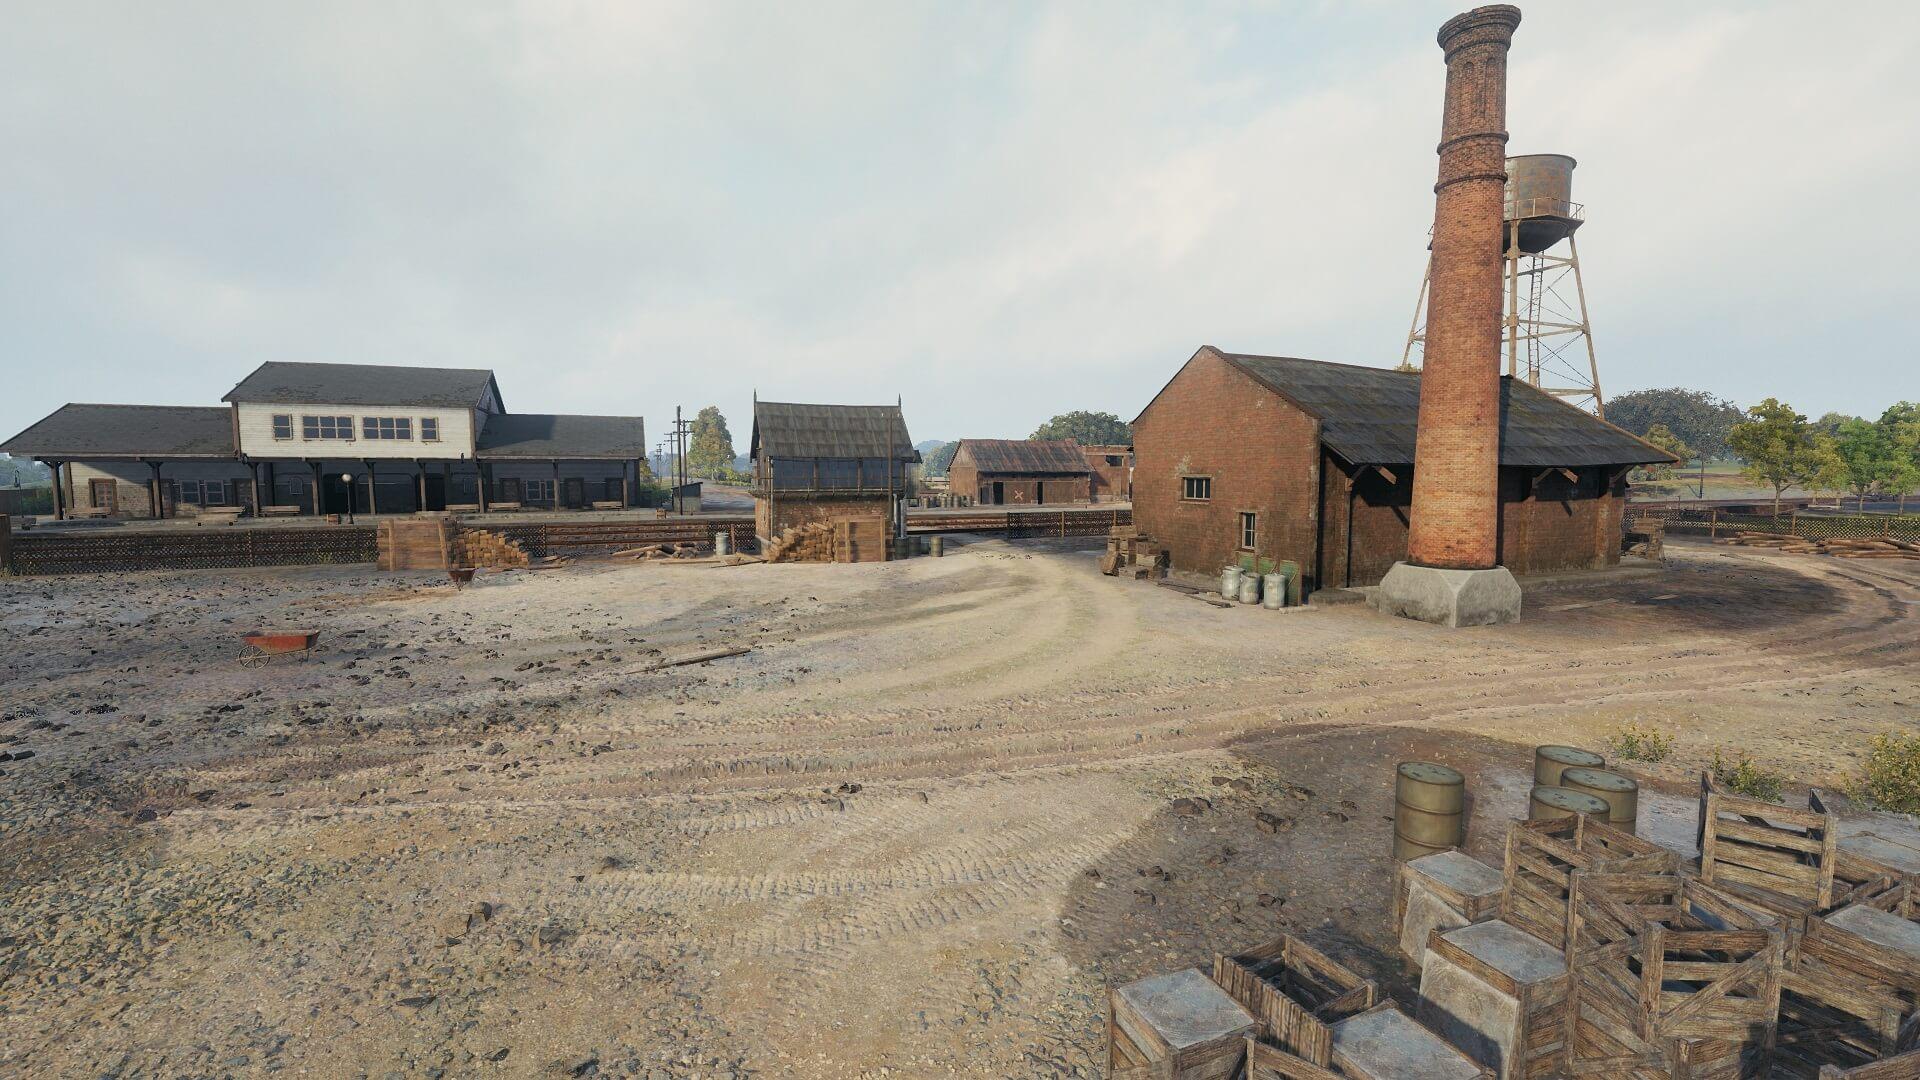
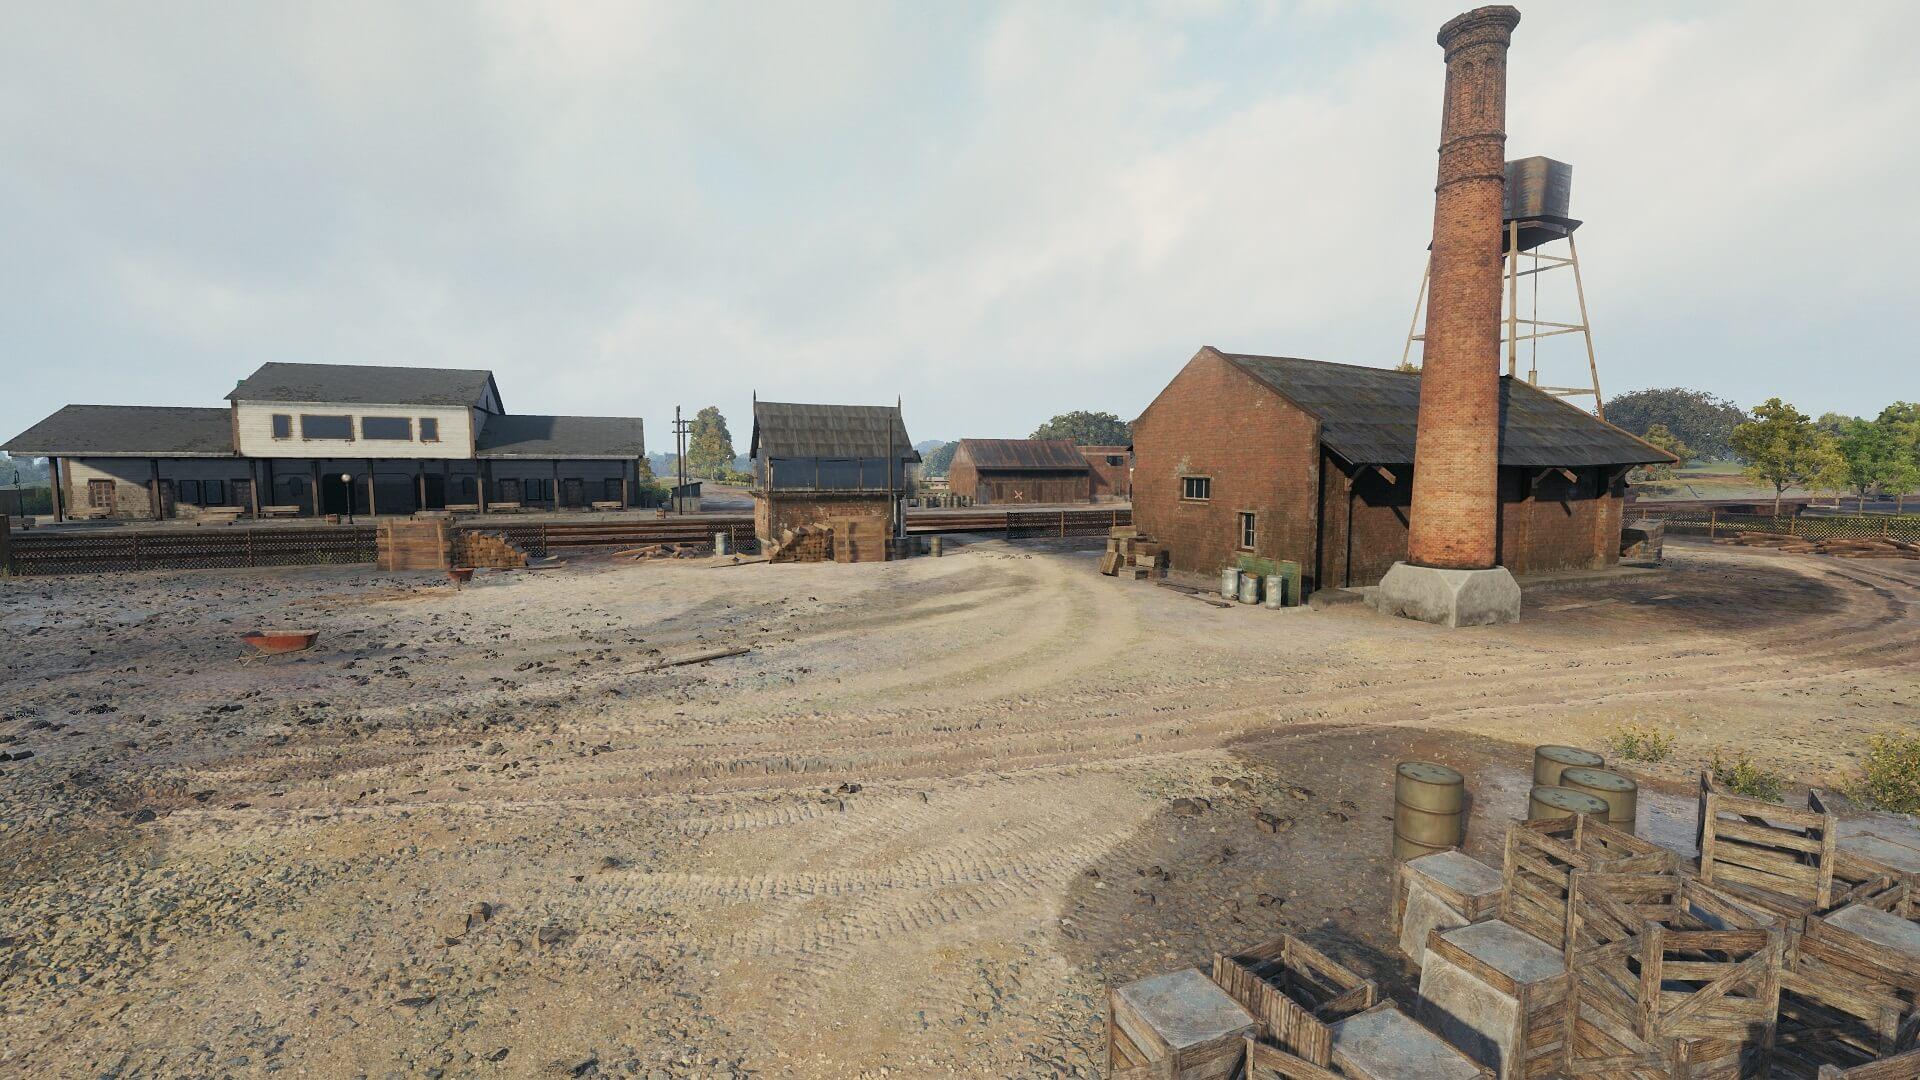
Adjusting the Object Quality settings determines the distance at which an object becomes highly (or less) detailed depending on the movement direction. The higher the setting, the greater the distance from the player the transition takes place. This also has an effect on the visual fidelity of tank tracks. On Medium and lower settings, the tracks of the tank are drawn in a simplified form.
Draw Distance
Affecting the distance at which objects are displayed, this setting only concerns objects not vital for gameplay. For example, the monastery will be a consistent feature on Abbey for all settings, but the fences around the fields won’t.
Why is it important to get the optimal draw distance for your rig? Well, on certain maps, with a lower draw distance, your target might be obstructed without you noticing until you fire.
Lighting and Post-Processing
- Motion blur and post-processing are cinematic effects like Vignette, Chromatic Aberration, Distortion and Film Grain. They supplement the overall impression of the graphics.
- The shadow quality was moved from the Main Settings with the release of 1.0, due to a significant optimization of the shadow rendering mechanisms.
- The lighting quality is extremely important for the overall perception of the picture; it interacts with all other graphical elements. Depending on the quality, the complexity of lighting calculations varies: it is tied to technologies including: Screen Space Reflection, Global Illumination, God Rays, Lens Flare, HBAO, wetting effect and puddles.
Terrain and Water
The performance needs vary from map to map regarding water: maps that revolve around the sea (Fjords, Fisherman’s Bay and Glacier) consume a little more resources that those without.
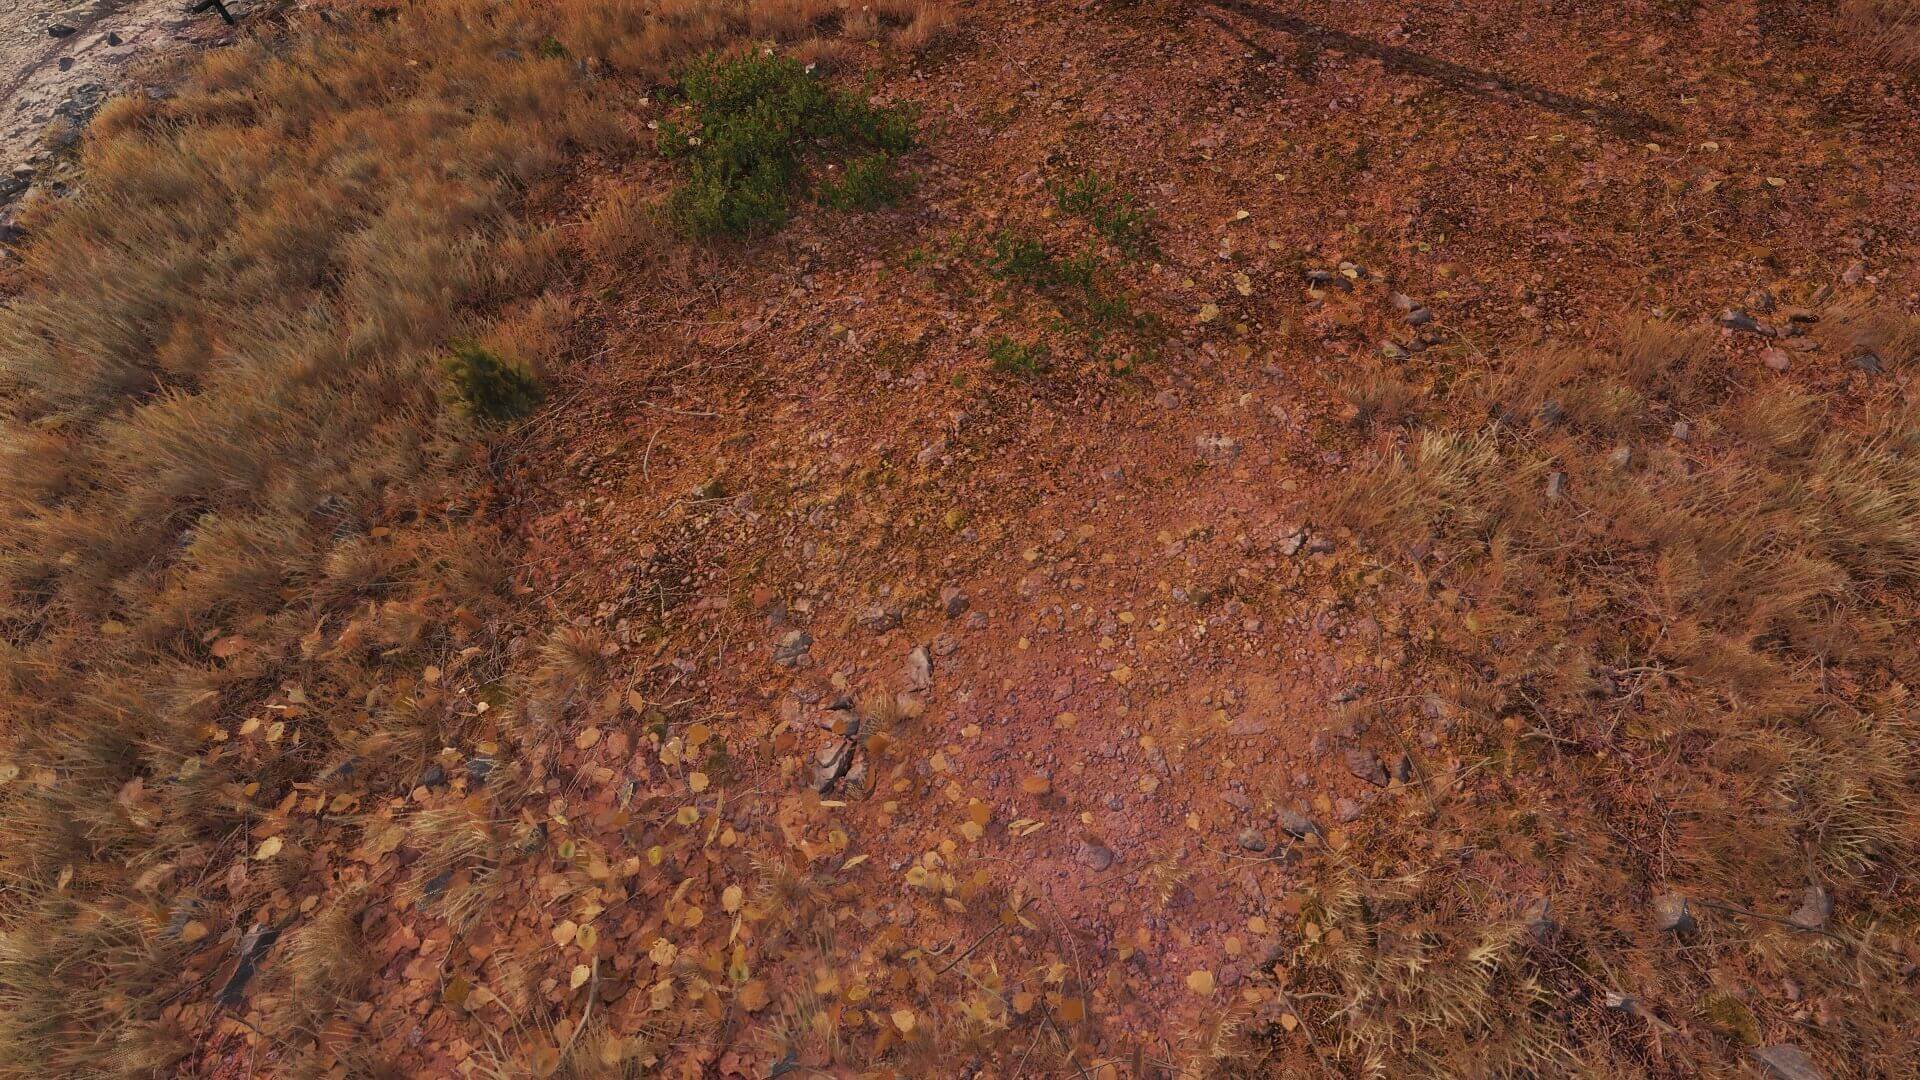
The terrain has also been completely redesigned: terrain quality have been increased, tessellation support has been added. Tessellation has been designed specifically for Improved Graphics and only works on graphics cards that fully support DirectX 11 (the technology is not available on Standard Graphics because the terrain is simplified to improve performance).
Small pebbles, traces from tanks, funnels from shots all acquire a geometric form with the addition of geometric details to the terrain. This is just a graphic improvement and doesn’t affect the behavior of the tank.
You can switch off tessellation to increase performance when in sniper mode, as well as to ensure tessellation doesn’t interfere with targeting opponents. Here’s how the terrain changes depending on the graphical setting:
Vegetation
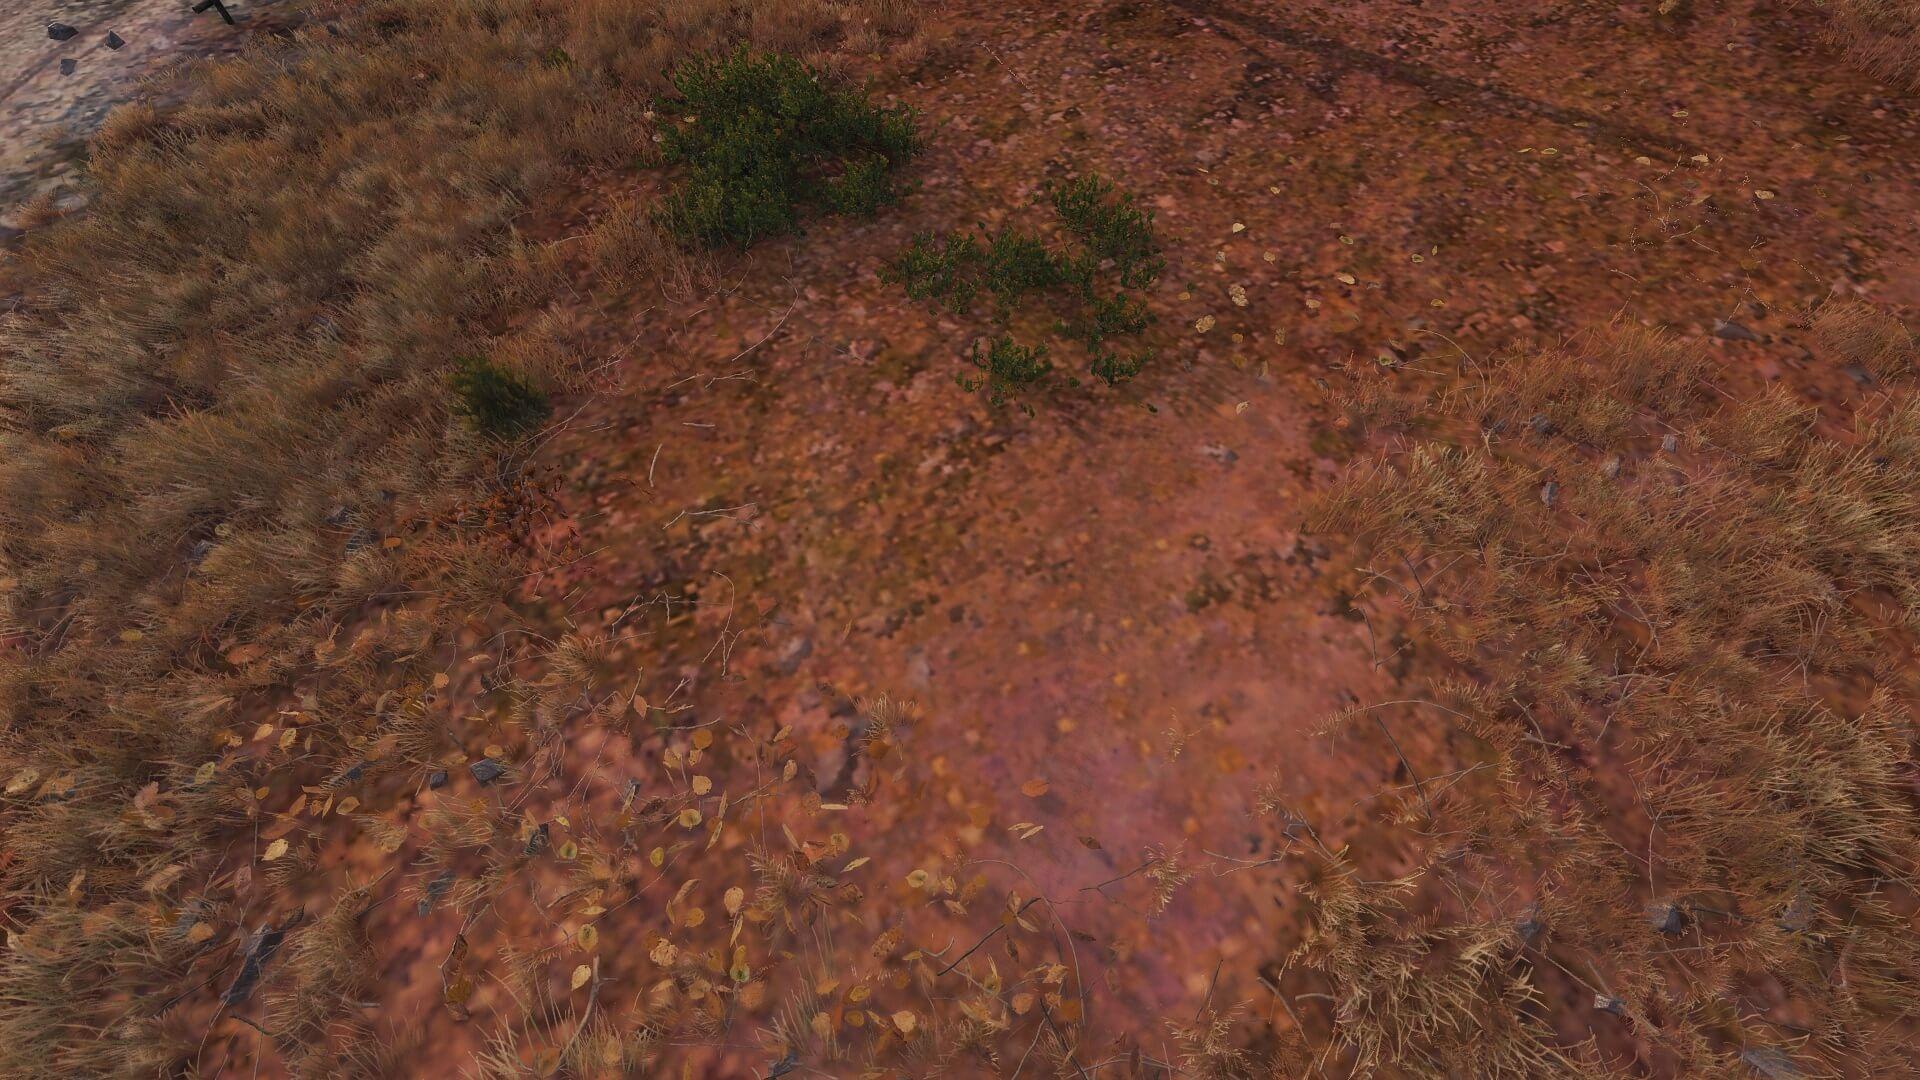
The detail of the vegetation, amount of grass and the transparency of the grass when in sniper mode. The vegetation level of detail, other than the obvious, affects the complexity of calculating the wind in the trees (with Standard Definition client, there is no wind) and the higher the quality of grass, the more there will be. You can lower these settings to crank out more frames per second.
The camouflage mechanics work the same regardless of what settings you choose.
Effects
Within the effects settings, you can set the desired quality of explosions, fire, smoke and other similar events. Tuning can be important when in battle as these effects can give out hints of which tanks just fired (clue: there will be clouds of smoke around). Consider the game benefits of effects when adjusting their quality.
Improved physics of destruction, thanks to Havok Destruction, means that when objects are destroyed, fragments remain. With this feature disabled, there will be no detailed destruction and it only works with Improved Graphics and is calculated on separate threads. Consider disabling the feature if your processor is a weak feature of your setup.
